
Here it is, working with deer hair, all three parts in one post, updated with new techniques and images.
Deer hair is normally described as hollow, This doesn´t mean that it´s hollow
like a drinking straw, but that each hair is built up of hundreds of small air filled
cells.

This type of hair structure is most defined in deer from areas with an
extreme winter climate. The result, the colder it is, the better the spinning
qualities, with some exceptions. The hair from our own reindeer and the north
american caribou. In order to achieve optimal insulation, these hairs hold so
many air cells that they have a tendency to be brittle, and break under the
pressure of tying thread.

A cross section of European Roe deer hair which I photographed with the help of a microscope at X40. You can see that the hair isn’t hollow as most people believe, but filled with many small air filled cells.
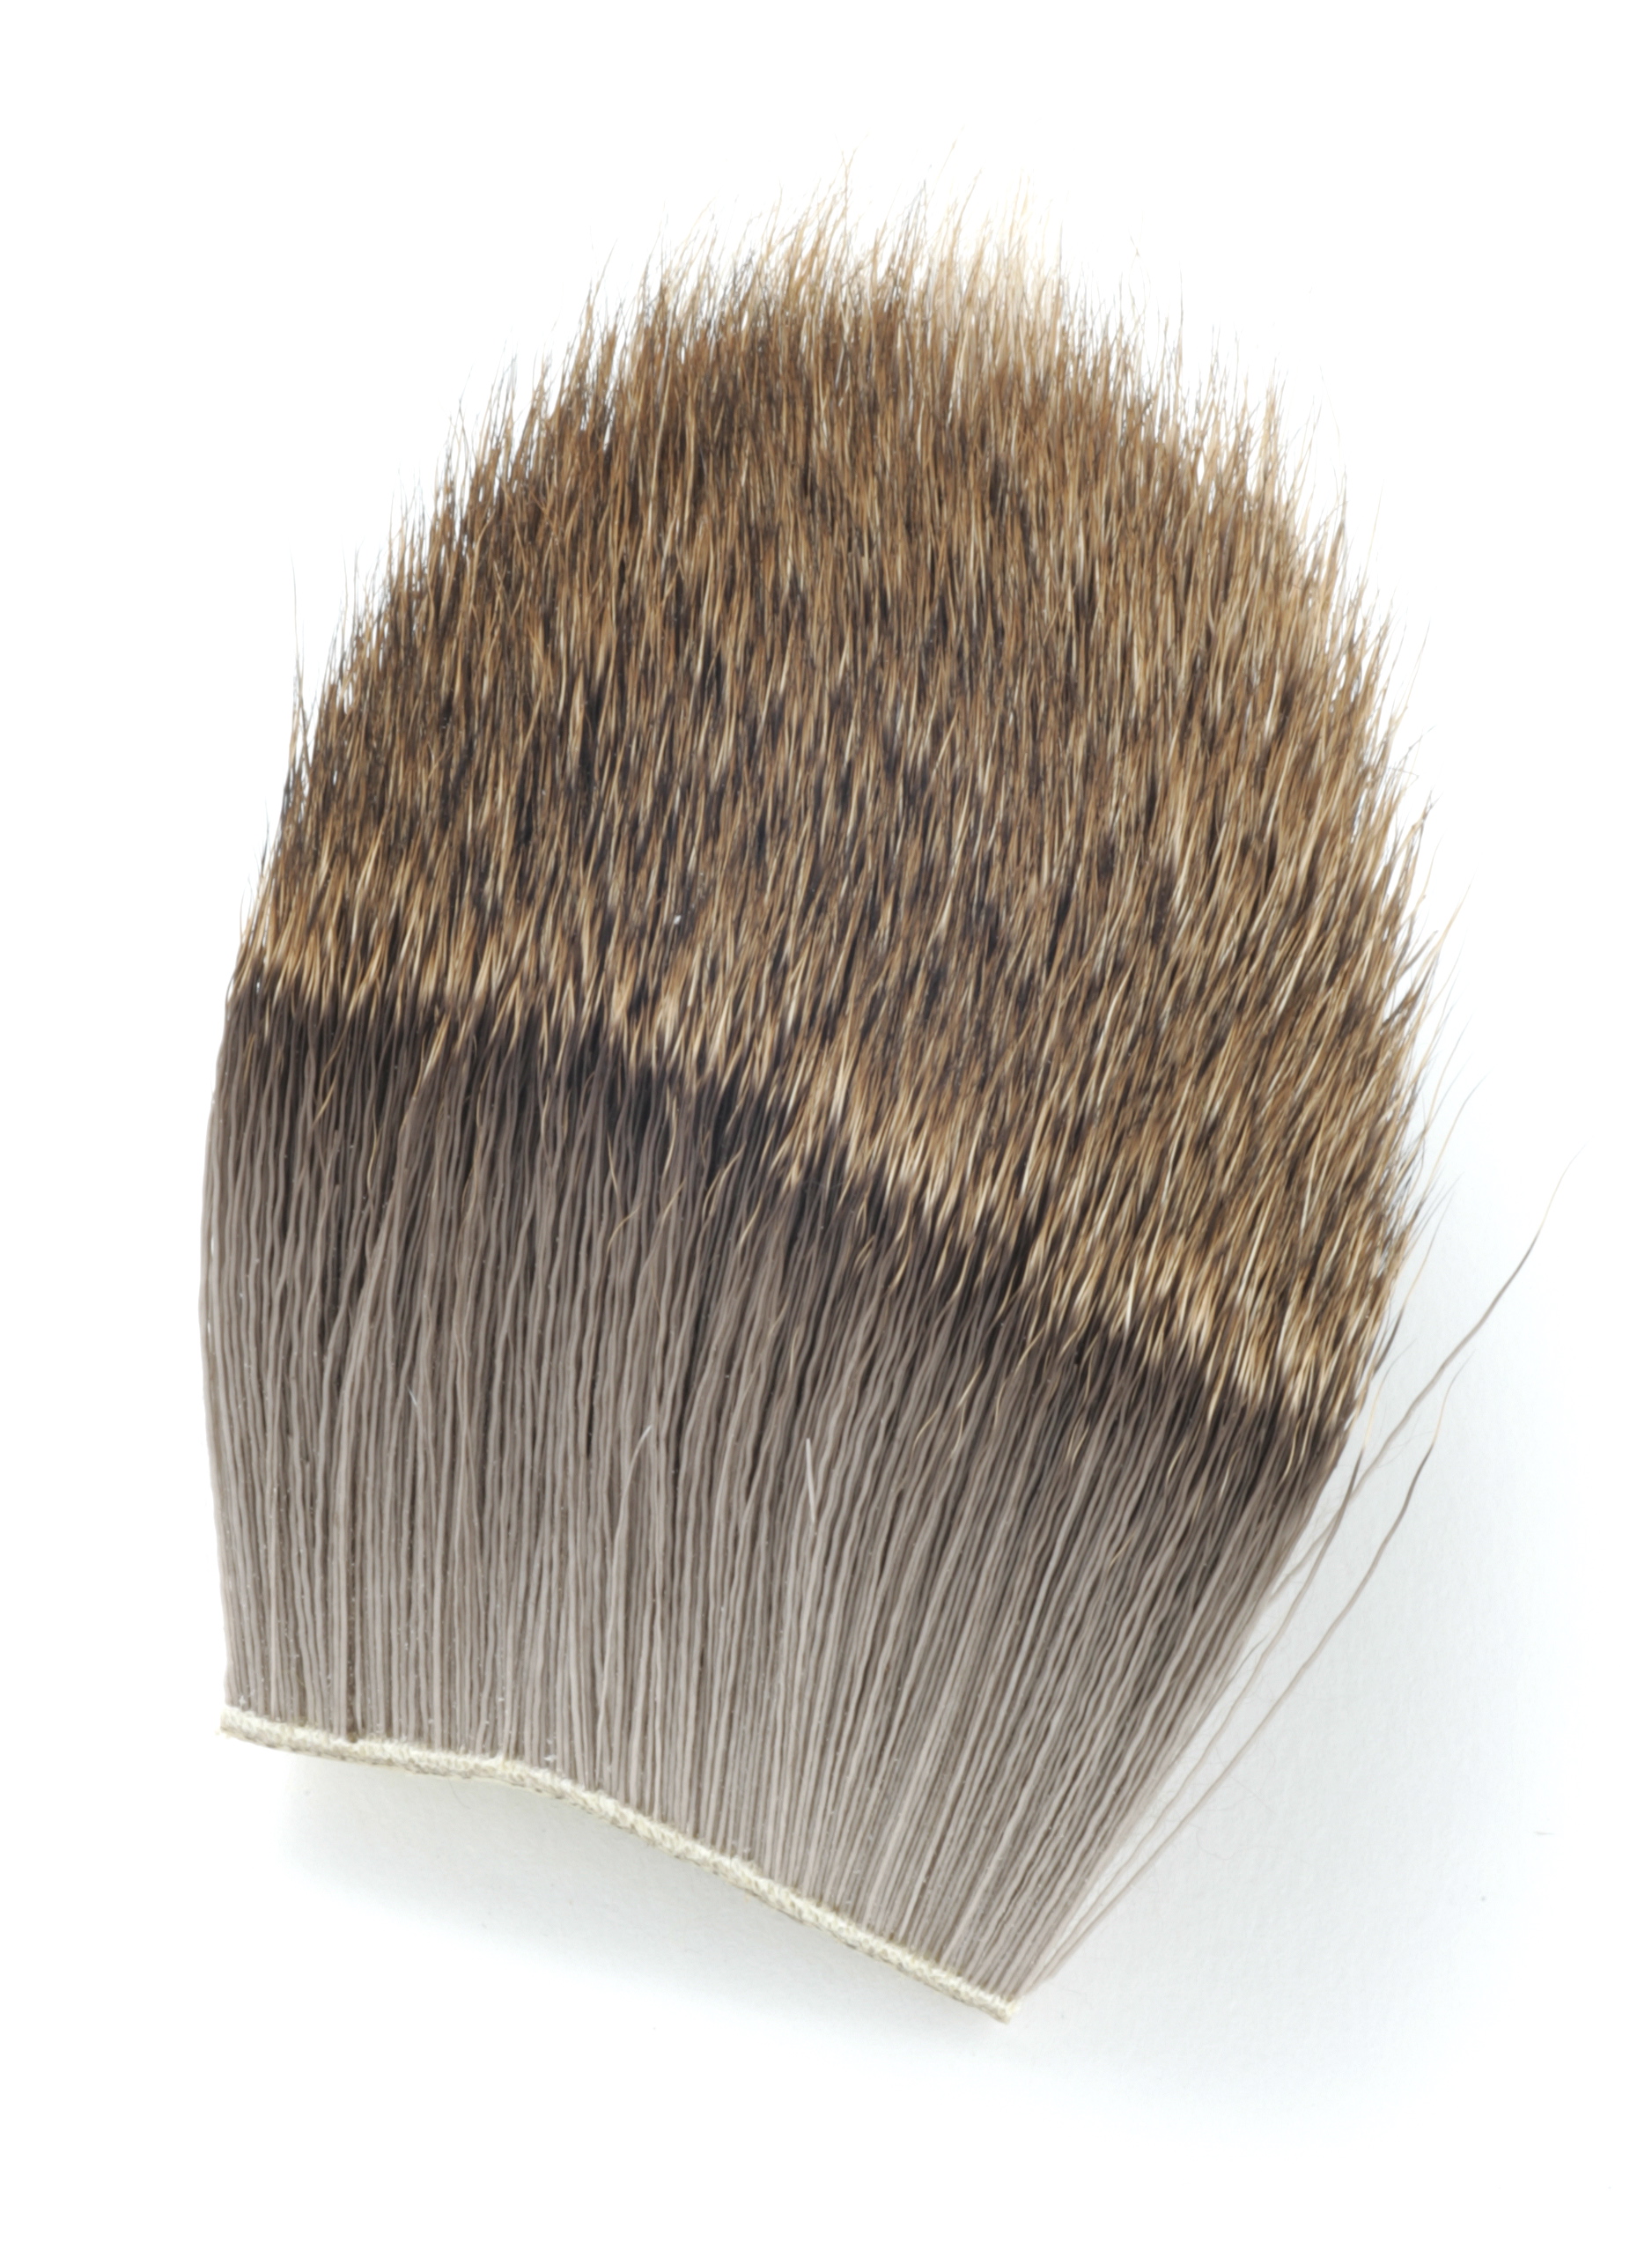
The winter coat of the Norwegian roe deer has many air filled cells and is ideal for spinning, packing and clipping.

While the hair from the summer coat is somewhat stiffer and extremely fine. A first class hair for tails and winging dry
flies.
The colour varies from light red brown on the summer coat to dark grey
with darker barred tips on the winter coat.
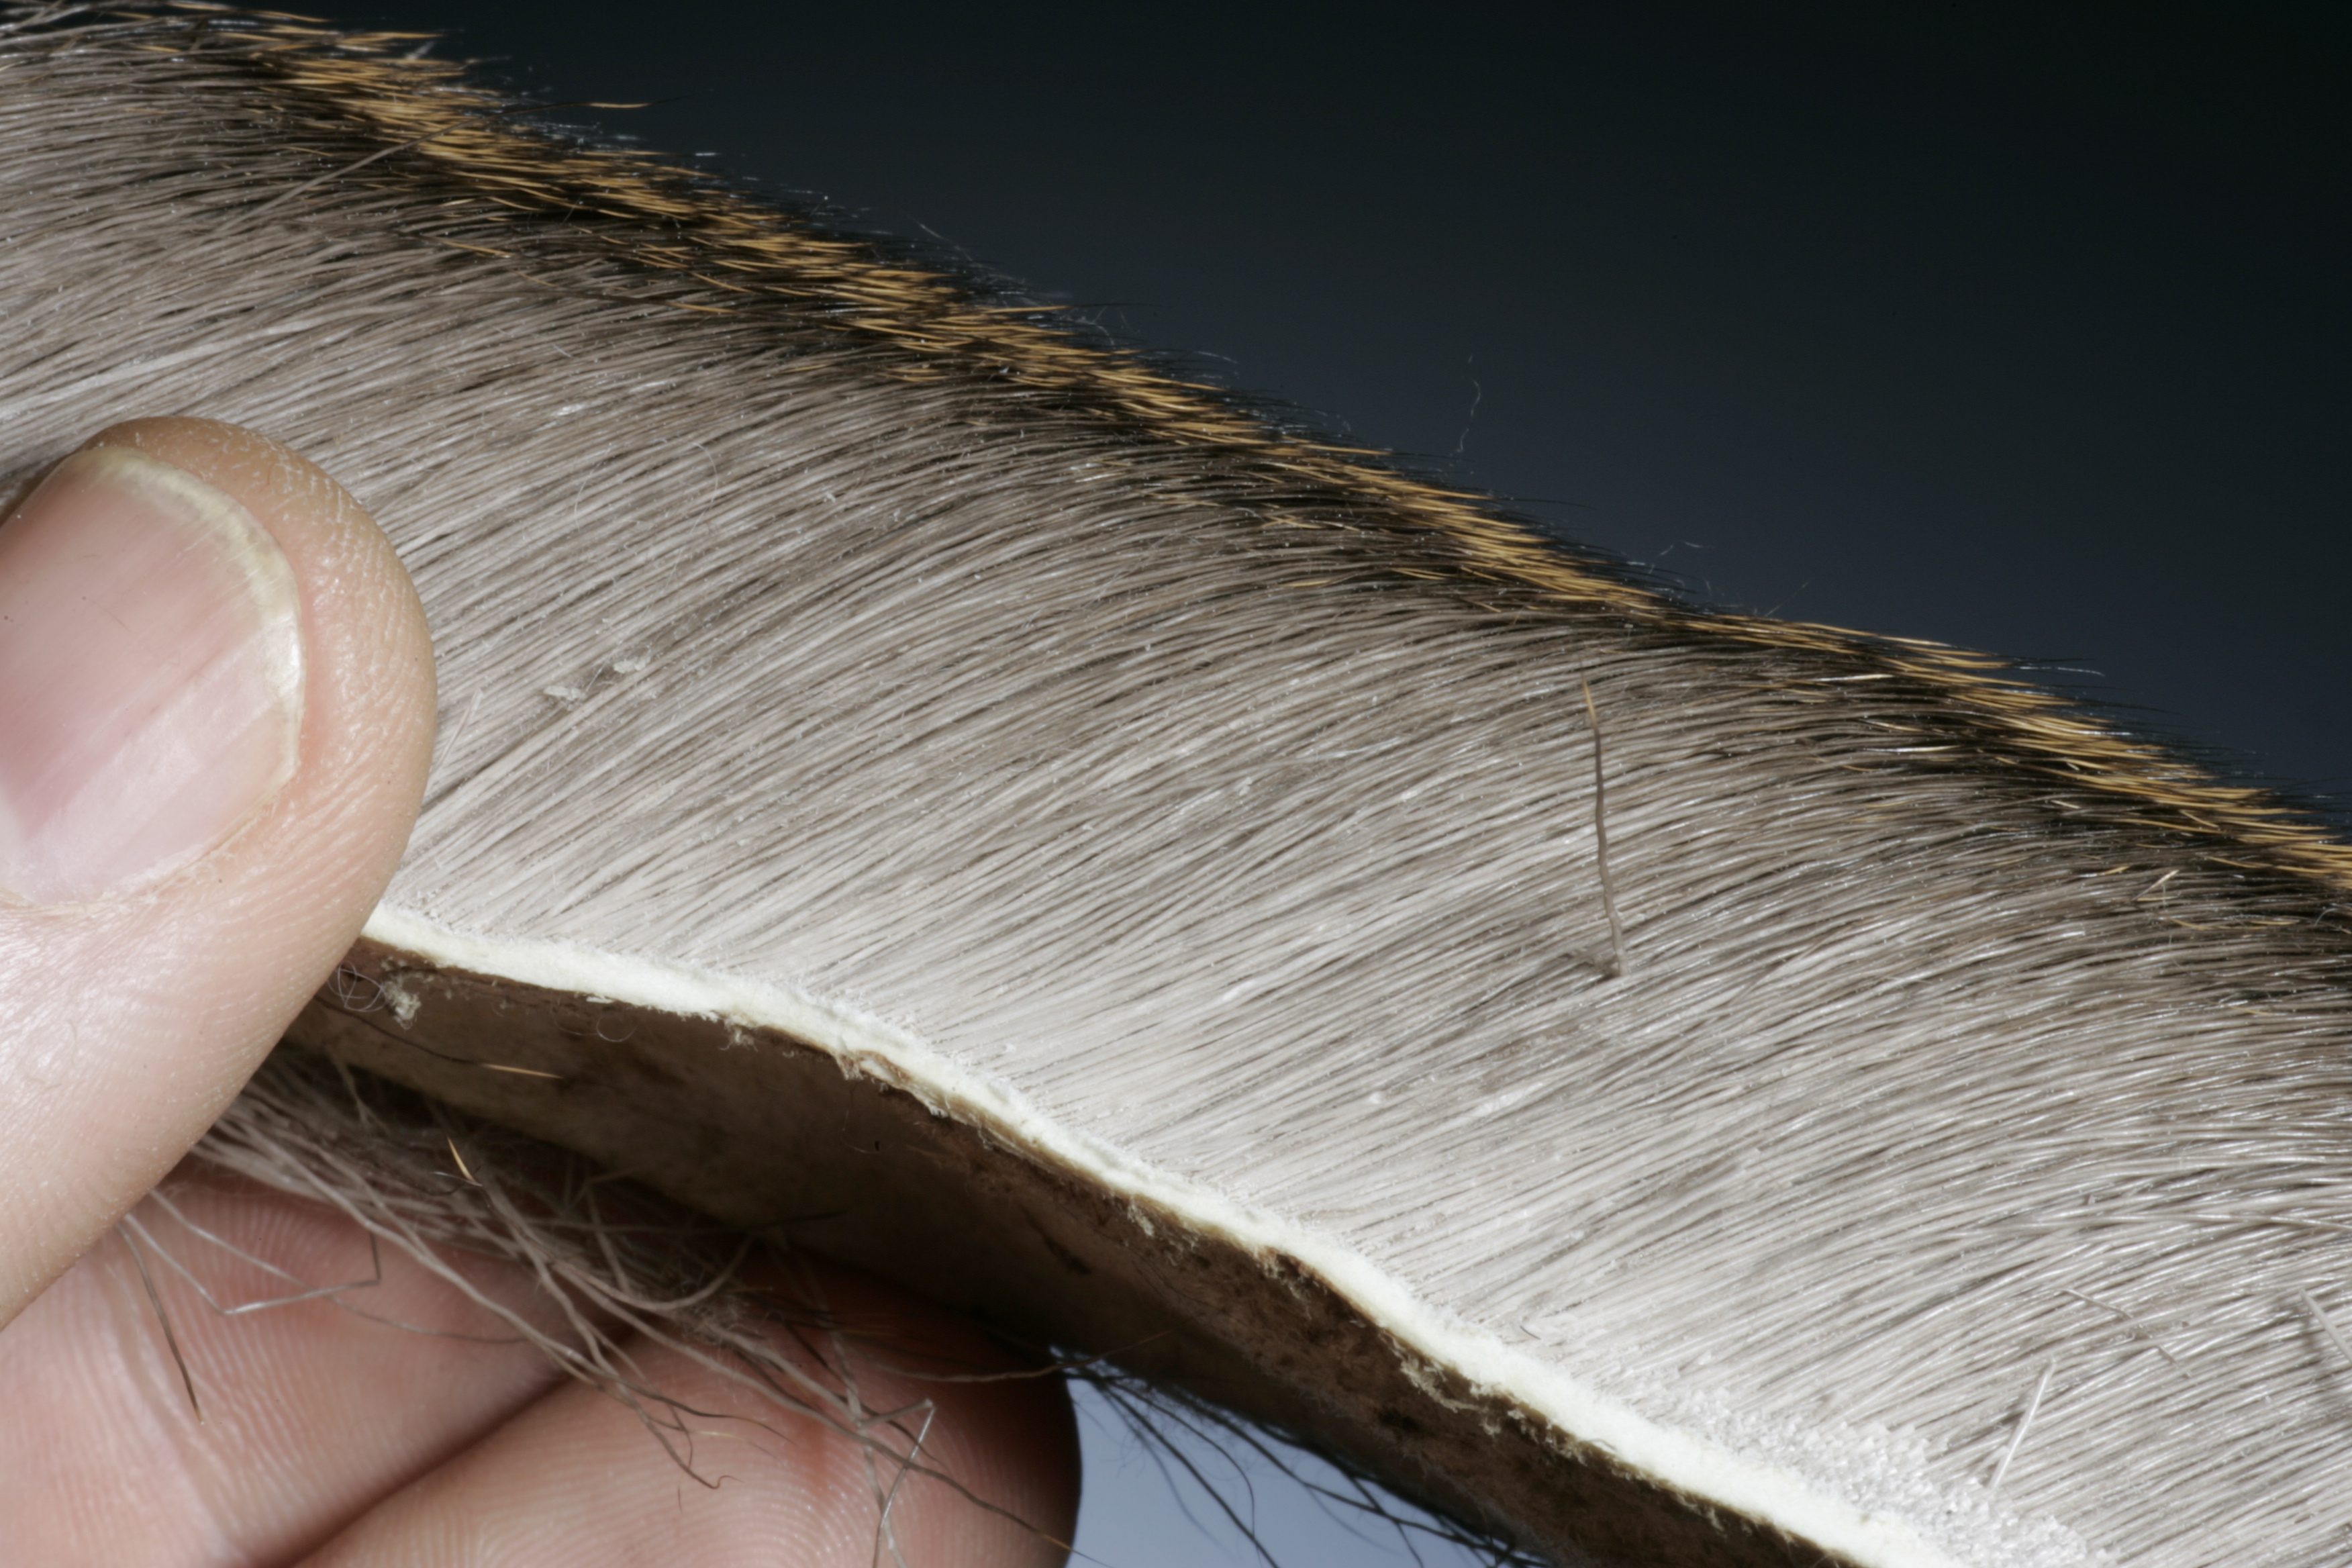
The best hair for spinning is found
on the back of the roe along the spine. This hair is extremely dense, not at all
brittle, and floats like a cork. The chalk white hair on the rump is excellent for
dying, or for patterns that require white deer hair.
You should also be aware that the roe mask has a diversity of hair that is
difficult to equal. Here you will find hair in many different lengths, shades of
brown and coarseness. Ideal for dry´s from # 10 and down to the very smallest
comparaduns. Anyone who ties caddis flies shouldn’t be without a roe mask.
If you know a hunter or a game keeper, try and secure yourself a whole roe
skin, you wont be disappointed.
My top tools for deer hair:

Hair stackers:
These are a must if you want neat, tidy and well balanced flies. I use three, a small one for tails and wings, a medium one for heavier wings and spinning and a long one for streamers, tubes and salt water patterns. The stacker you choose should be well engineered. Its extremly important that insert and inner tube are flush and that the stackers are heavy and robust.


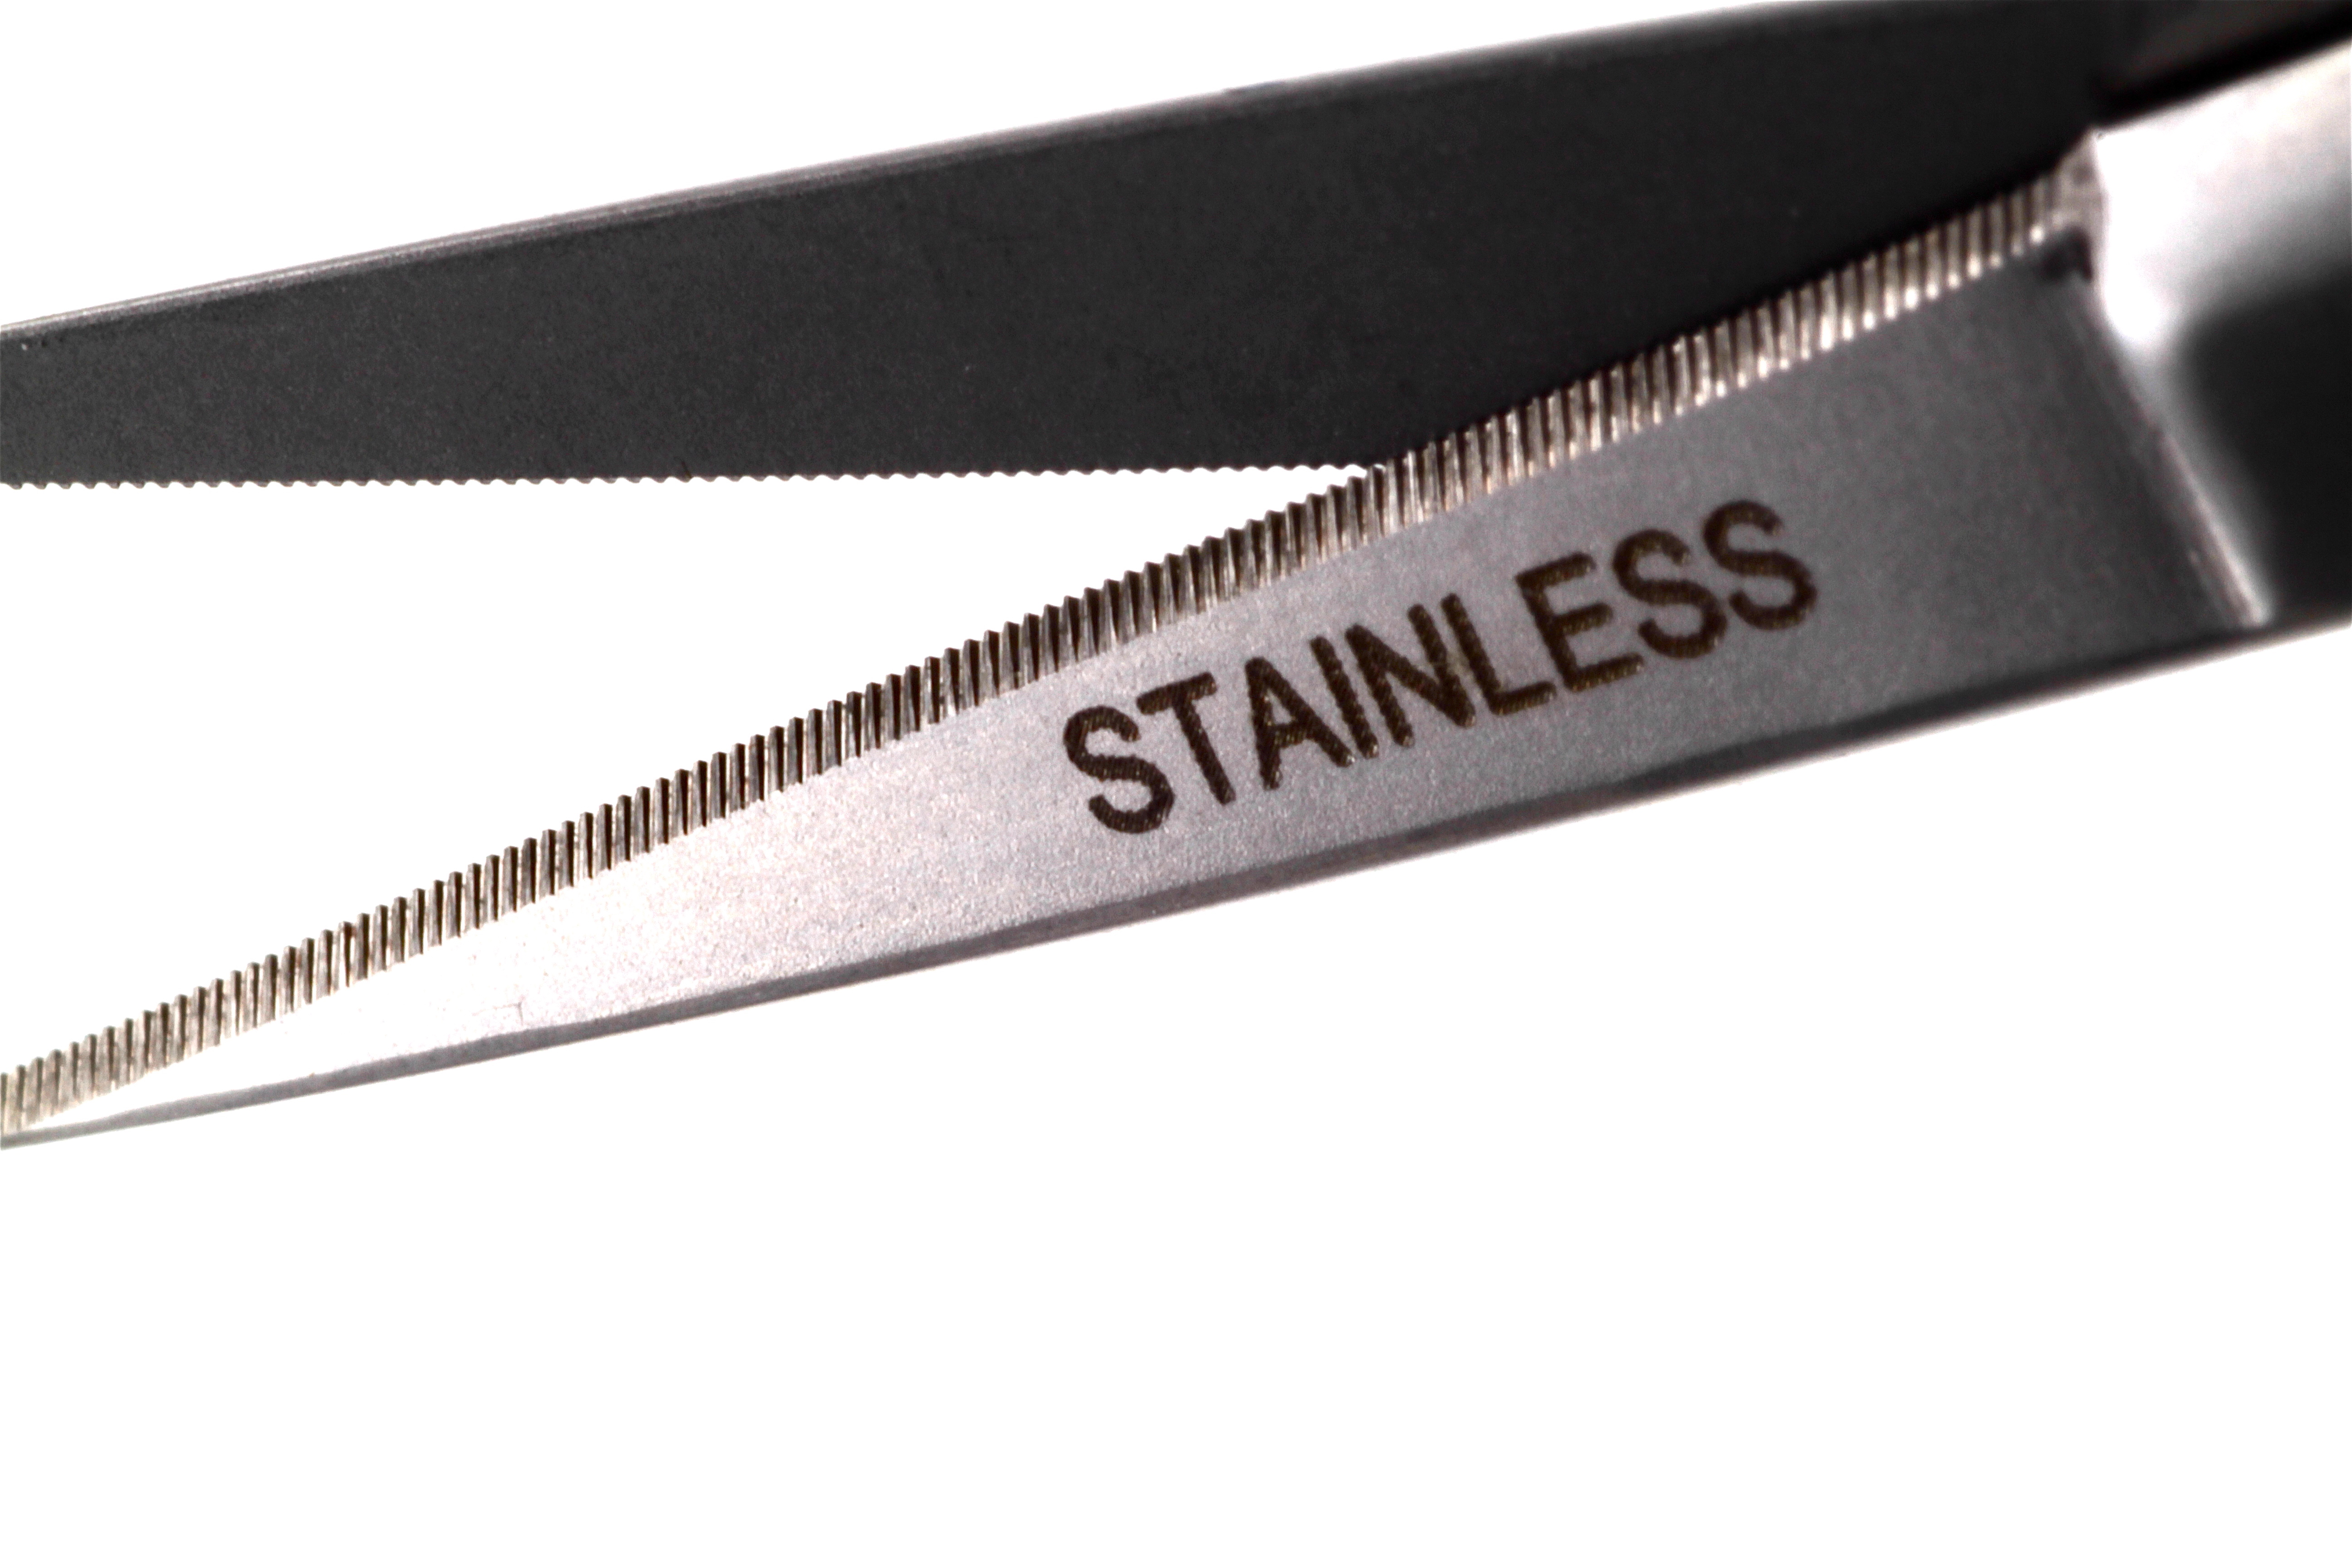
Scissors:
Throughout my many years tying flies, I quickly understood that one of the most important tools are the scissors you use. During this time I have accumulated several dozen pairs of scissors, in all forms, shapes and sizes, but if I am honest, I have only four scissors that are constantly in use.
1. A pair of small extra fine pointed cuticle scissors for all the small detailed work and thread.
2. A General purpose serrated scissors for cutting tinsel, wire and heavier gauge materials.
3. A pair of long bladed straight scissors for larger jobs like preparing materials for dubbing loops.
4. A medium pair of sharp pointed serrated scissors for deer hair work.
Here are the best techniques for making deer do what you want it to do!
Anglo – Swedish caddis:

This is a hybrid pattern that combines two great patterns, the wing and head of the Swedish streaking caddis and the body of the British Goddards caddis. There are a few techniques here that are useful when tying with deer hair.

Cut a thin strip of deer hair from a winter coat, rather like a deer hair zonker strip and attach a Magic tool clip about half way down the hair.

With a pair long straight scissors trim off the hide from the deer hair strip. You will see that there is a little under fur left in the trimmed end!

Using a tooth brush, brush out the loose hairs and under fur from the clip.

Place a terrestrial hook in the vice.

Cover the hook shaft with a foundation of tying thread. I use only Dyneema gel spun thread for tying with deer hair, if you haven’t tried it I recommend you do!

Make a dubbing loop at the rear of the hook, make sure that the two ends of the loop closest too the hook shank are touching each other! If they are not the loop will remain open and will not grip the deer hair. Wind your tying thread forward out of the way toward the hook eye.

Un treated deer hair is quite fatty, If you wax your thread it has a much better purchase on the hair and reduces the chances of it slipping in the loop.

Place the loaded magic tool clip in the dubbing loop and trap the deer hair centrally in the loop.

Start to spin your deer hair in the dubbing loop. You can see in this image that the loop is not fully spun as you can still see the core of tying thread.

You must continue spinning the loop until the core is no longer visible and the hair is evenly spun.

You can now start wrapping the deer hair dubbing brush as you would a traditional palmer hackle along the whole hook shank.

Make sure that you brush the deer hair fibers back with each turn so as not to trap them with the next turn!

Once you have wound the whole dubbing brush tie it off and give it a good brushing with a tooth brush in every direction. This will free any fibers the have become trapped and give a better result when trimmed.

With a pair of serrated straight scissors trim the hair from the rear of the hook.

Once fully trimmed you should have a Goddard caddis type body.

For the wing you will need a generous bunch of deer hair. Remove ALL the under fur, if you dont, the hair will not spin fully.

Once cleaned stack the hair in a hair stacker. Measure the wing on the hook.

While holding the hair in place at the correct length on the body make two loose turns with tying thread around the bunch of deer hair and then tighten.

Make a few tight turns of tying thread through the remaining deer hair towards the hook eye to secure it and whip finish.

Remove your tying thread and once again give the flared deer har head a good brushing.

Now, while resting your scissors on the hook eye trim the head all the way round.

The under side of the head should be trimmed level with the body and cone shaped.

Take a lighter and singe the trimmed deer hair head. Take care not to set the whole fly on fire!
Once the head is singed give it another brush with the tooth brush to remove the soot. And there you have it , the Anglo Swedish caddis.
Here are a couple more quick techniques, for making cork like bodies from deer hair and a deer hair guard.


Learn more about deer hair material
Ultimate guide to deer hair part 1
Ultimate guide to deer hair part 2
Ultimate guide to deer hair part 3
Buy MUSTAD signature hooks on AMAZON:
Buy VENIARD product on AMAZON:
Fly tying tools and materials shop TRIDENT:
Buy SIMMS fishing products:
EPIC water filters Very useful thing when fishing:
Trouts fly fishing Premier Fly Shop & Outfitter:
Polarized fishing sunglasses RHEOS 55$:
TheRiversEdge flyfishing shop – Bozeman Montana:
Buy STANLEY products. Free Shipping on all orders!
Buy BEST fly tying VISE
Buy PREMIUM fly fishing flies – RiverBum USA
Buy ALPACKA RAFT for fly fishing adventures
NUTRIENT SURVIVAL food and drinks for fly fishing adventures:
Table of Contents
My new book

Discover more from HOW TO TIE FLIES | THEFEATHERBENDER
Subscribe to get the latest posts sent to your email.


SAn excellent tutorial and oinformationm about deer hair. I don’t know if others have had this problem, but none of the pictures showed the head of the fly. All the pics were too far to the left to see much more than the back half of the fly
Absolutely fantastic step by step view of the tying process. Wonderful post. Very cool. Great looking pictures aw well.
Great to see you at the BFFI this last weekend. I had quite a few questions about deer hair on the Fly Tying Clinic there this weekend. There are so many tyers that know very little about how to select the right hair to the fly. This problem is often exacerbated by patterns in magazines and books just saying ‘deer hair’ in the dressing and not specifying exactly what type to use. This means a lot of tyers are using the wrong type of hair and wondering why they cannot tie their chosen fly successfully. A few years ago stayed with Chris Helm in the States and the knowledge that he shared with me was so useful. I would personally add some more tools to my essential list of deer hair fly tying tools – a hair packer, razor blades and a cauteriising tool.