
After much response regarding my Mutantz pattern I published last year, here is the new and improved Flying Mutant that has fished extremely well for me this year, with a few new techniques that can be applied to other patterns.
On the warmest summer days the temperature rises in the south facing ant hills and triggers the annual swarming. Ants are not good flyers, so they leave the nest in large numbers to increase the chances of establishing a new colony. When they take to the wing they are at the mercy of the wind and end up where it takes them.
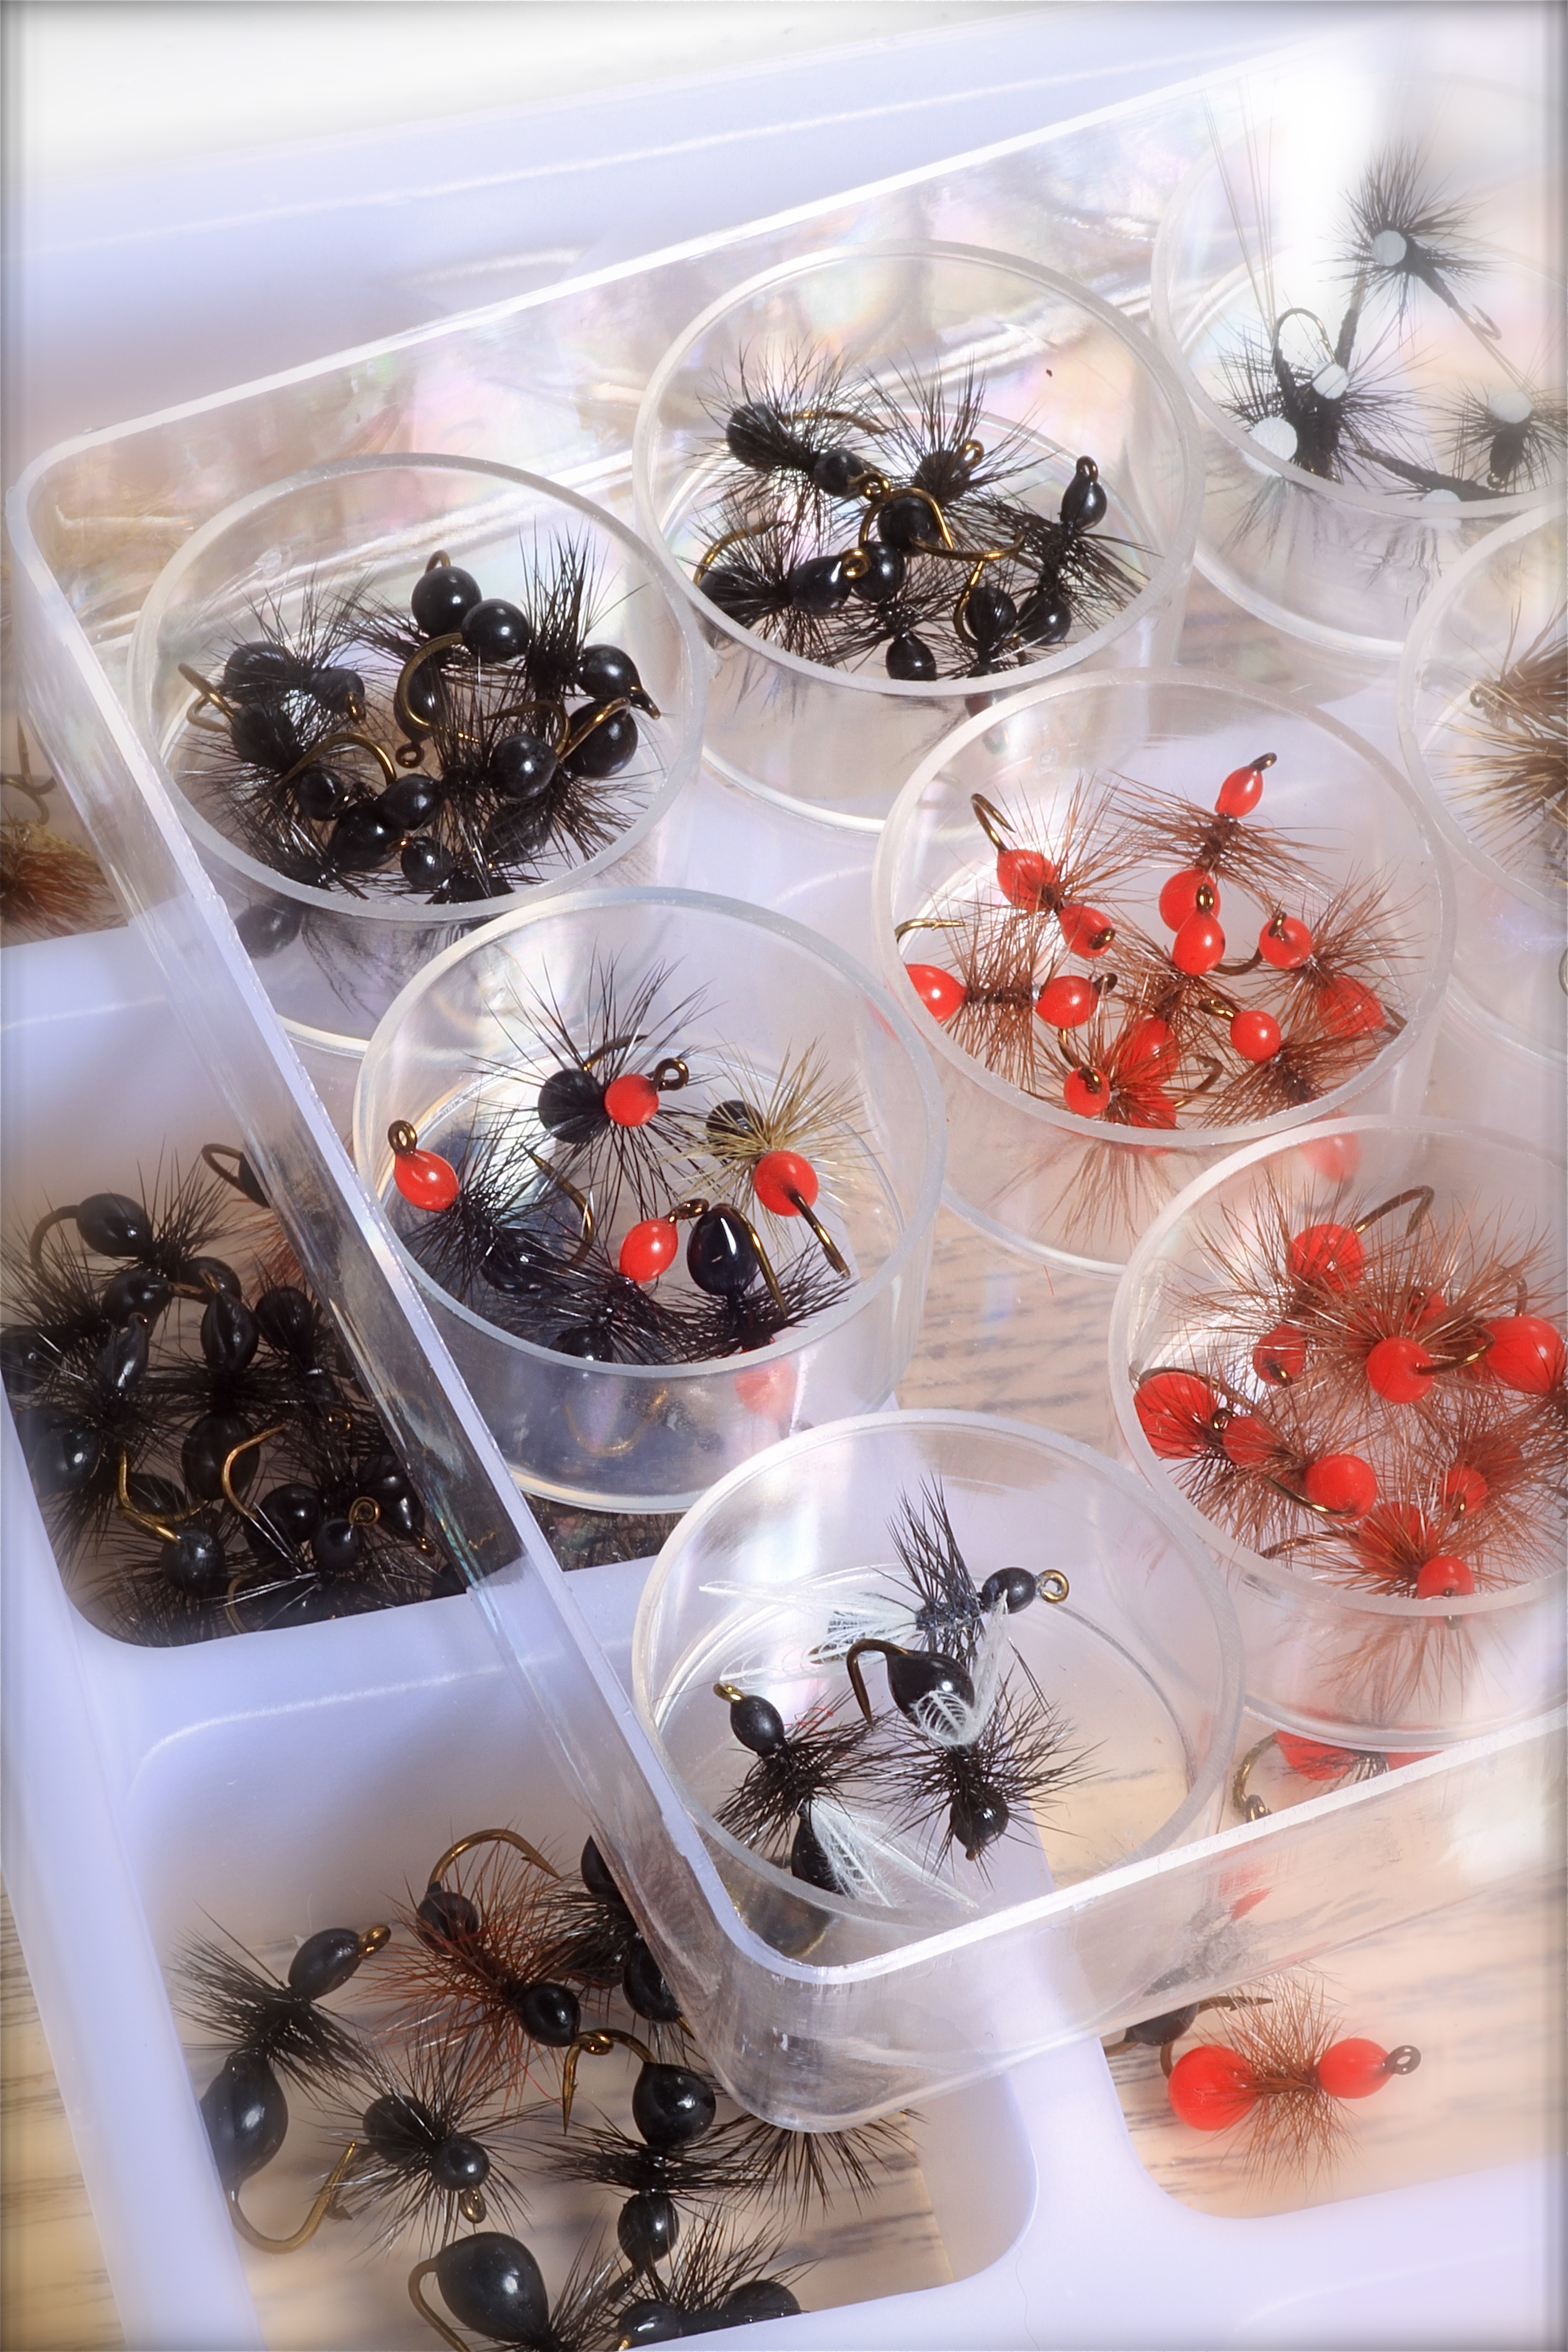
If they are unlucky and land on water, in any numbers! the fish go into a feeding frenzy. In extreme situations I have experienced that the trout will take just about any fly that is presented for them. But other times they can be so selective that they will only take the perfect pattern with the right silhouette, colour and behavior. Therefor its important to to have a good imitation too hand, and a more realistic ant imitation than this is difficult to find. Without of course going way over the realistic boundaries and tying a ultra realistic pattern. This is after all a fishing fly! Here I have made the two most characteristic body parts with melt glue, that shine just like the natural in the summer sun. You can also colour one half black and the other red, I have found that this works under most swarming situations for both black and red ants.
If you omit the wings and dont dress the fly, it has a in built drowning affect. Right after an ant has crash landed on the water and it begins to struggle the rear body part (abdomen) begins to sink, while it’s legs and wings hold it afloat a short while. If you are going to fish this pattern ‘dry’ I recommend that you that you impregnate it well with a floatant.

Melt glue can be obtained, not only in black and red but a whole load of colours.
Hook: Mustad R50X NP-BR # 12-18
Tying Thread: Dyneema
Body: Black melt glue
Hackle: Black cock

1.
Take a black melt glue stick and using a craft knife blade cut a small disc from the end of the stick.

2.
Once you have tied a few Mutantz the size of the disc needed will become more apparent to the hook size used.

3.
Cut the disc in half and then cut 1/3rd from the remaining 2/3rds. These two parts will make the larger rear half of the body and the smaller head.
4.
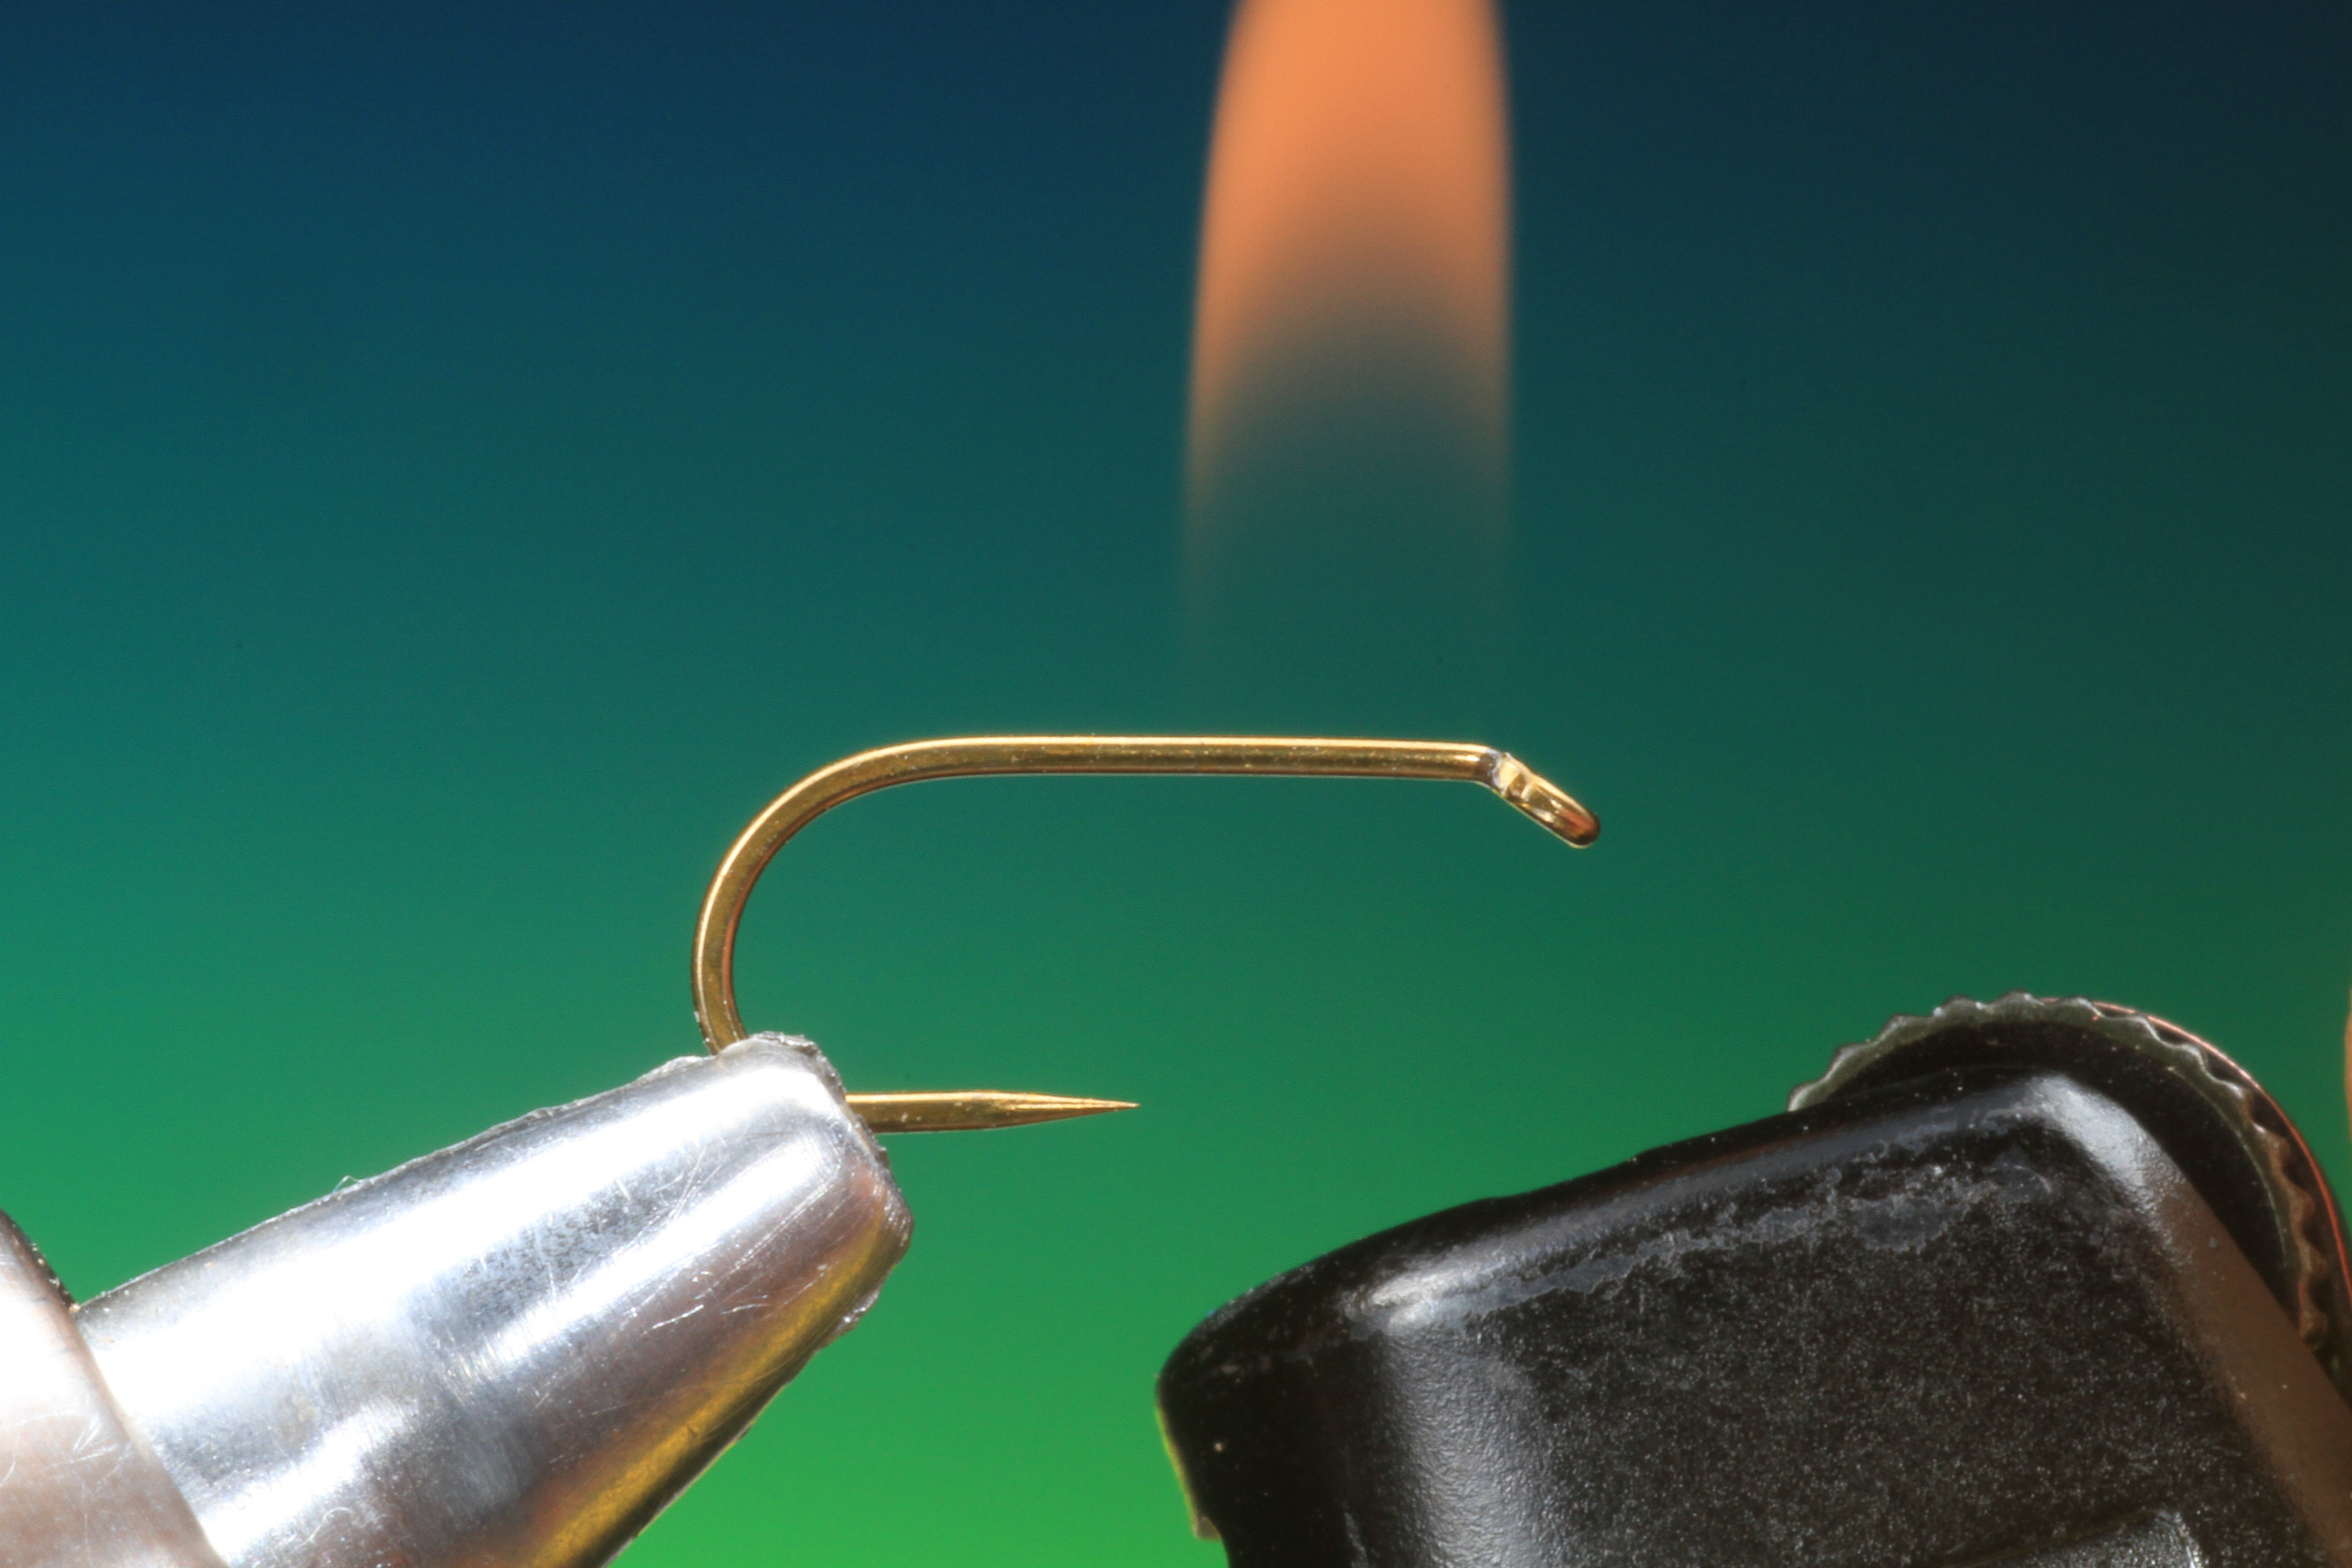
Secure you dry fly hook in the vice. Make sure that the hook shaft is horizontal.
Make sure that you have the glue for the rear part of the body close at hand. Warm the hook shank with a lighter. This doesn’t take much time just a second or so. This quick warm up of the hook will not effect its tempering!

5.
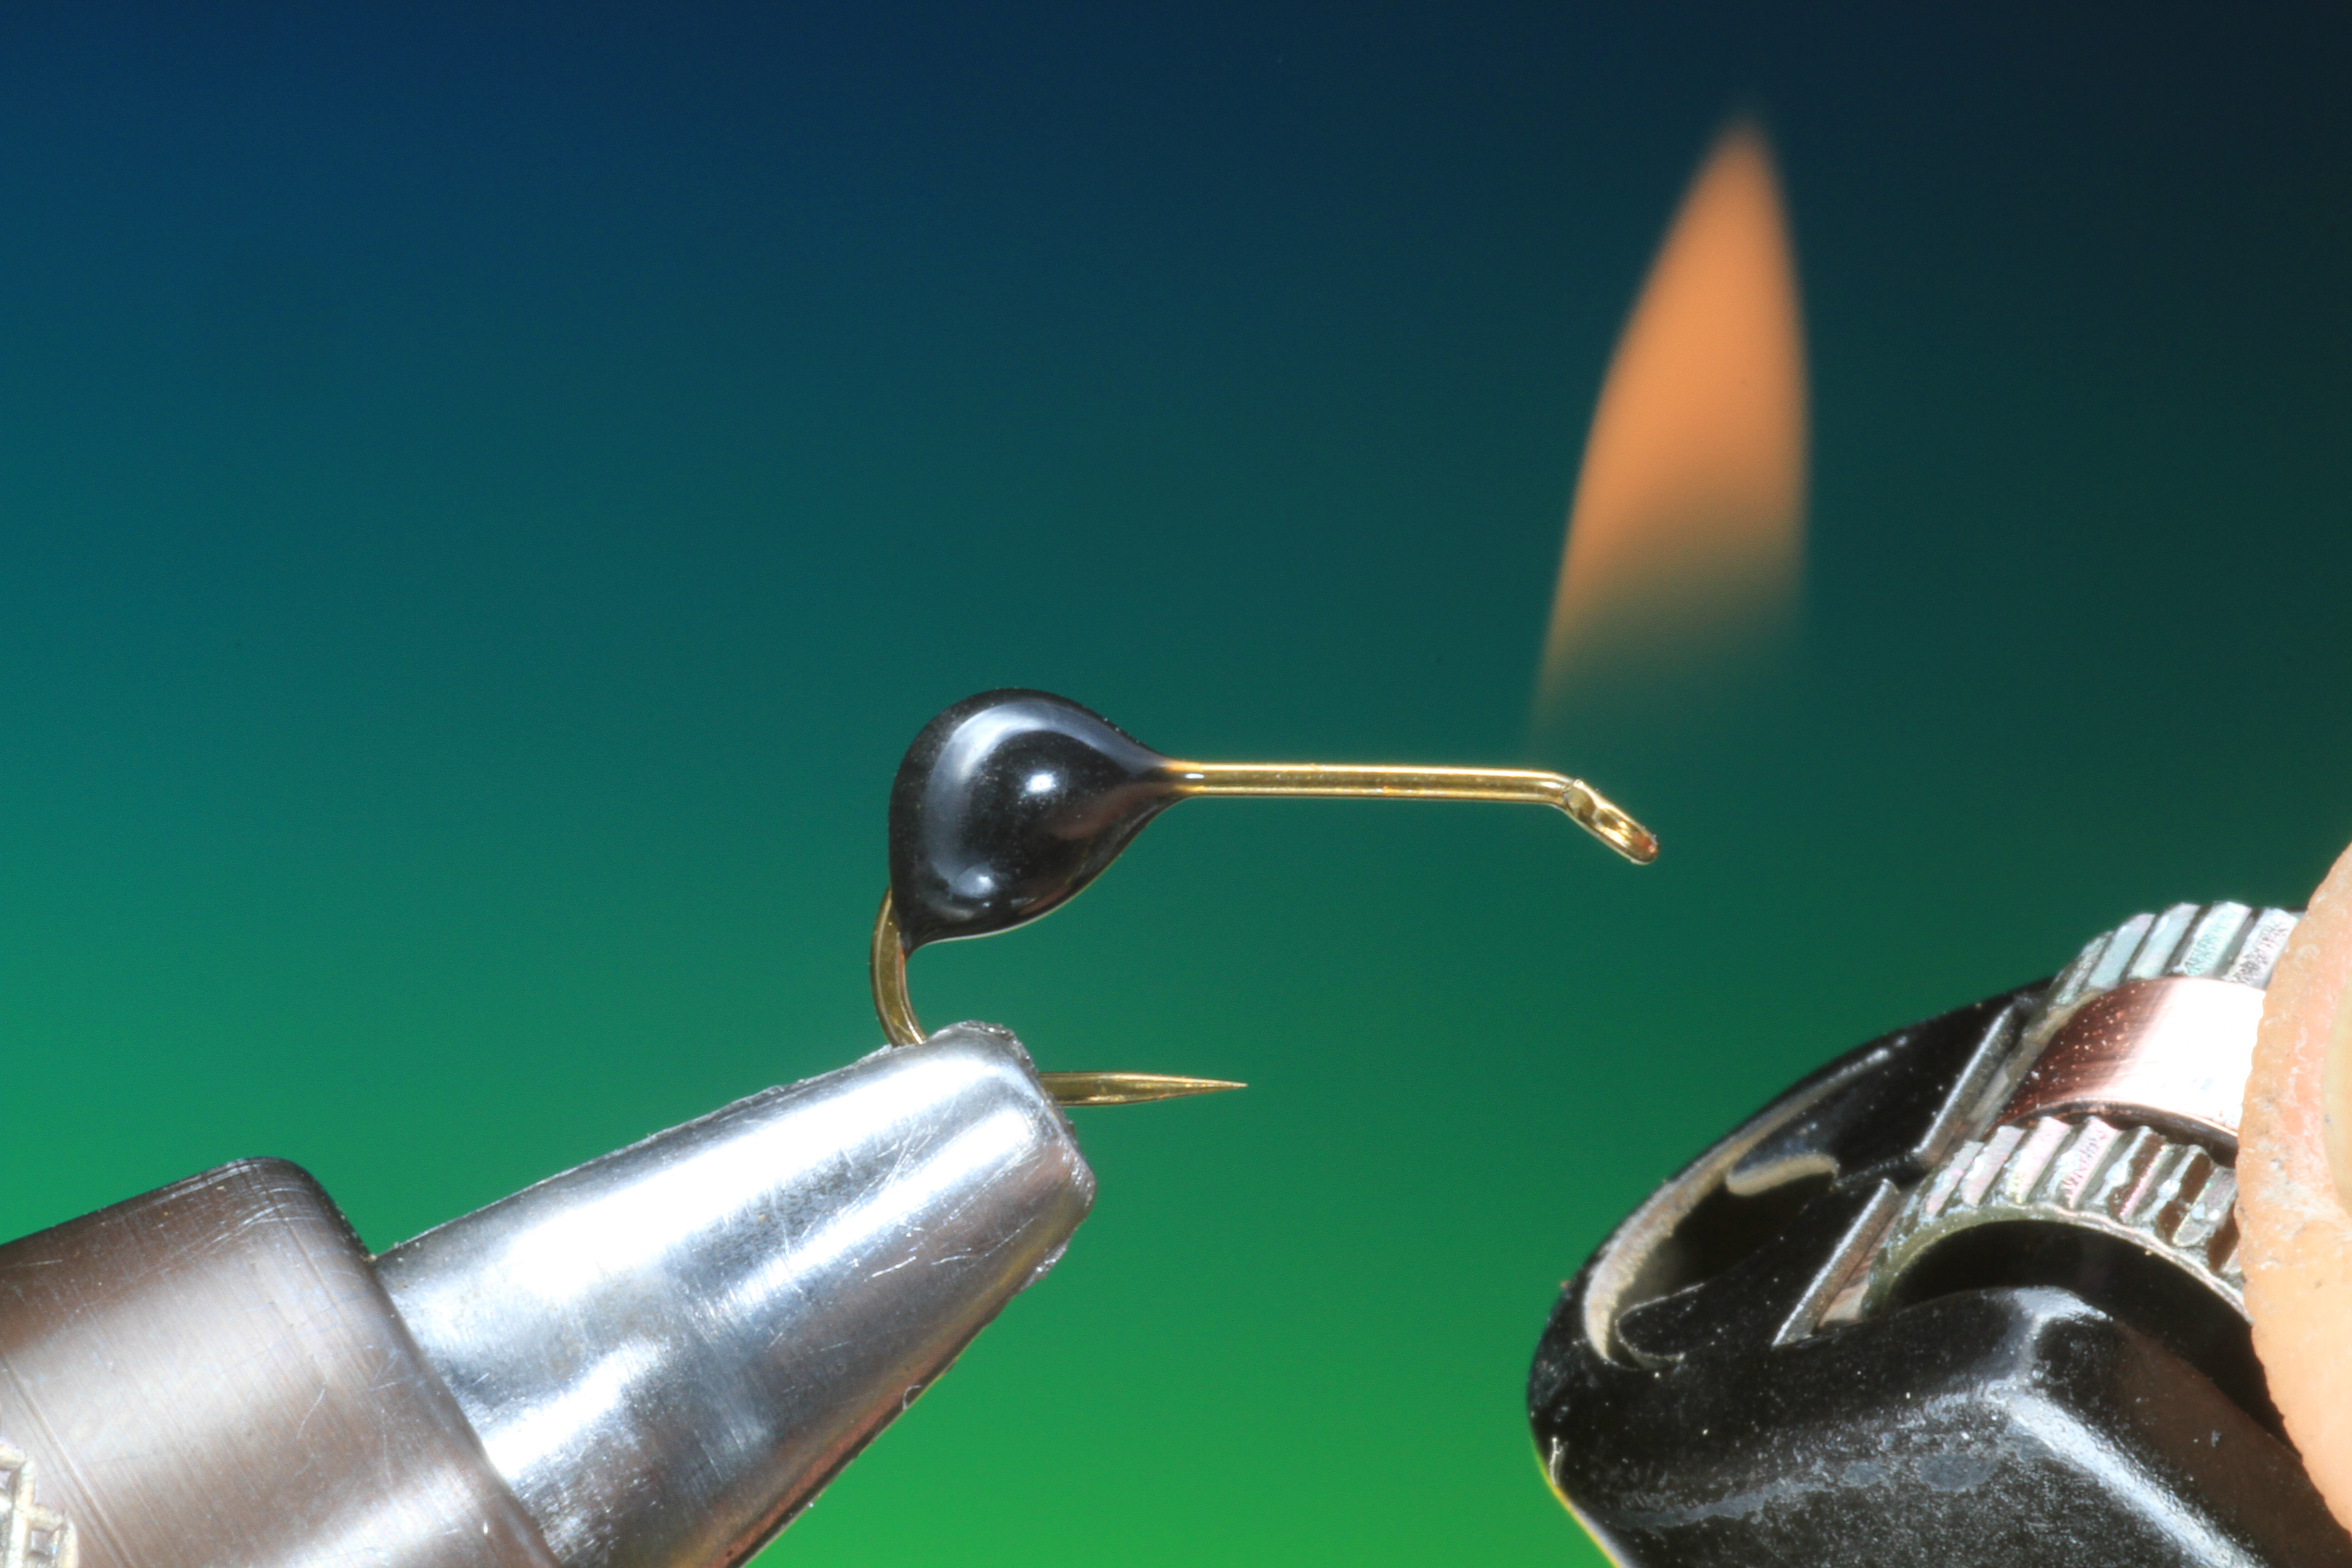
While the hook is warm, stick the glue piece to the hook in the correct position for the rear of the ant body.

6.
When the bit of black glue is stuck to the hook prepare your vice for rotation and keep one hand on the rotation handle of your vice. You can now proceed to warm and melt it slowly with the lighter. Dont use a direct flame on the glue this will overheat it and cause it to run and not flow, just hold the flame close to the glue. Once the glue is warm and begins to melt it will naturally flow around the hook shaft.

7.
While the glue is viscous you will have to rotate your hook to get the melt glue body distributed correctly around the hook shank and achieve the perfect body shape. Make sure that the rear body segment doesn’t hang too low and too far forward that it closes the hook gape and impairs hooking. Depending on what type of glue you are using the hardening time is only a few seconds. Once you have become more apt in using melt glue you can shorten the hardening time by blowing on the glue while rotating.

8.
The rear of the body is now finished.
9.
Once the rear part of the body has set you can repeat the process. But take car not to warm the front of the hook shank too much! this will also heat the rear again.
10.
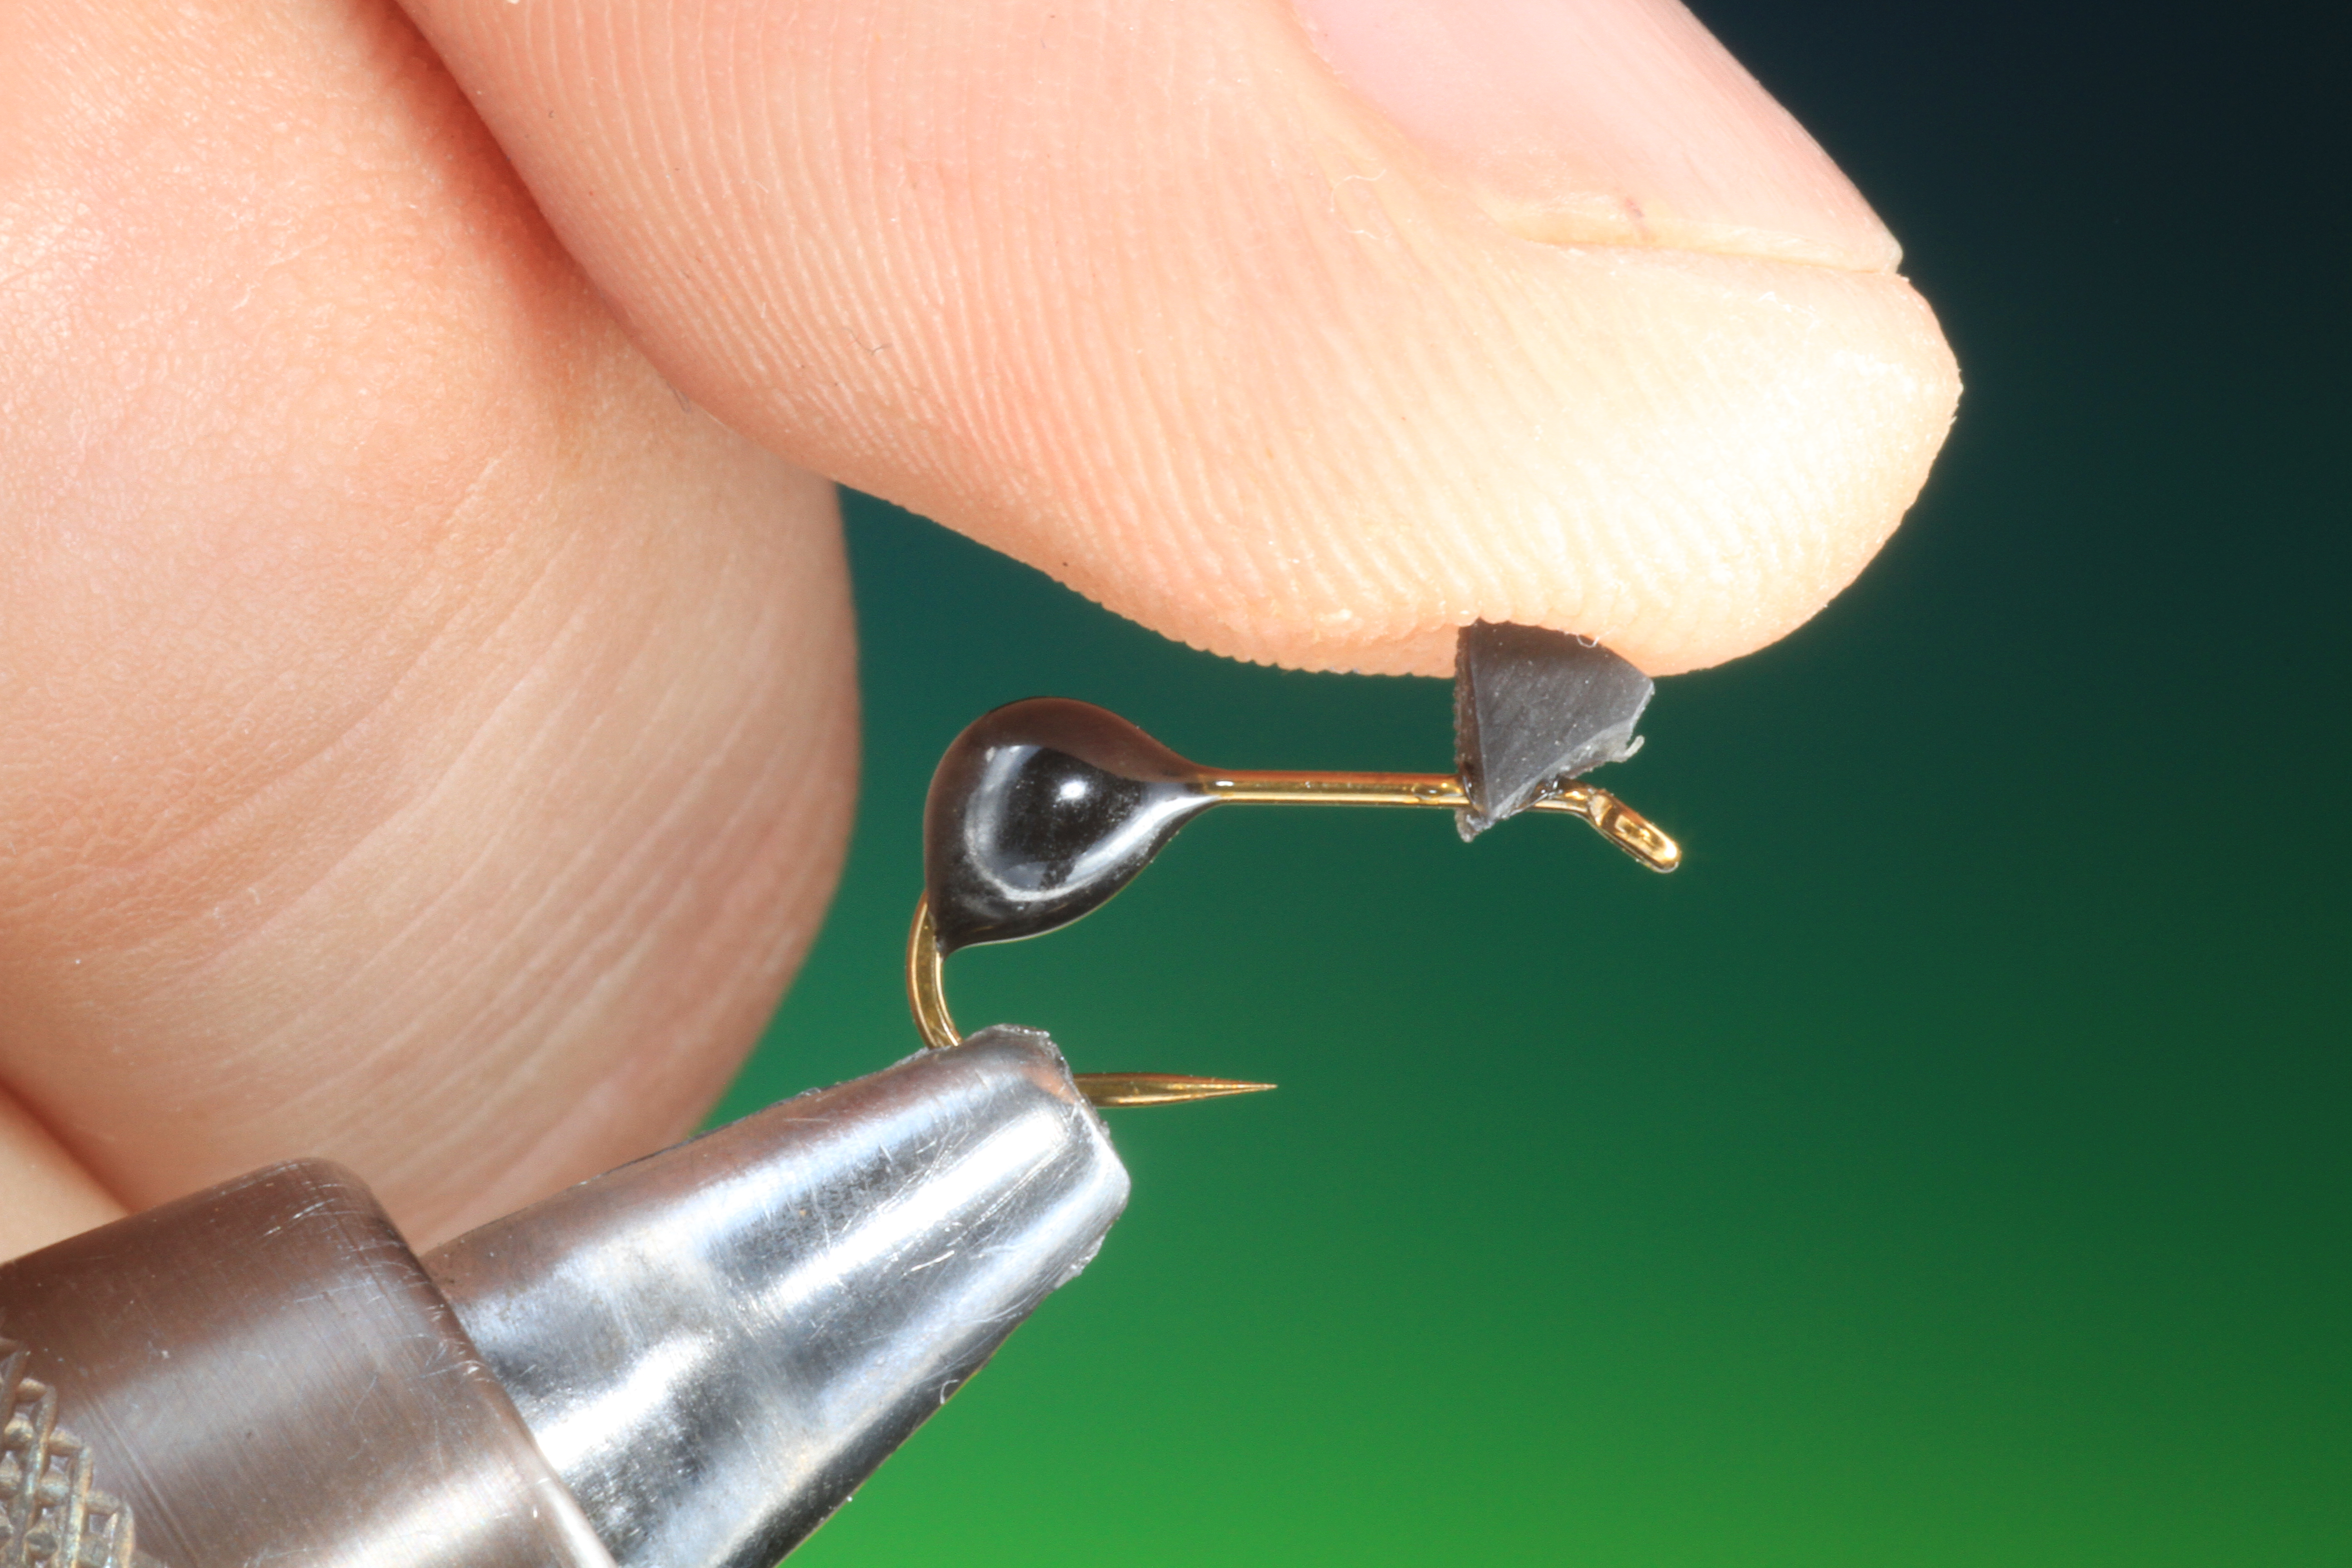
Attach the smaller piece of melt glue just behind the hook eye.

11.
Once the glue is attached carefully warm the glue with the lighter and repeat the process for the head.
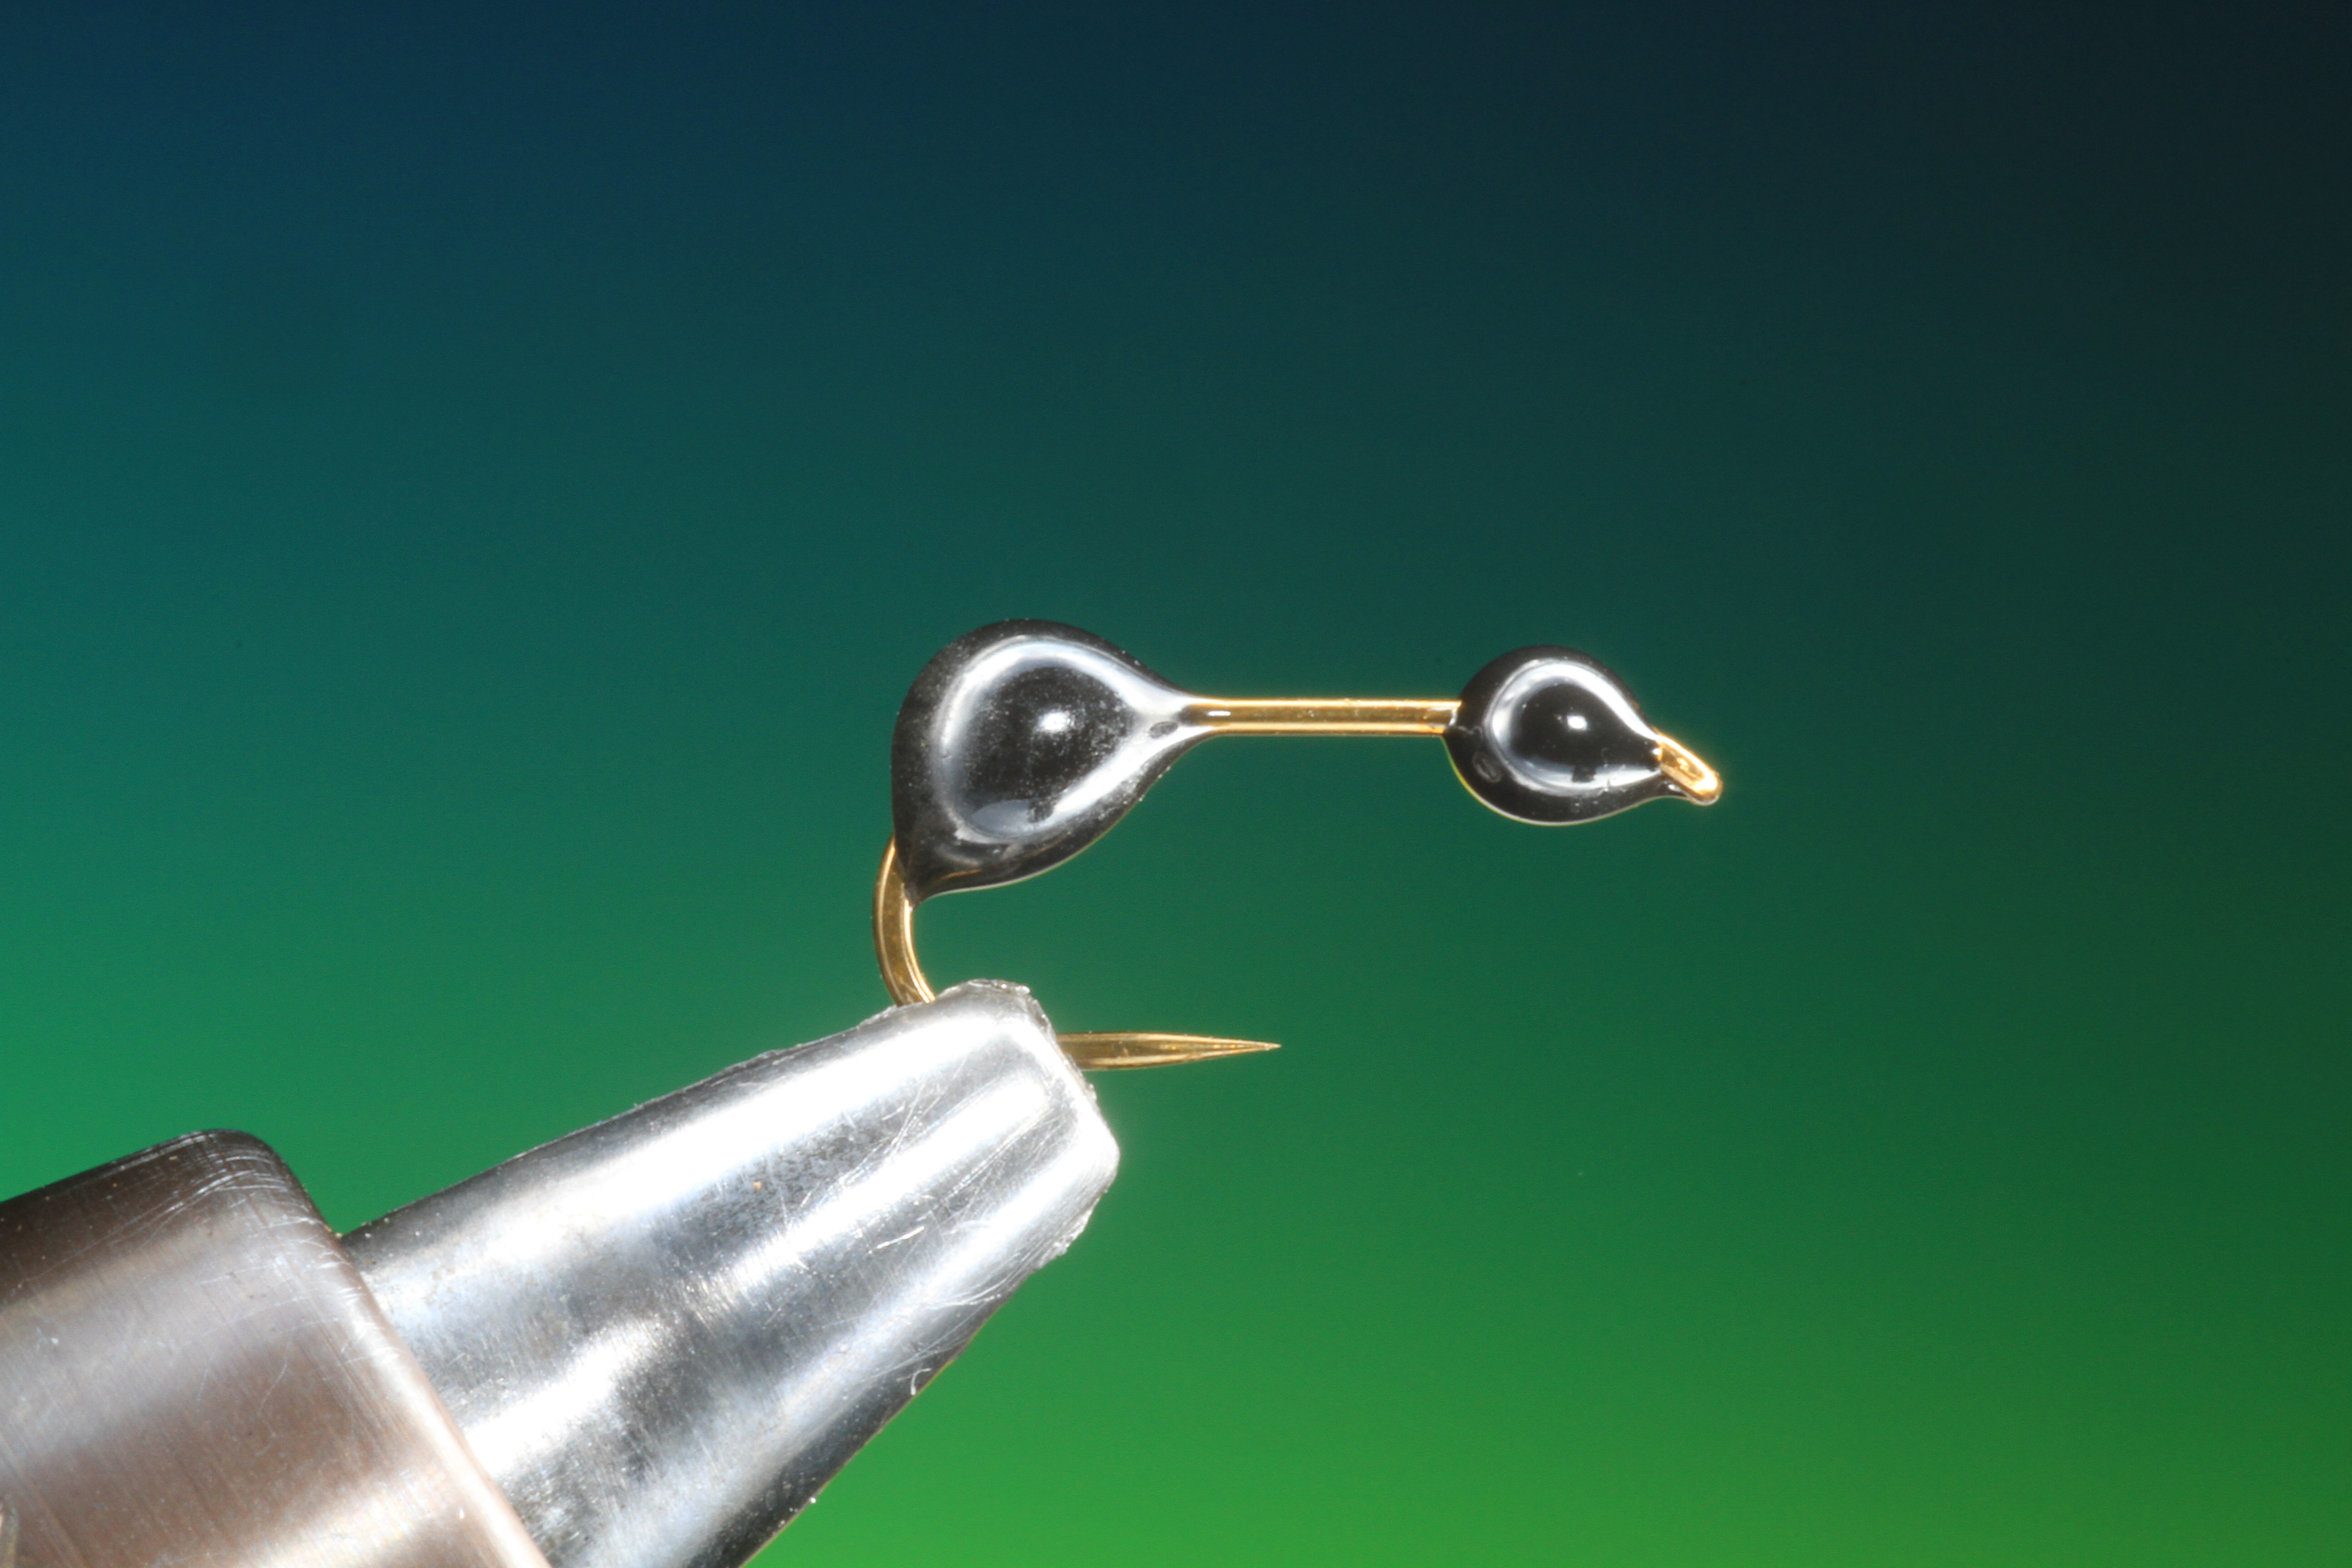
12.
The finished ant body parts.

13.
This is an easy technique I developed to form quick and perfect CdC wings every time. Take a small diameter tube fly tube and cut about one cm of tube.

14.
Select a CdC hackle with long fibers and stroke the fibers 90 degrees from the shaft of the hackle.

15.
Now stroke the rear fibers back and hold in position.

16.
Trim off the point of the CdC hackle as shown.

17.
Place the short tube section over the shaft of the CdC hackle.

18.
Slide the tube back along the hackle stem to form the wing.

19.
Attach your tying thread to the hook shank and wind back towards the rear body part.

20.
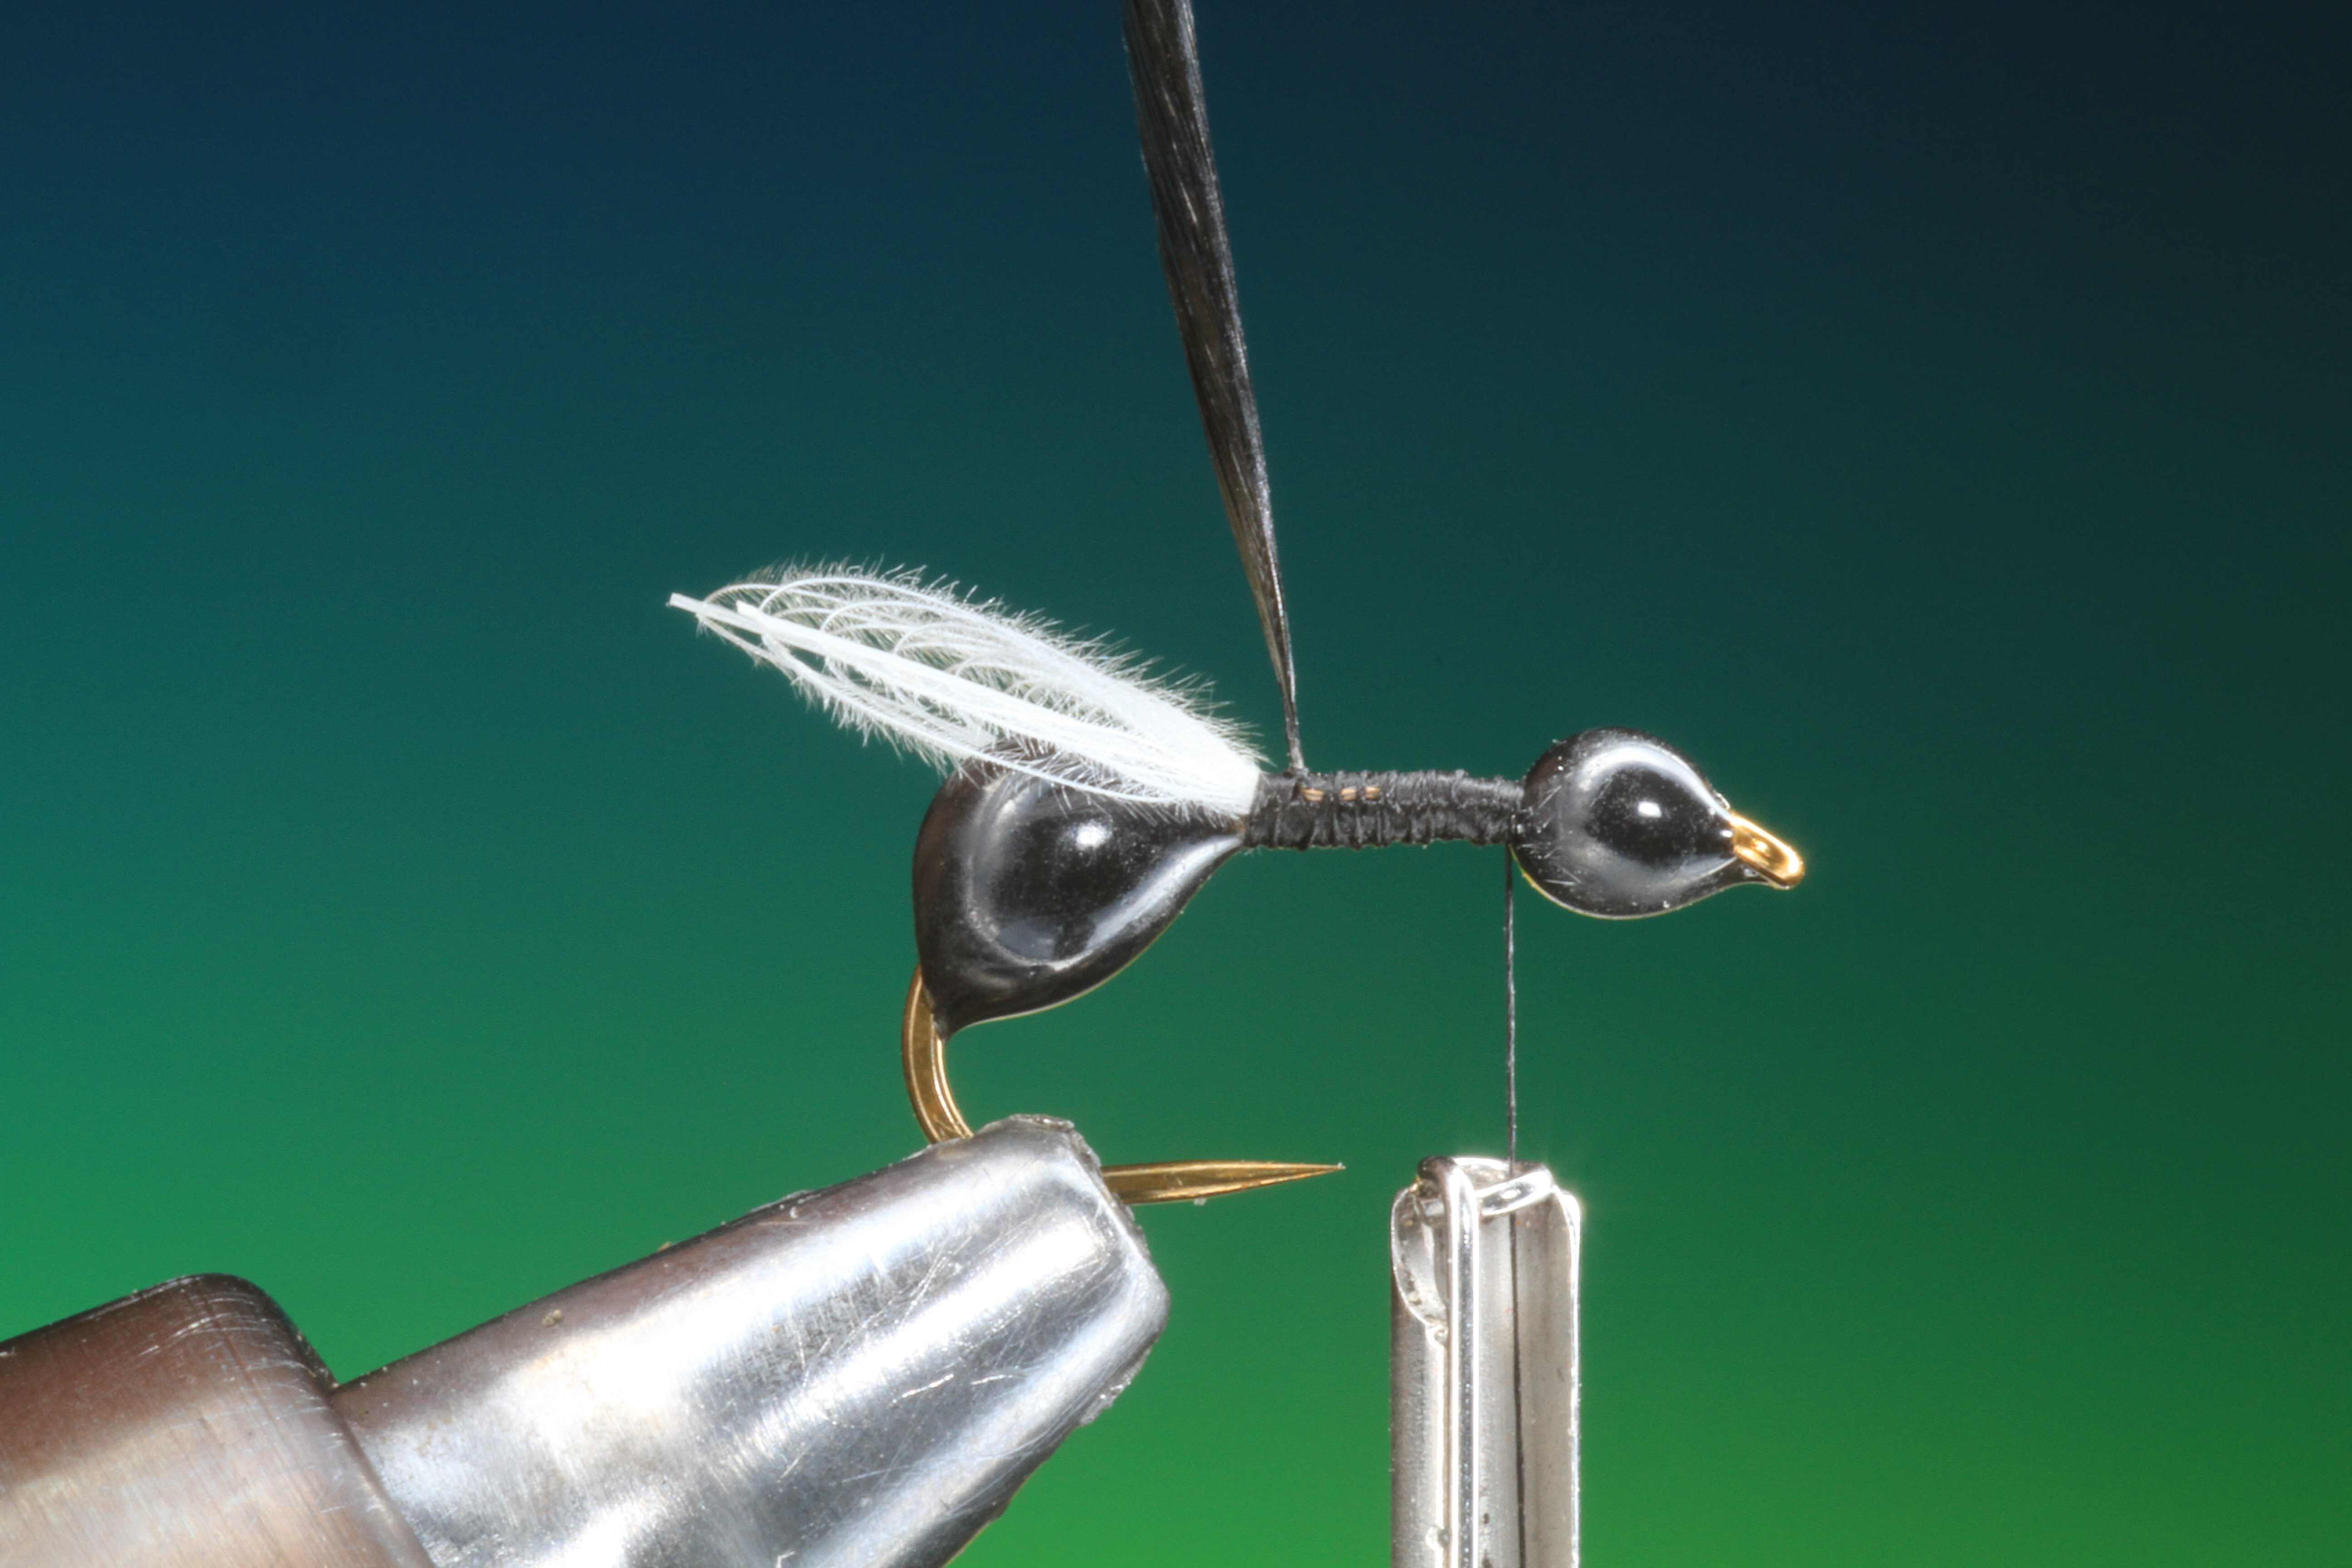
Now with the tube still over the hackle offer the wing up to the hook shank and tying thread.

21.
Tie in your CdC wing with a few turns of tying thread.

22.
Once secure trim off the excess CdC and the point of the hackle.

23.
Repeat the process for the second wing. One of the advantages with this type of wing is that the open fibers of the CdC hackle will allow air to pass through it when casting, unlike hackle point wings that have a tendency to work as propellers when casting and twist the tippet.

24.
Now select a cock hackle and draw put the end fibers.

25.
Trim off the fibers, leaving only a small amount. This will give the tying thread more purchase.
26.
Tie in the the hackle at the wing base.
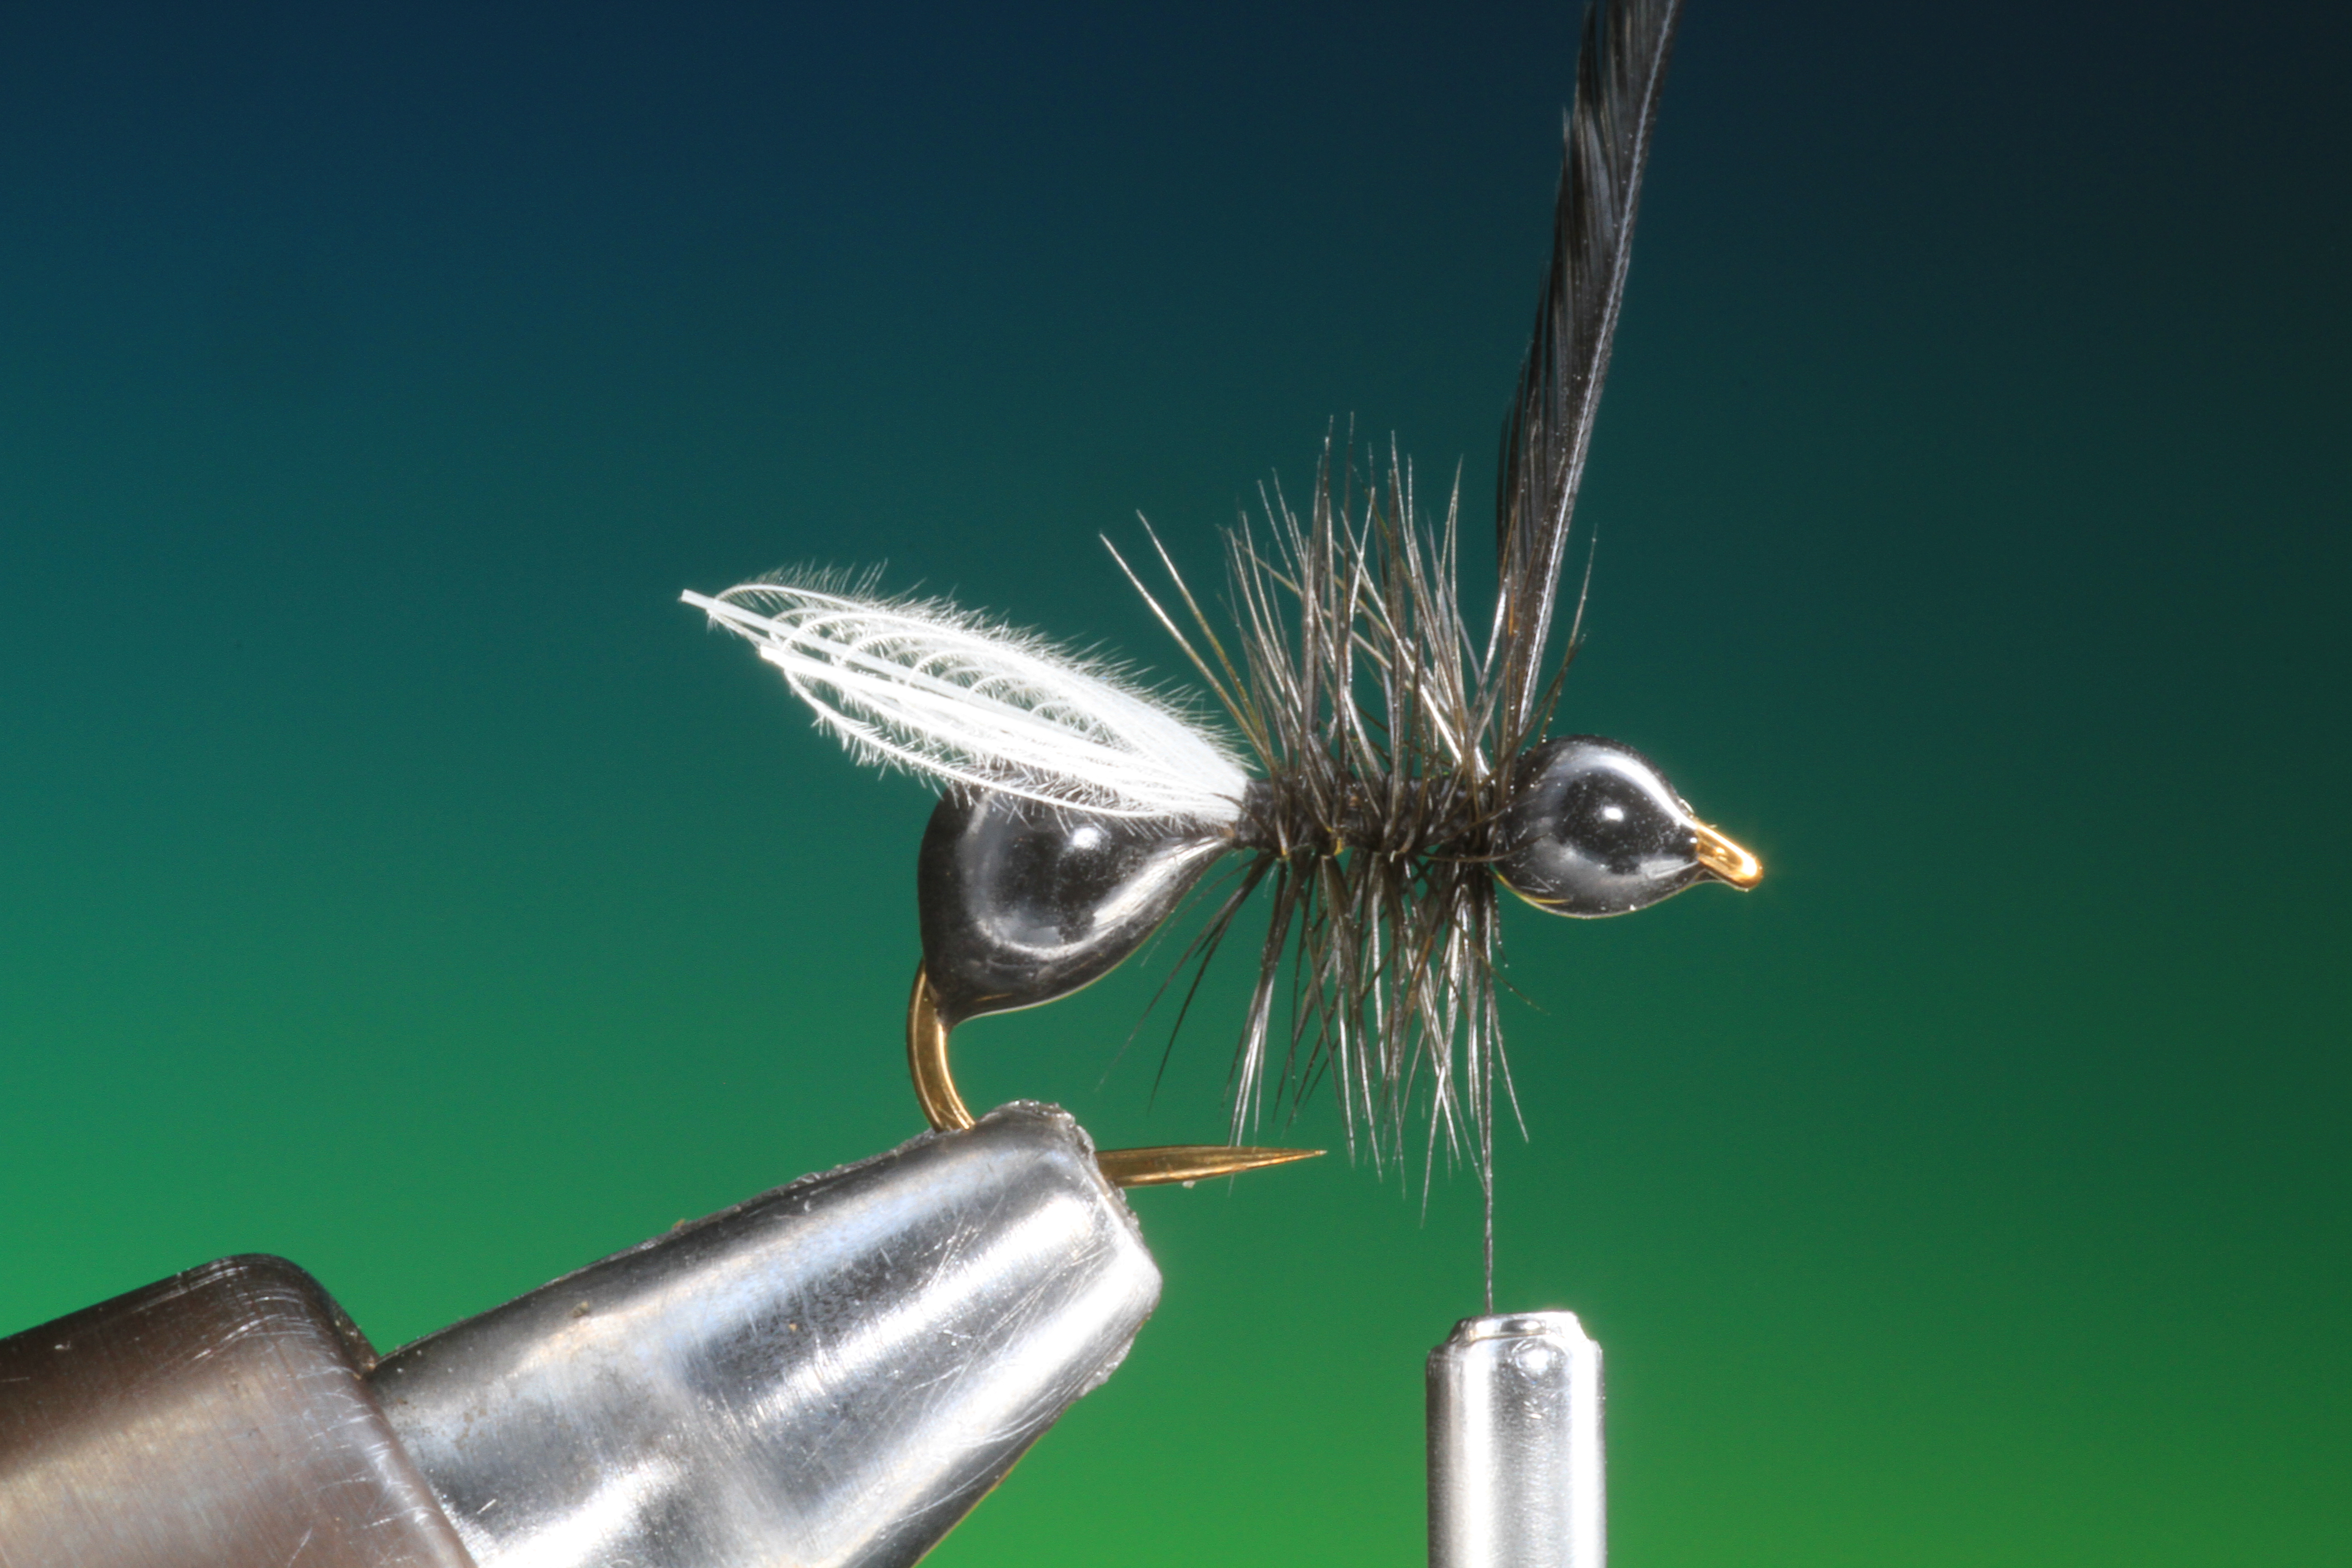
27.
Wind the hackle quite dense forward to the ant head and tie off.

28.
Whip finish and remove the excess hackle and tying thread.

29.
The Mutant from above.

30.
The Mutant from below.
Table of Contents
My new book

Discover more from HOW TO TIE FLIES | THEFEATHERBENDER
Subscribe to get the latest posts sent to your email.


All I can say is wow! A man must have some time on his hands for this one….
The CDC wing is brilliant!
wow! 5* quality instruction
NICE pattern
Nice fly