
The nature of fly fishing – for most of us, is such, that once you have taken the first step and learned to cast with a fly rod and eventually land your first fish, you gain instant membership to a very special international brotherhood, that has no cultural or social boundaries. We all become members of one and the same family, fly fishermen.
Our enthusiasm and hunger for knowledge within our sport and its related subjects becomes a vocation. Whenever and wherever we meet, by the water on a warm mid summers day, or around a table on a cold winters night, with old fishing friends or total strangers, we eagerly exchange experiences. techniques and some times even well kept secrets. If you are new to our sport, you truly have something to look forward too. You may find the technical language barrier a little difficult to begin with, not to mention the latin! But it doesn’t take long before you are talking in tongue’s. No matter where you meet a member of this family, you will always have something to talk about, with the conversation easily flowing from tackle, big fish, destinations and last but not least, flies and fly tying.
The second step and probably most natural progression from fly fishing, is to fly tying. After the industrialisation of the fishing hook, and the time consuming production of fishing flies, was moved to countries with cheap labour. The days are gone, where fly fishermen tied flies out of financial necessity. As with fly fishing, there is a certain amount of equipment you “need” to obtain, and techniques that help to be learned, before you can embark on the second life long journey of the fly fisherman – to the fly tying bench.
Through fly tying the fly fisherman can open previously locked doors, and enter a whole new world of their sport, customising existing patterns, to your own specific requirements, and even designing your own !
The first flies that a new beginner attempts to tie, are normally acknowledged patterns, that have worked well for them. This is always a good place to start, as long as the patterns don’t require any over difficult techniques, procedures or special materials that are not easy to obtain in a sufficient quality. Frustration at this early stage can quickly lead to failure, and a danger, of your fly tying kit ending-up in the attic, along with the windsurfing board and golf clubs.
See the article Easy flies to tie
On the other hand, if the new beginner starts their fly tying journey with a couple of fish-able patterns that are technically easy but still rewarding to tie, these can be the stepping stones to more advanced and challenging patterns, with the help of which, they will eventually be able to tie all the flies they require, and many more.
As an Amazon Associate, I earn from qualifying purchases.
Table of Contents
Vice
This is the single most expensive item you need as a fly tyer, so your choice should be made carefully. You should consider how many and what type of flies that you will be tying, and what size hooks you will be using. Beyond the prime function of holding the hook securely, modern vices incorporate a number of additional functions of varying usefulness. Adjustable hight, jaw angle and full rotation are now standard in most models.

Buy fly tying vice on AMAZON
Fly tying Tools
There are a few essential tools that you will also need:
Scissors
It’s unreasonable to expect one pair of scissors to do all the cutting jobs required when tying flies. Eventually you will need two: one high quality pair with fine sharp points for all the delicate precise work needed and a second, less expensive pair for all the heavy duty cutting jobs of tinsel, wire etc. When buying scissors, make sure that your finger and thumb fit comfortably in the handles, so you can slip in and out of them easily and exchange them for other tools without the need for a second hand.

Buy fly tying scissors on AMAZON
Bobbin holder
This is the tool that holds and dispenses your tying thread. A poor quality bobbin holder will only result in frustration! It’s really worth investing in a good quality ceramic bobbin holder, which is far superior to other models.

Discover the best fly tying bobbins reviewed and rated by Barry Ord Clarke
Hackle plier
You will find it much easier to steer your hackles when wound if you use a hackle plier. They come in many designs and price ranges. I use and can highly recommend the rotary hackle model. The rotary model will keep the hackle from twisting when wound. Whatever hackle plier you choose, it’s important that the jaws are tight and hold even the finest hackle point.

Buy hackle plier on AMAZON
Dubbing needle
This is the most simple tool for fly tying and the least expensive, but also one of the most useful, with many tasks to perform: applying varnish, picking out dubbing, splitting thread etc. Choose a dubbing needle with a long handel and a short needle. Ones with a long needle are impossible to for precise work.

Buy dubbing needle on AMAZON
DUBBING SPINNER

Buy dubbing spinner on AMAZON
Resembling a small spinning top, this is a very useful tool indeed. Once you have made a dubbing loop with tying thread, this tool keeps the loop open so that material can be placed in-between the two lengths of tying thread. You then simply spin the dubbing spinner and it traps and twists the material in the loop into a tight rope. This rope forms the body of the fly.
HAIR STACKERS

When a bunch of hair, whether deer, squirrel or badger, is cut from a patch of hide, the fibre tips are always uneven. When tying the tails and wings of many fly patterns, all the hair tips should align with each other, creating a neat square tail or wing. This simple but extremely effective tool simplifies this task. Once you have
cut the required amount of hair, remove all the soft underfur and shorter hairs from the bunch. Now place the hair bunch, tips first, into the two-part stacker and rap it firmly on a hard surface four or five times. This will drive the hair tips down to the same level at the base of the stacker. Carefully turn the stacker horizontal, remove the base and all the hair tips are exposed level and ready for use.
Buy hair stacker on AMAZON
WHIP FINISHING TOOL
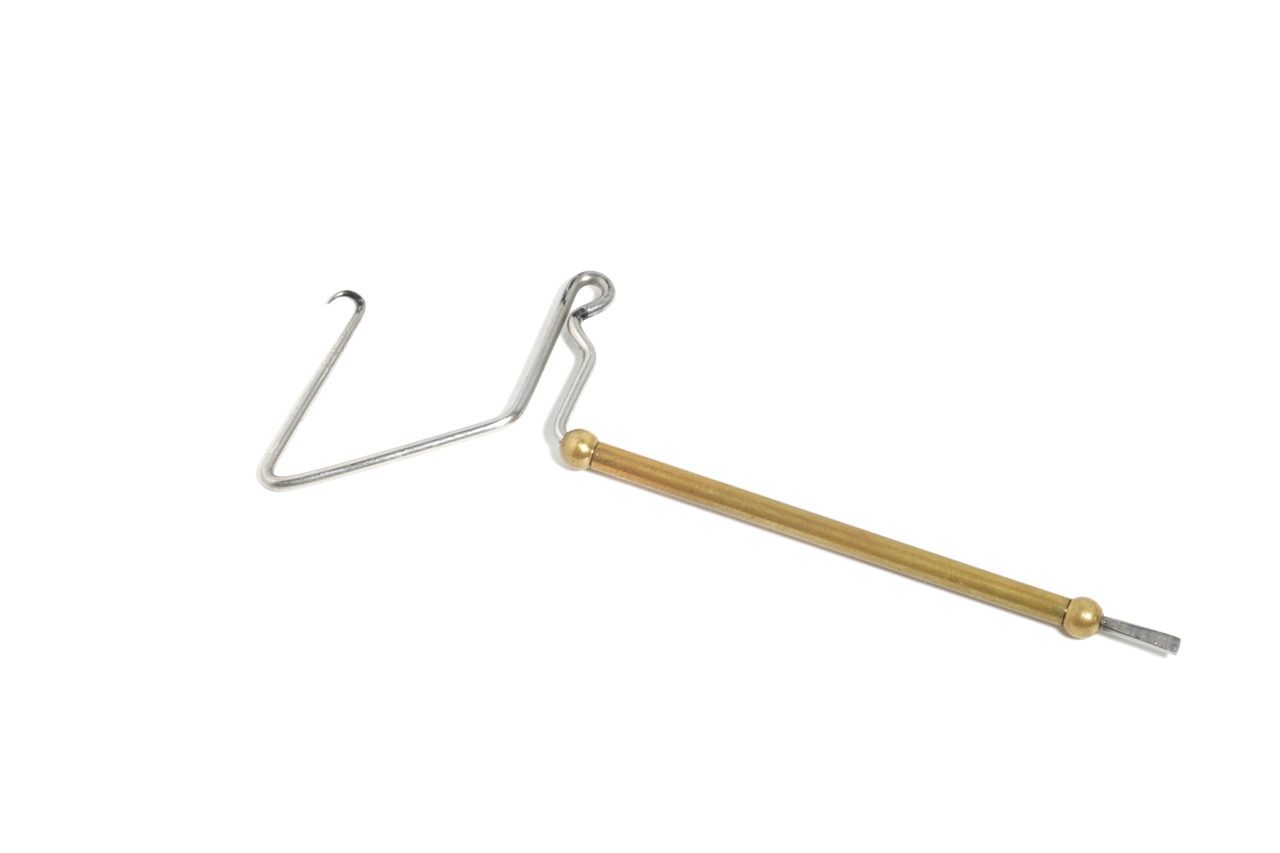
This is a tool for tying off the thread with which you have tied your fly. This task is probably the one that has caused more frustration for flytyers than any other! A perfectly sufficient finishing knot (half hitch) can be tied with your fingers. But with a whip finisher you can position each turn of the tying thread precisely when making the end knot, resulting in a perfect head. This is almost impossible to learn from a book, so watch the video!
Materials
Once you start tying flies you will quickly understand how much easier it is to tie good flies with quality materials. Start by buying the few materials that you need to tie a hand full of patterns that you will fish with. When buying materials be aware that, no matter how similar they look, no two natural materials are the same. Feathers and fur come from individual birds and animals, whose lifestyles, geography, diet and time of year that they were culled are all contributing factors to the quality of the material.
When buying your first vice, tying kit or materials, the experienced staff at your tackle shop will help you make the right decision, not only for the type of flies that you intend to tie, but also for your budget. It’s also beneficial to start by learning and mastering the basic techniques, no matter how simple, once mastered they will become the advanced skills that will help you succeed, no matter what you tie. A good beginners book and some lessons with a local club, shop or branch of The Fly Dressers Guild, will also give you valuable advice.
Buy fly tying materials on AMAZON

My new book

Discover more from HOW TO TIE FLIES | THEFEATHERBENDER
Subscribe to get the latest posts sent to your email.


You must be logged in to post a comment.