
Its normal to weight nymphs with and under body of lead, but on small flies its sometimes desirable to maintain a slim but at the same time heavy, body profile. With the Brassie fly copper wire of different sizes is used in respect to hook size, but you can achieve the best results with copper wire that is no thicker than the hook wire being used. Copper wire in different colours can give extremely natural looking abdomen on pupa and larva patterns. Copper wire gives the impression of gas bubbles that hatching pupa and larva carry with them to the surface. The Brassie fly is especially effective in fast flowing water as a free swimming caddis larva or in smaller sizes as a midge pupa in still water.
In those situations where you wish to get down deep quick, this pattern is a must, especially when tied with a brass bead at the head of the fly. While fishing sea run char in Iceland once on the beautiful small river Fljotaa, where the holes are deep and the current strong, this pattern worked every time.
Try this in different sizes and colours, with and without brass bead heads.
Table of Contents
Brassie fly pattern recipe
Hook: Mustad C49SNP # 6-22
Tying thread: Dyneema
Body: Copper wire
Head: Mixed hares ear dubbing
How to tie Brassie fly
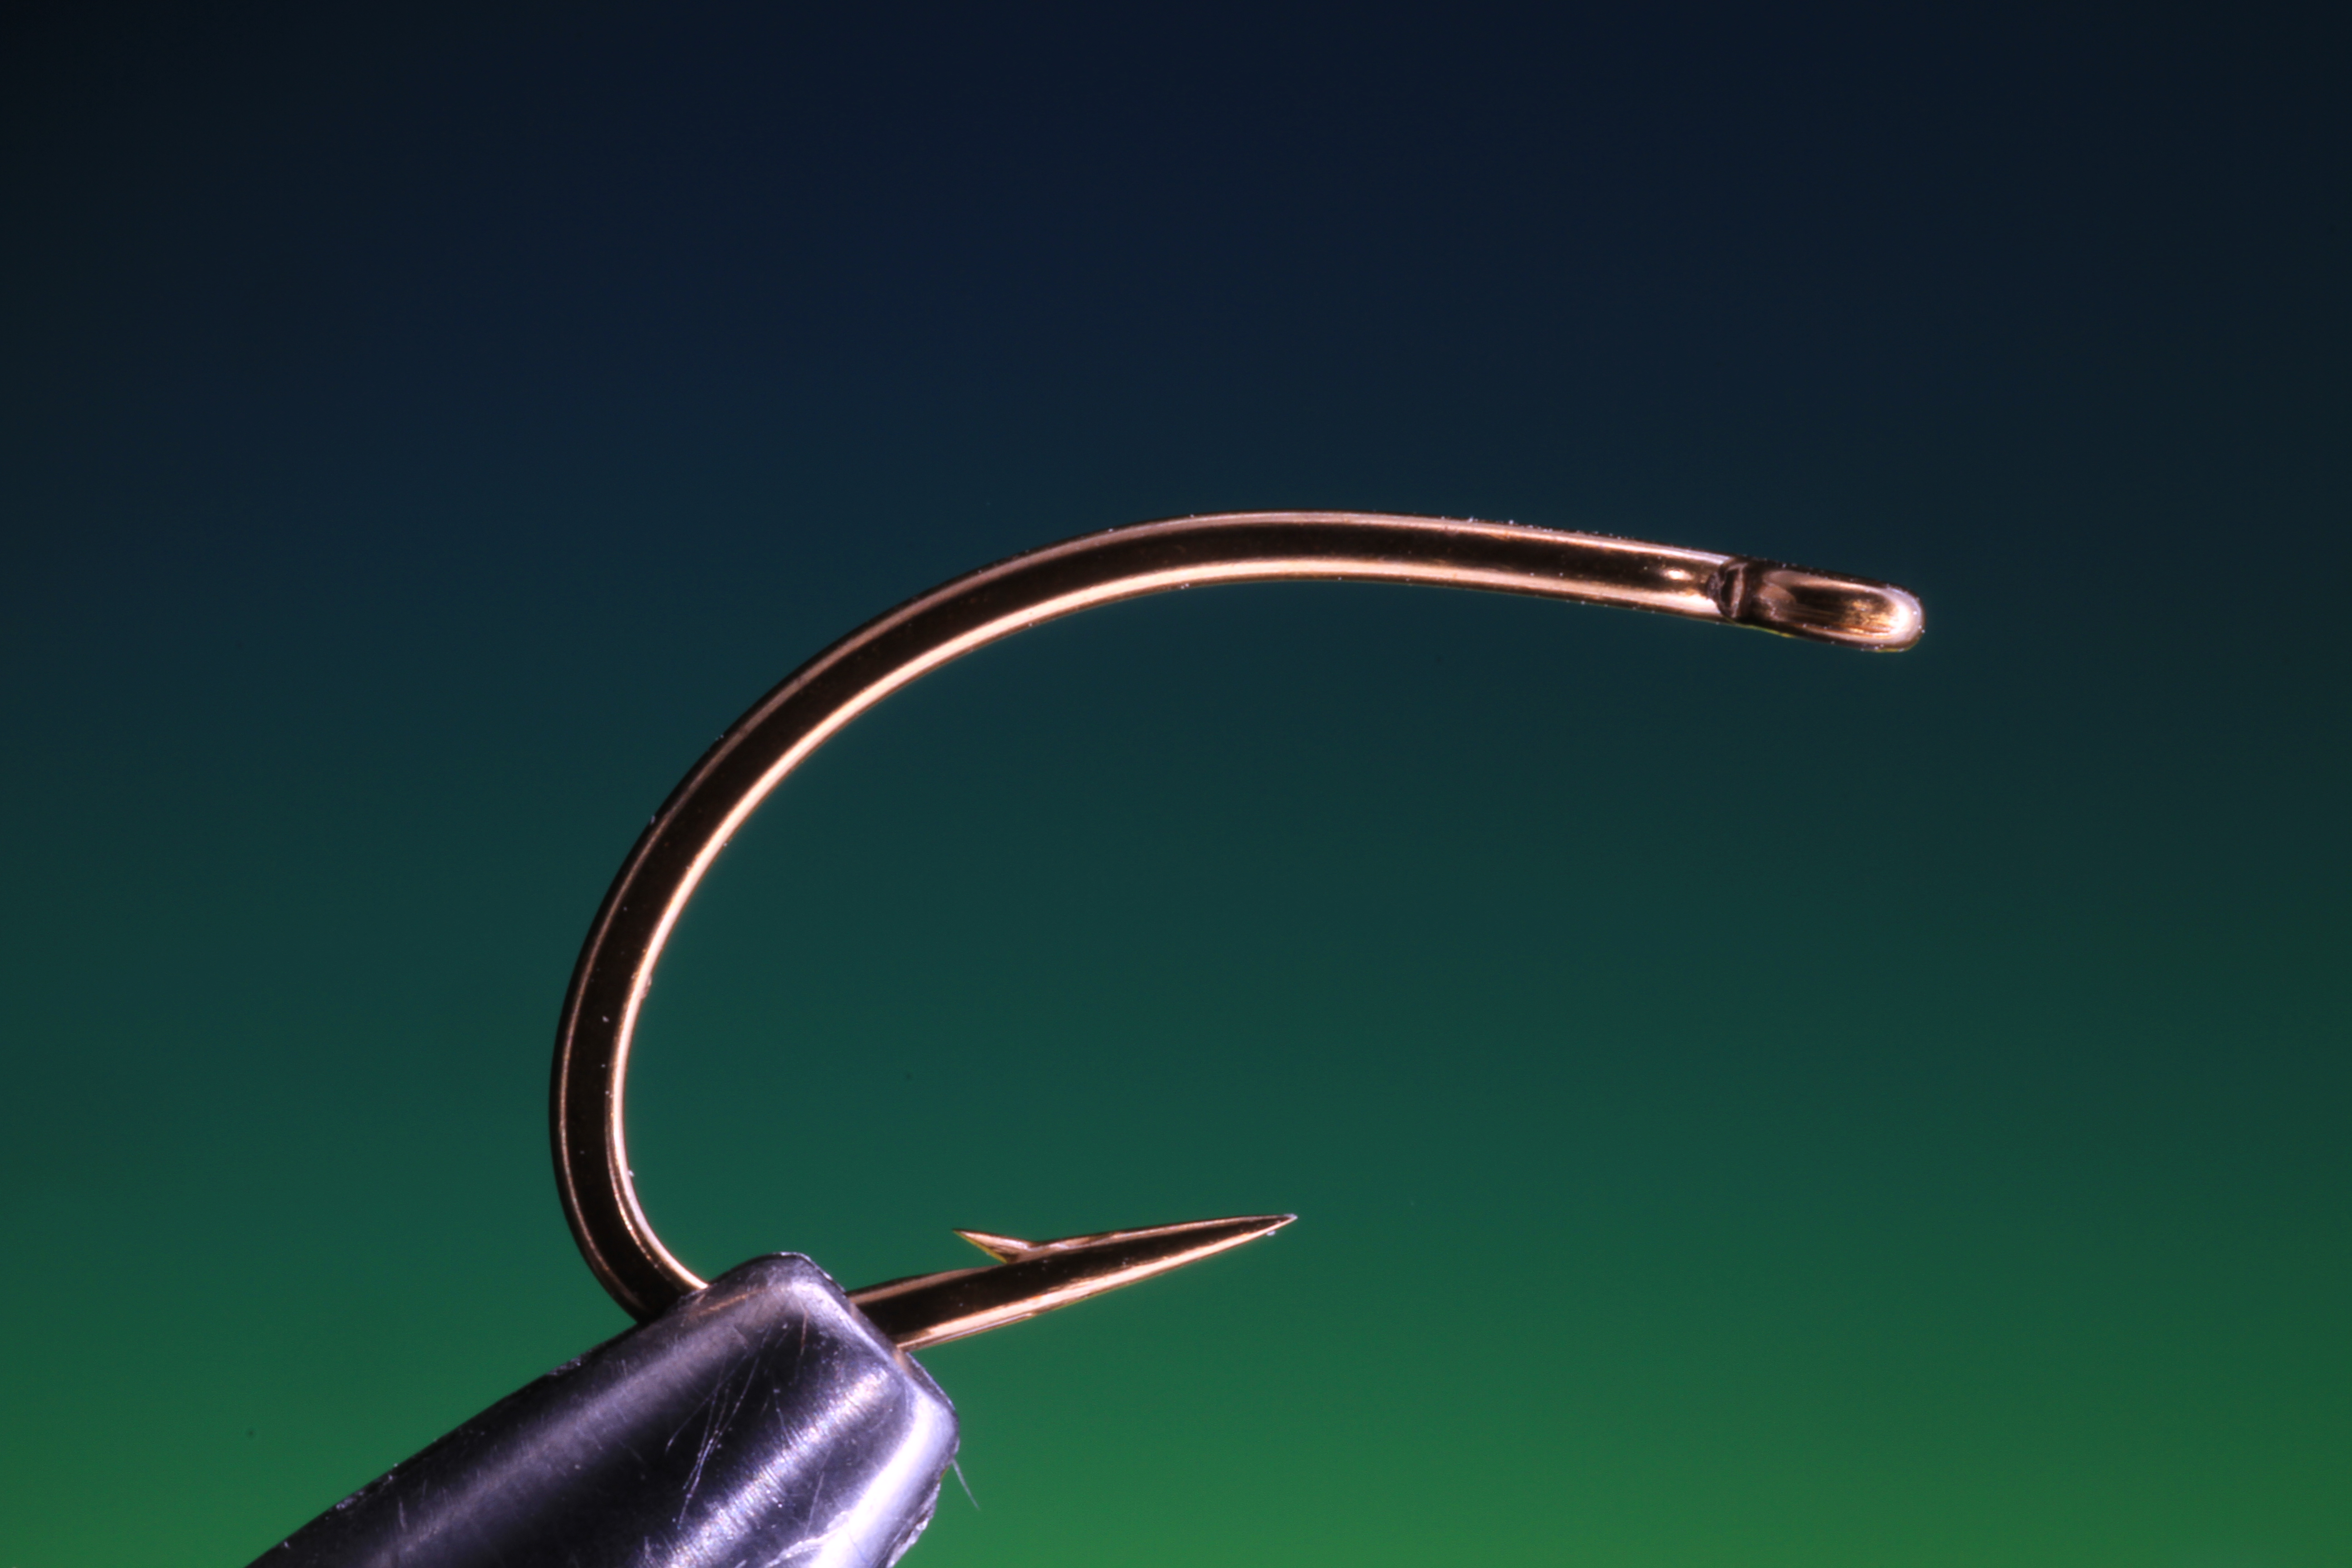
1
Secure your hook in the vice.

2
Attach your tying thread and cover the hook shank.
3
Cut a length of copper wire. This is where many fly tyers make a mistake with this pattern.

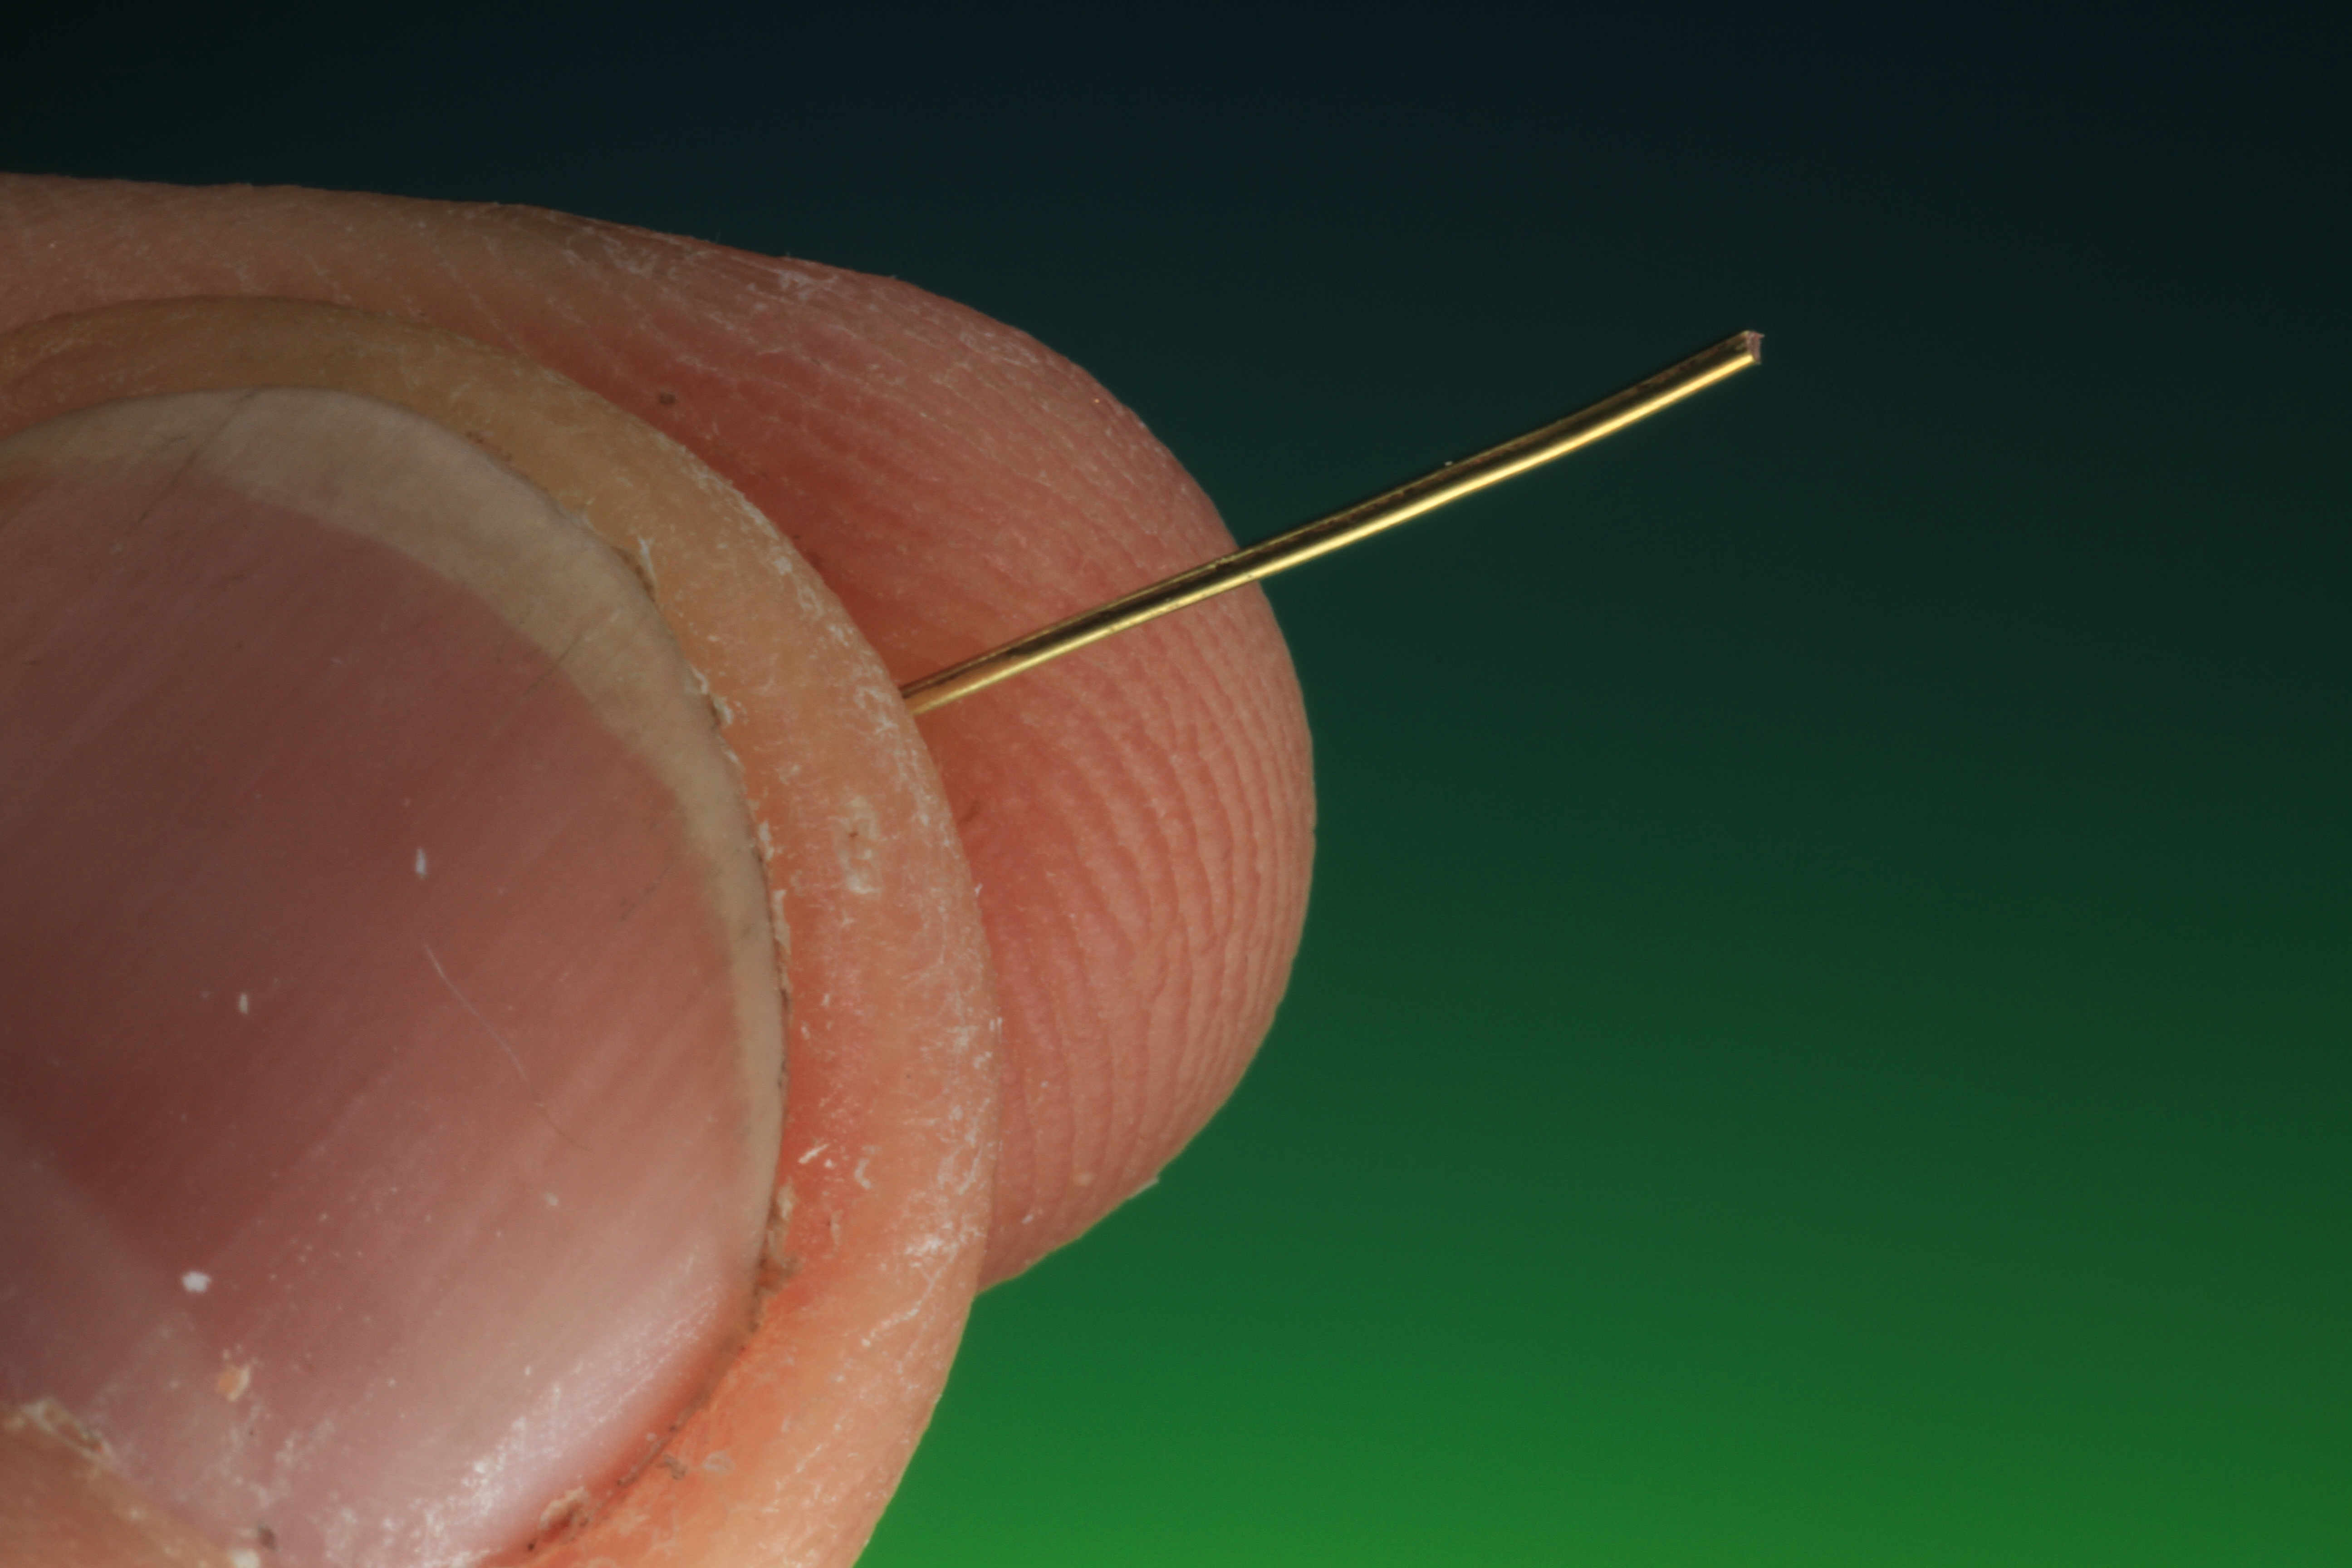
4
Take some flat nose pliers and flatten just 3 mm or so of the copper wire end to be tied in.

5
The end of the copper wire should now look like this! Many tyers dont do this and get a considerably thicker body at the tail of the fly when they wrap the copper wire over the tying in point.

6
Now tie in the flat end as shown and then wind your tying thread forward to the hook eye.

7
Begin wrapping your copper wire in tight neat turns up the hook shank towards the thorax.
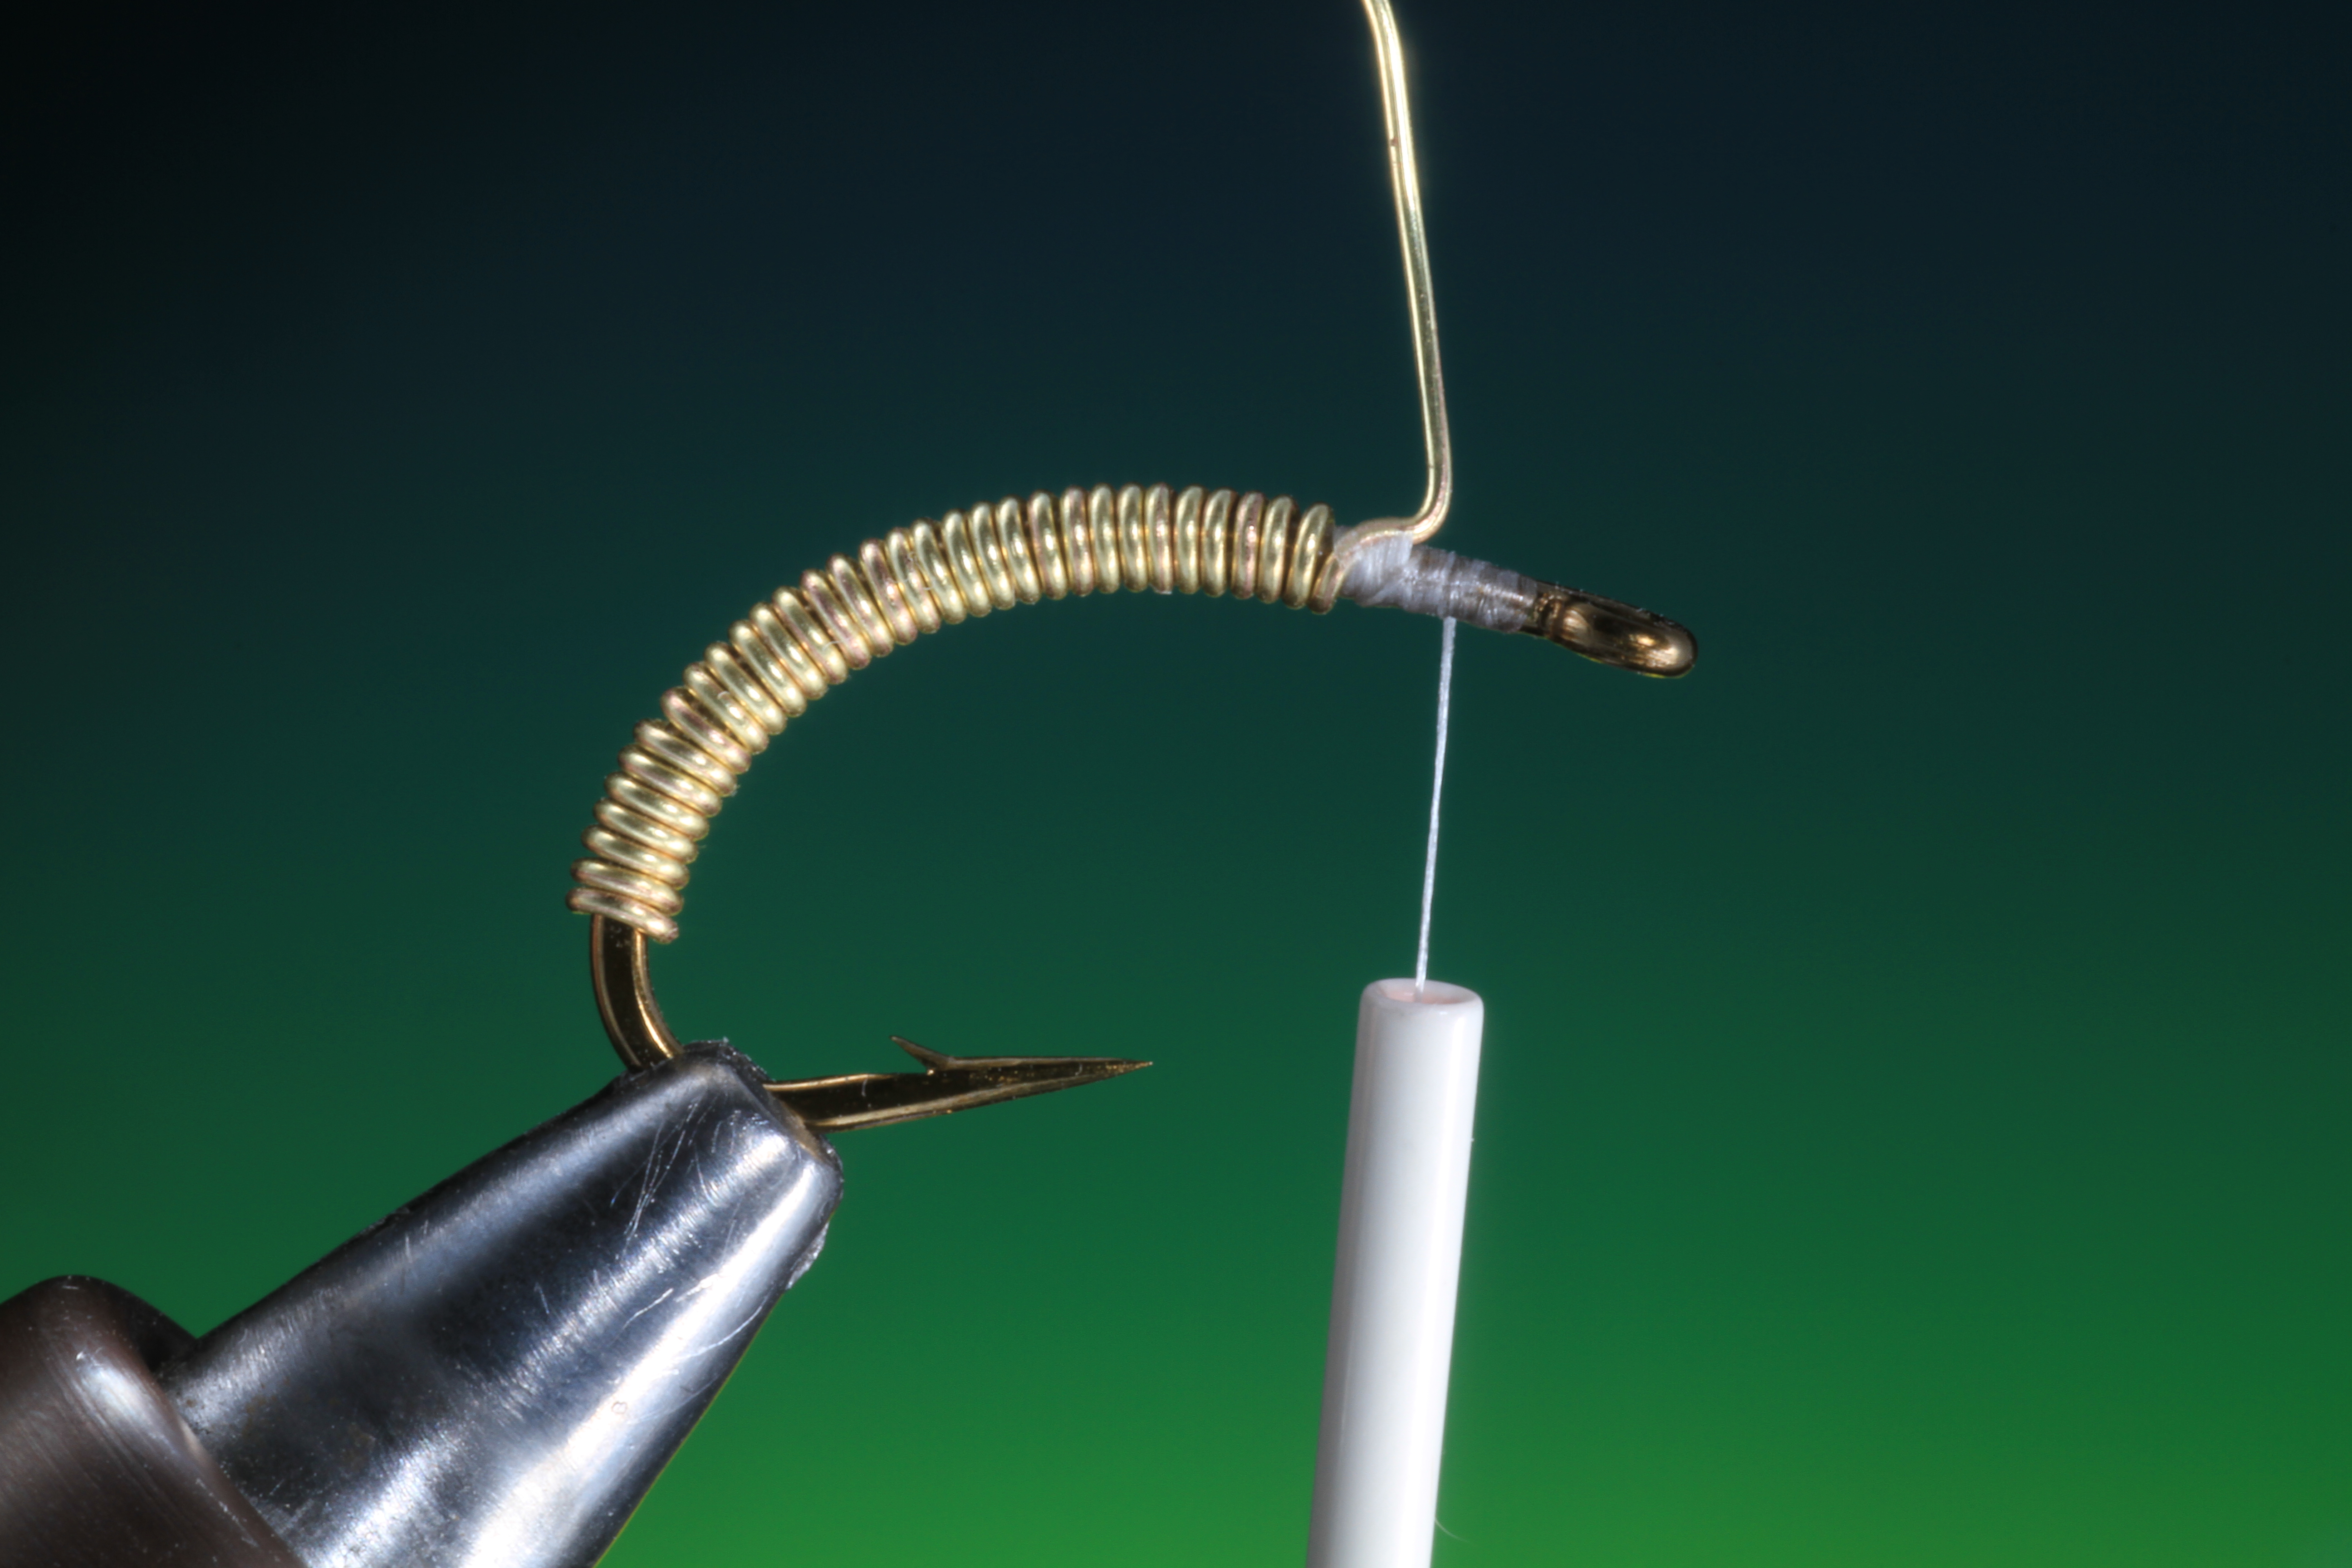
8
Once you have covered the whole abdomen tie off at the thorax.

9
Split and wax your tying thread. If you are not using thread that can be split make a dubbing loop and wax.
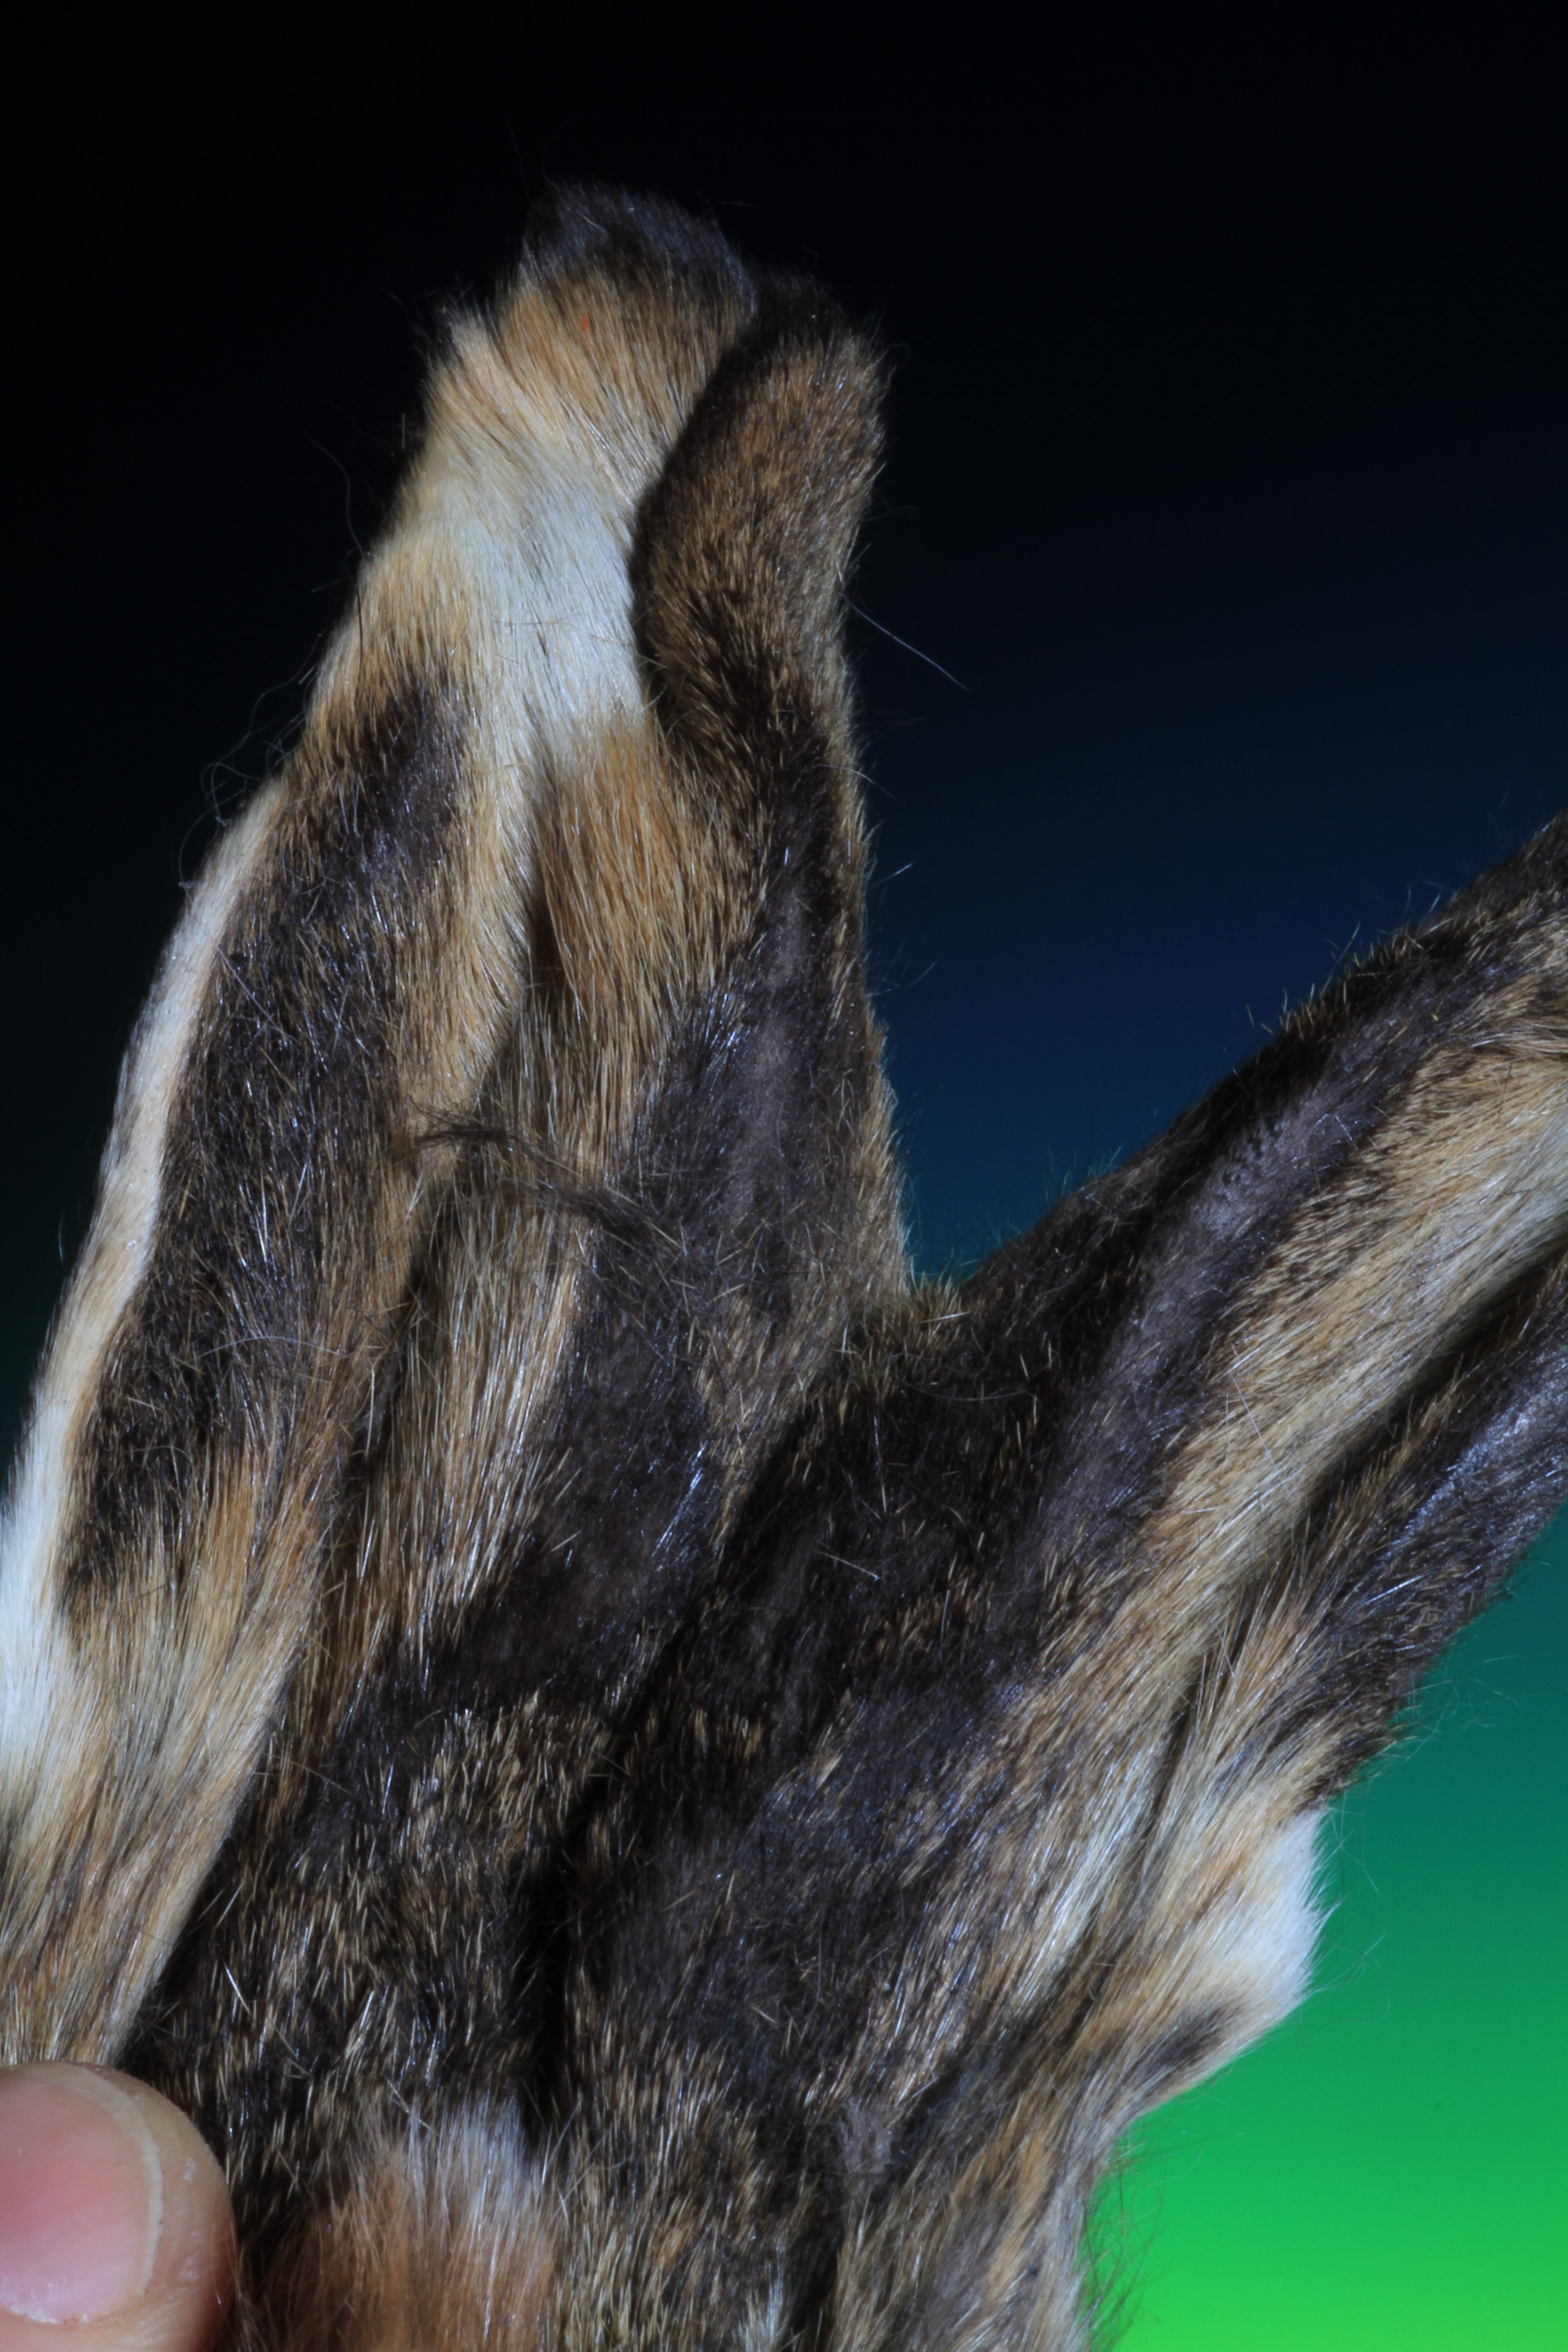
10
Take a hares mask and pull enough of the spiky hairs from the ears and mix in the palm of your hand.
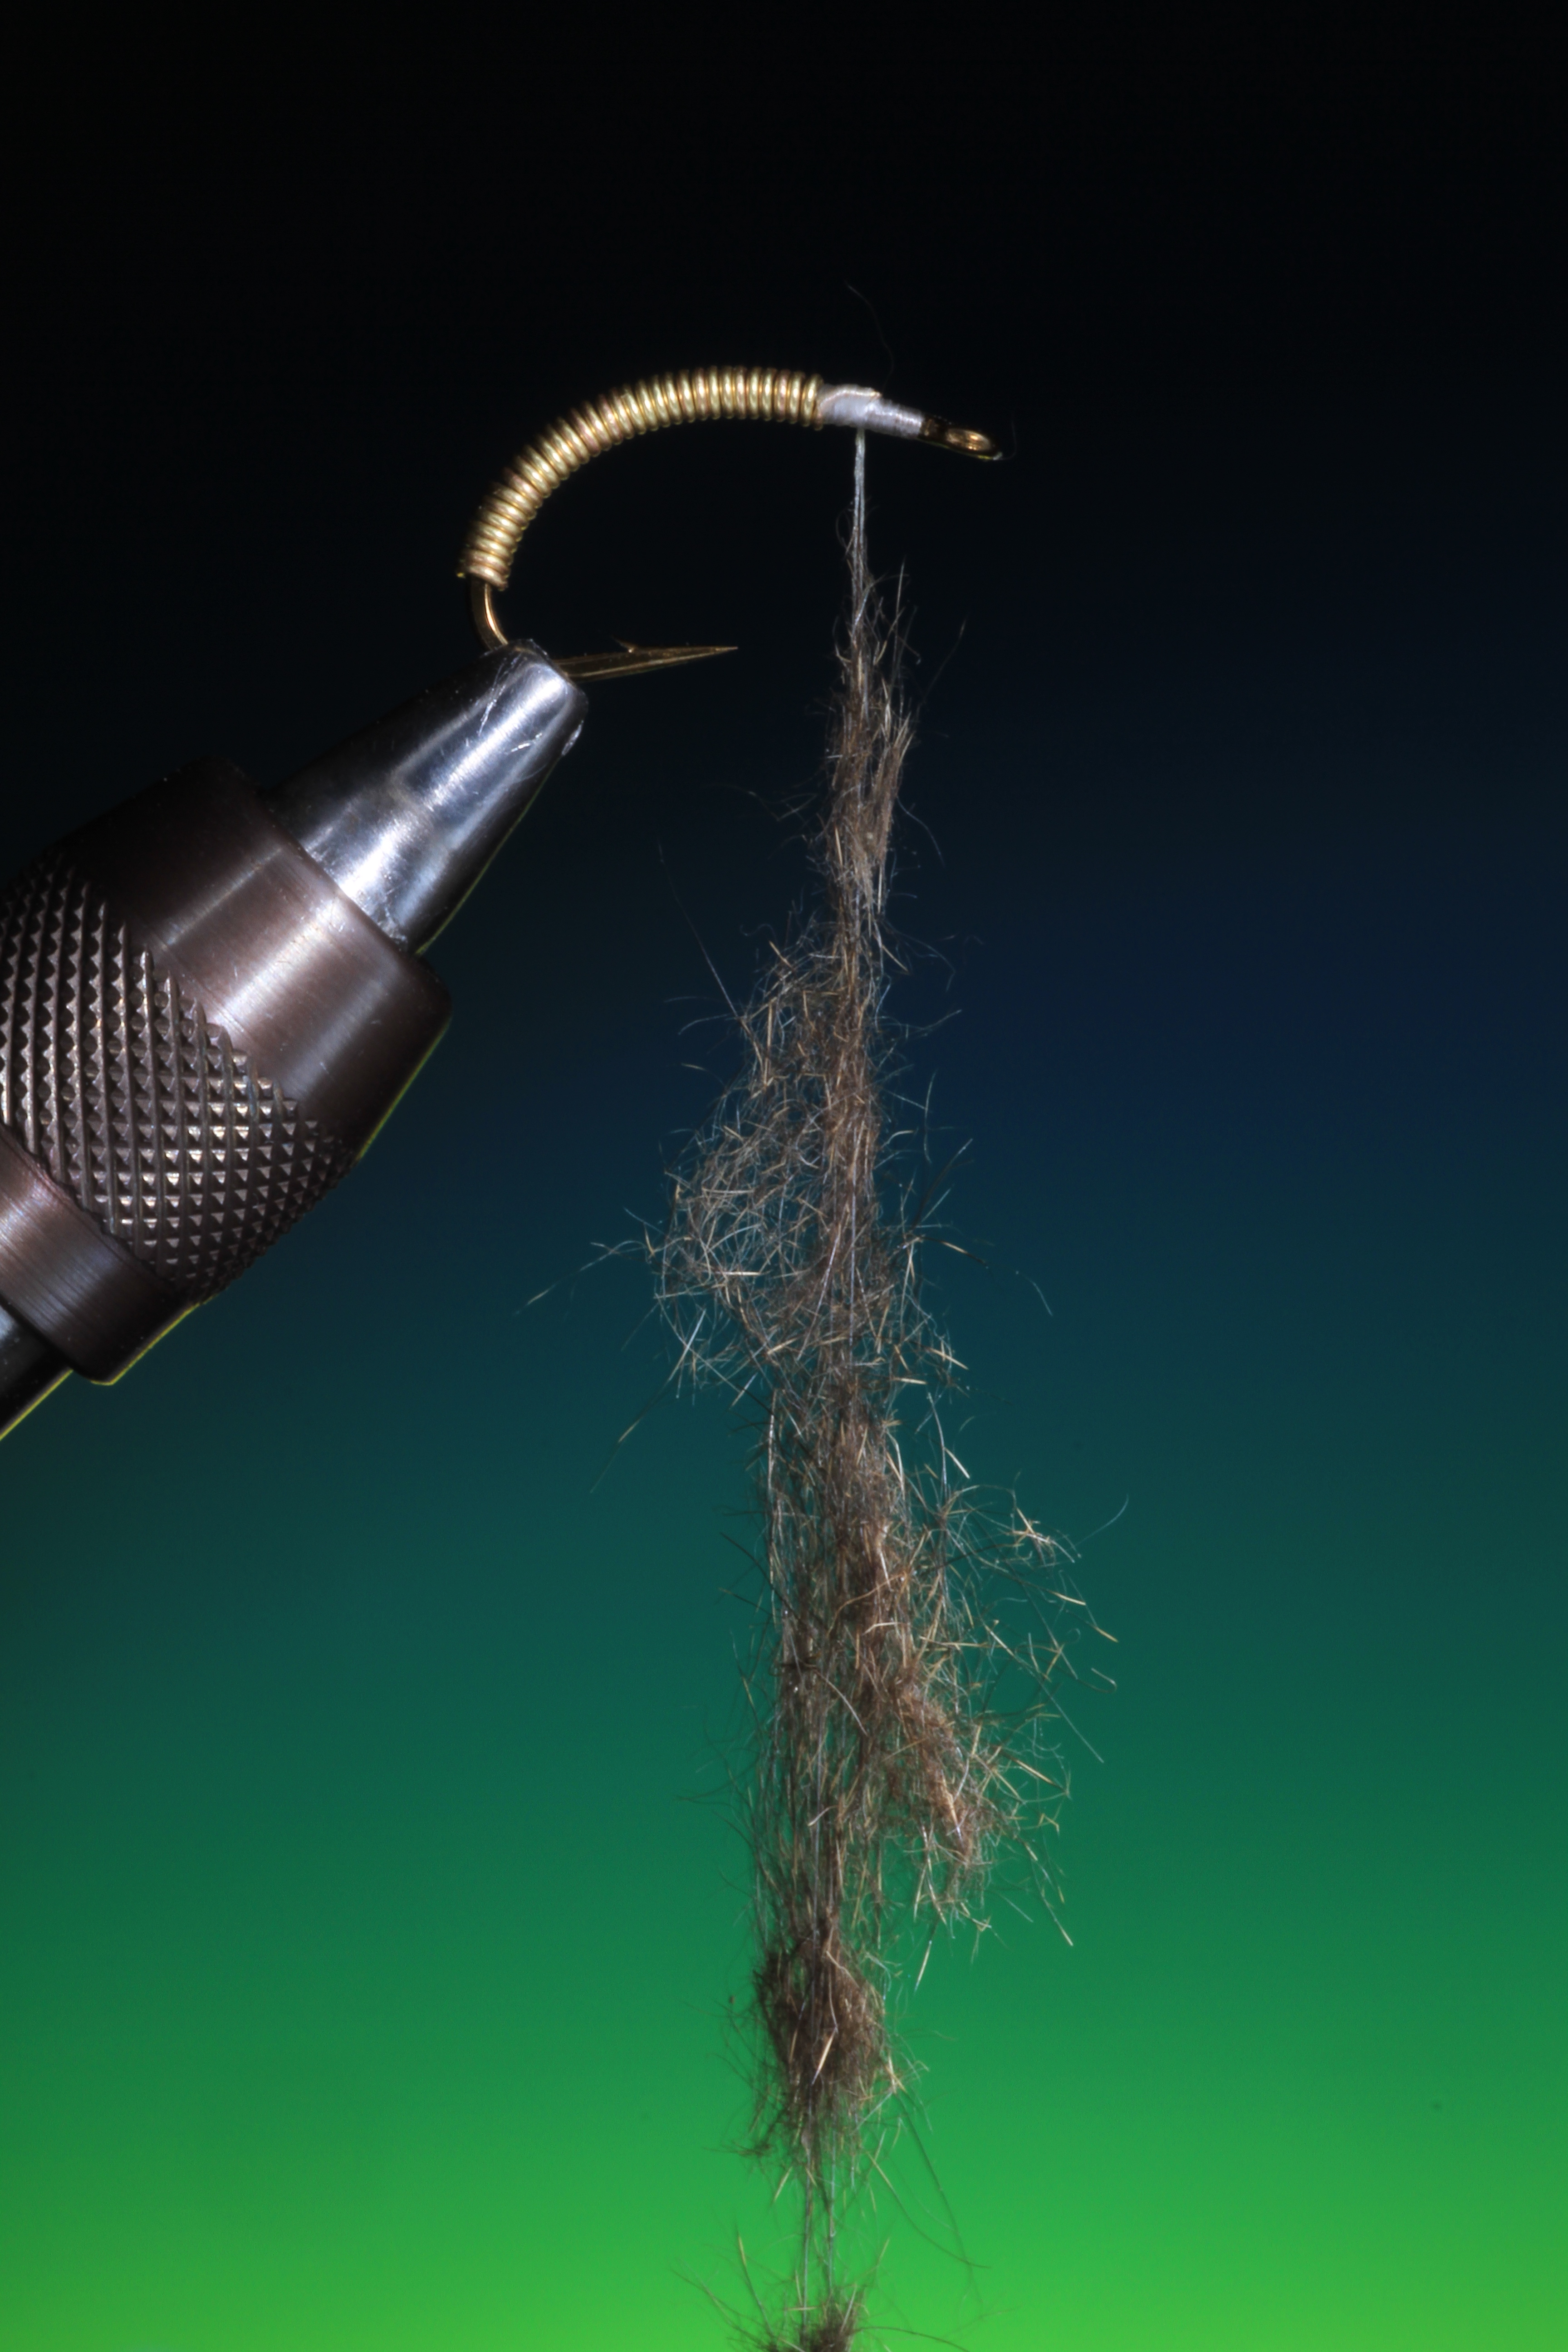
11
Place the mixed hares ear dubbing in the waxed dubbing loop.

12
Spin the hares ear dubbing in the loop.
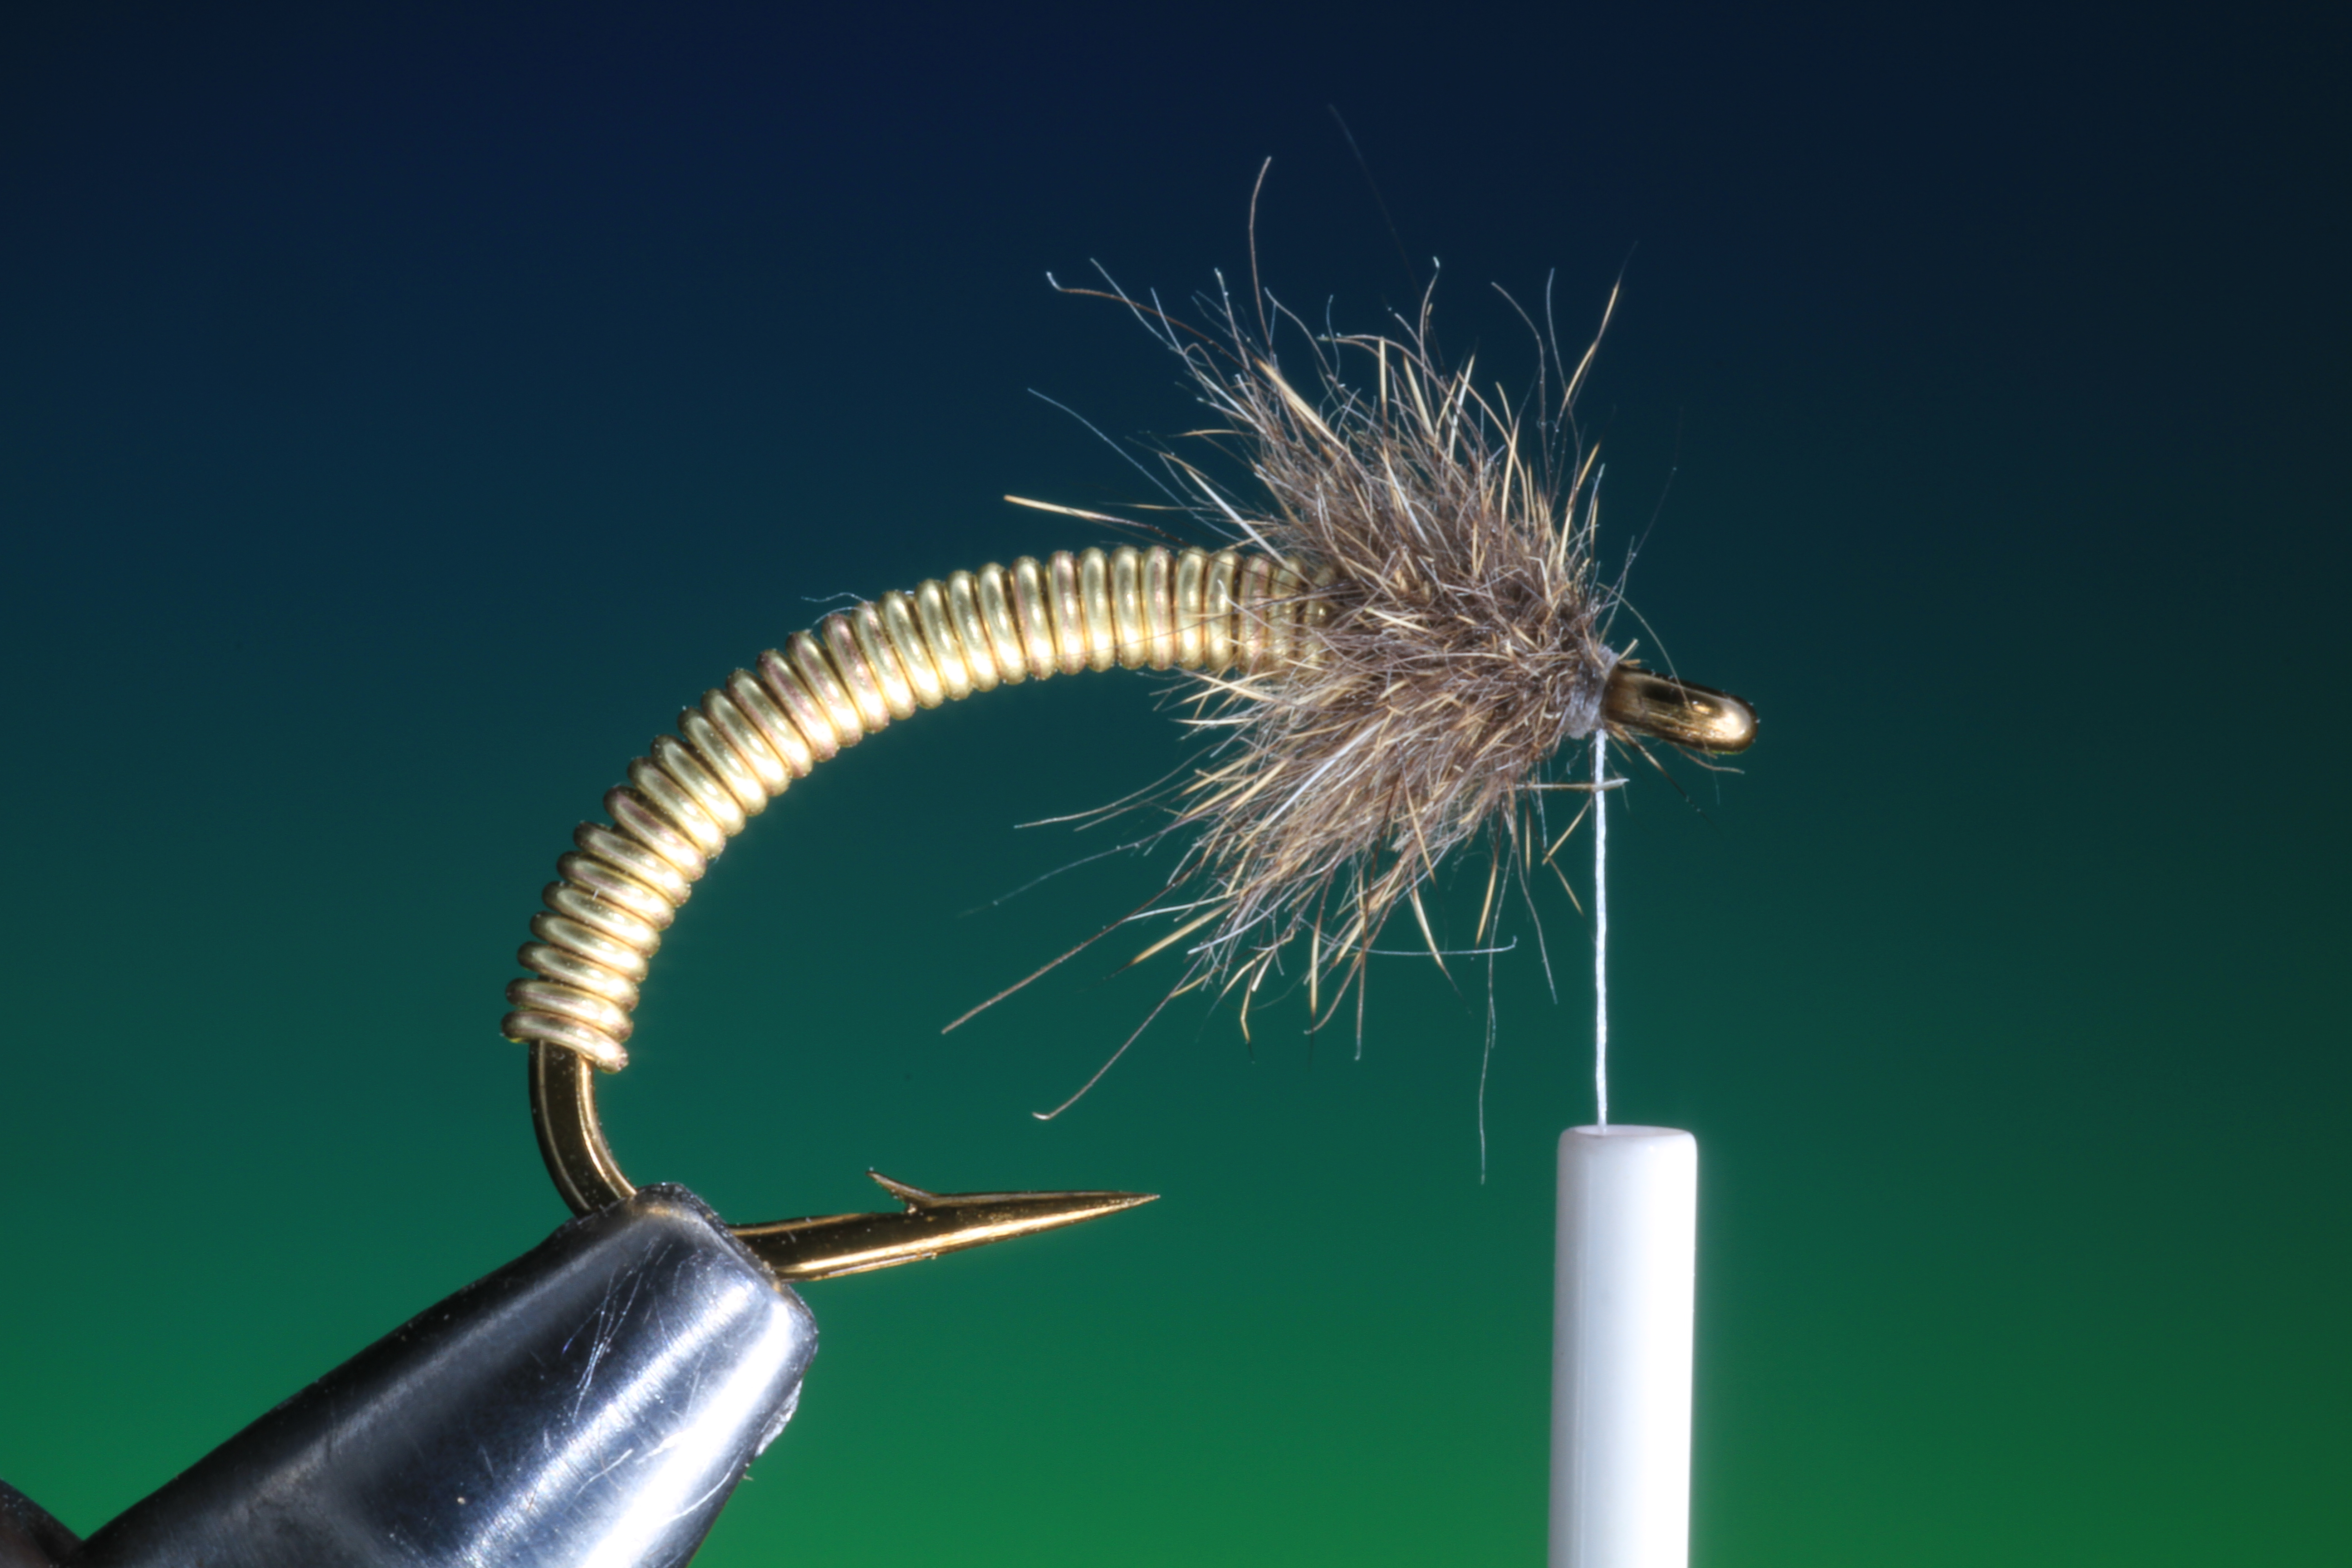
13
Wind on the dubbing loop brushing back the dubbing with each turn to get the best buggy effect.

14
Whip finish and varnish.
My new book

Discover more from HOW TO TIE FLIES | THEFEATHERBENDER
Subscribe to get the latest posts sent to your email.


A very neat and simple fly well tyed Happy New Year to you !!
I really like your patterns and how you have them laid out. Please keep it up
Thanks
Very nice! I have never seen nor thought of mashing down the copper wire as you show. Thank you very much.