
Confessions of a glue user…
For over two decades I have been a serious user of various types and brands of two component bonding agents and epoxy in my fly tying and rod building, all of which have their (highs and lows) advantages and disadvantages!
Although epoxy is available at most corner shops and relatively simple to use, it does take some experience working out the correct amount to mix for the specific job at hand, so there is minimum waste but also mixing the correct amount of both components to advance or reduce curing time as required. Also when mixing, you have to use a slow figure of eight motion with the mixing tool! this greatly reduces the possibility for air bubbles and results in a clear cure! In addition to this you also need to use a rotating dryer if you are tying several patterns with epoxy at the same time, or applying rod rings, to achieve an aesthetic and uniform application.
This all changed a couple of years ago while tying at the Dutch fly fair!
From my tying station, out of the corner of my eye, I caught sight of a somewhat, suspicious character standing on the corner of the tyers podium selling small baggies to passers by. Unlike comparable US cop TV show characters, that are dressed like rap gangsters, this guy resembled a fly fishermen! But what he was selling is just as addictive. Once you have started using, you can’t stop!
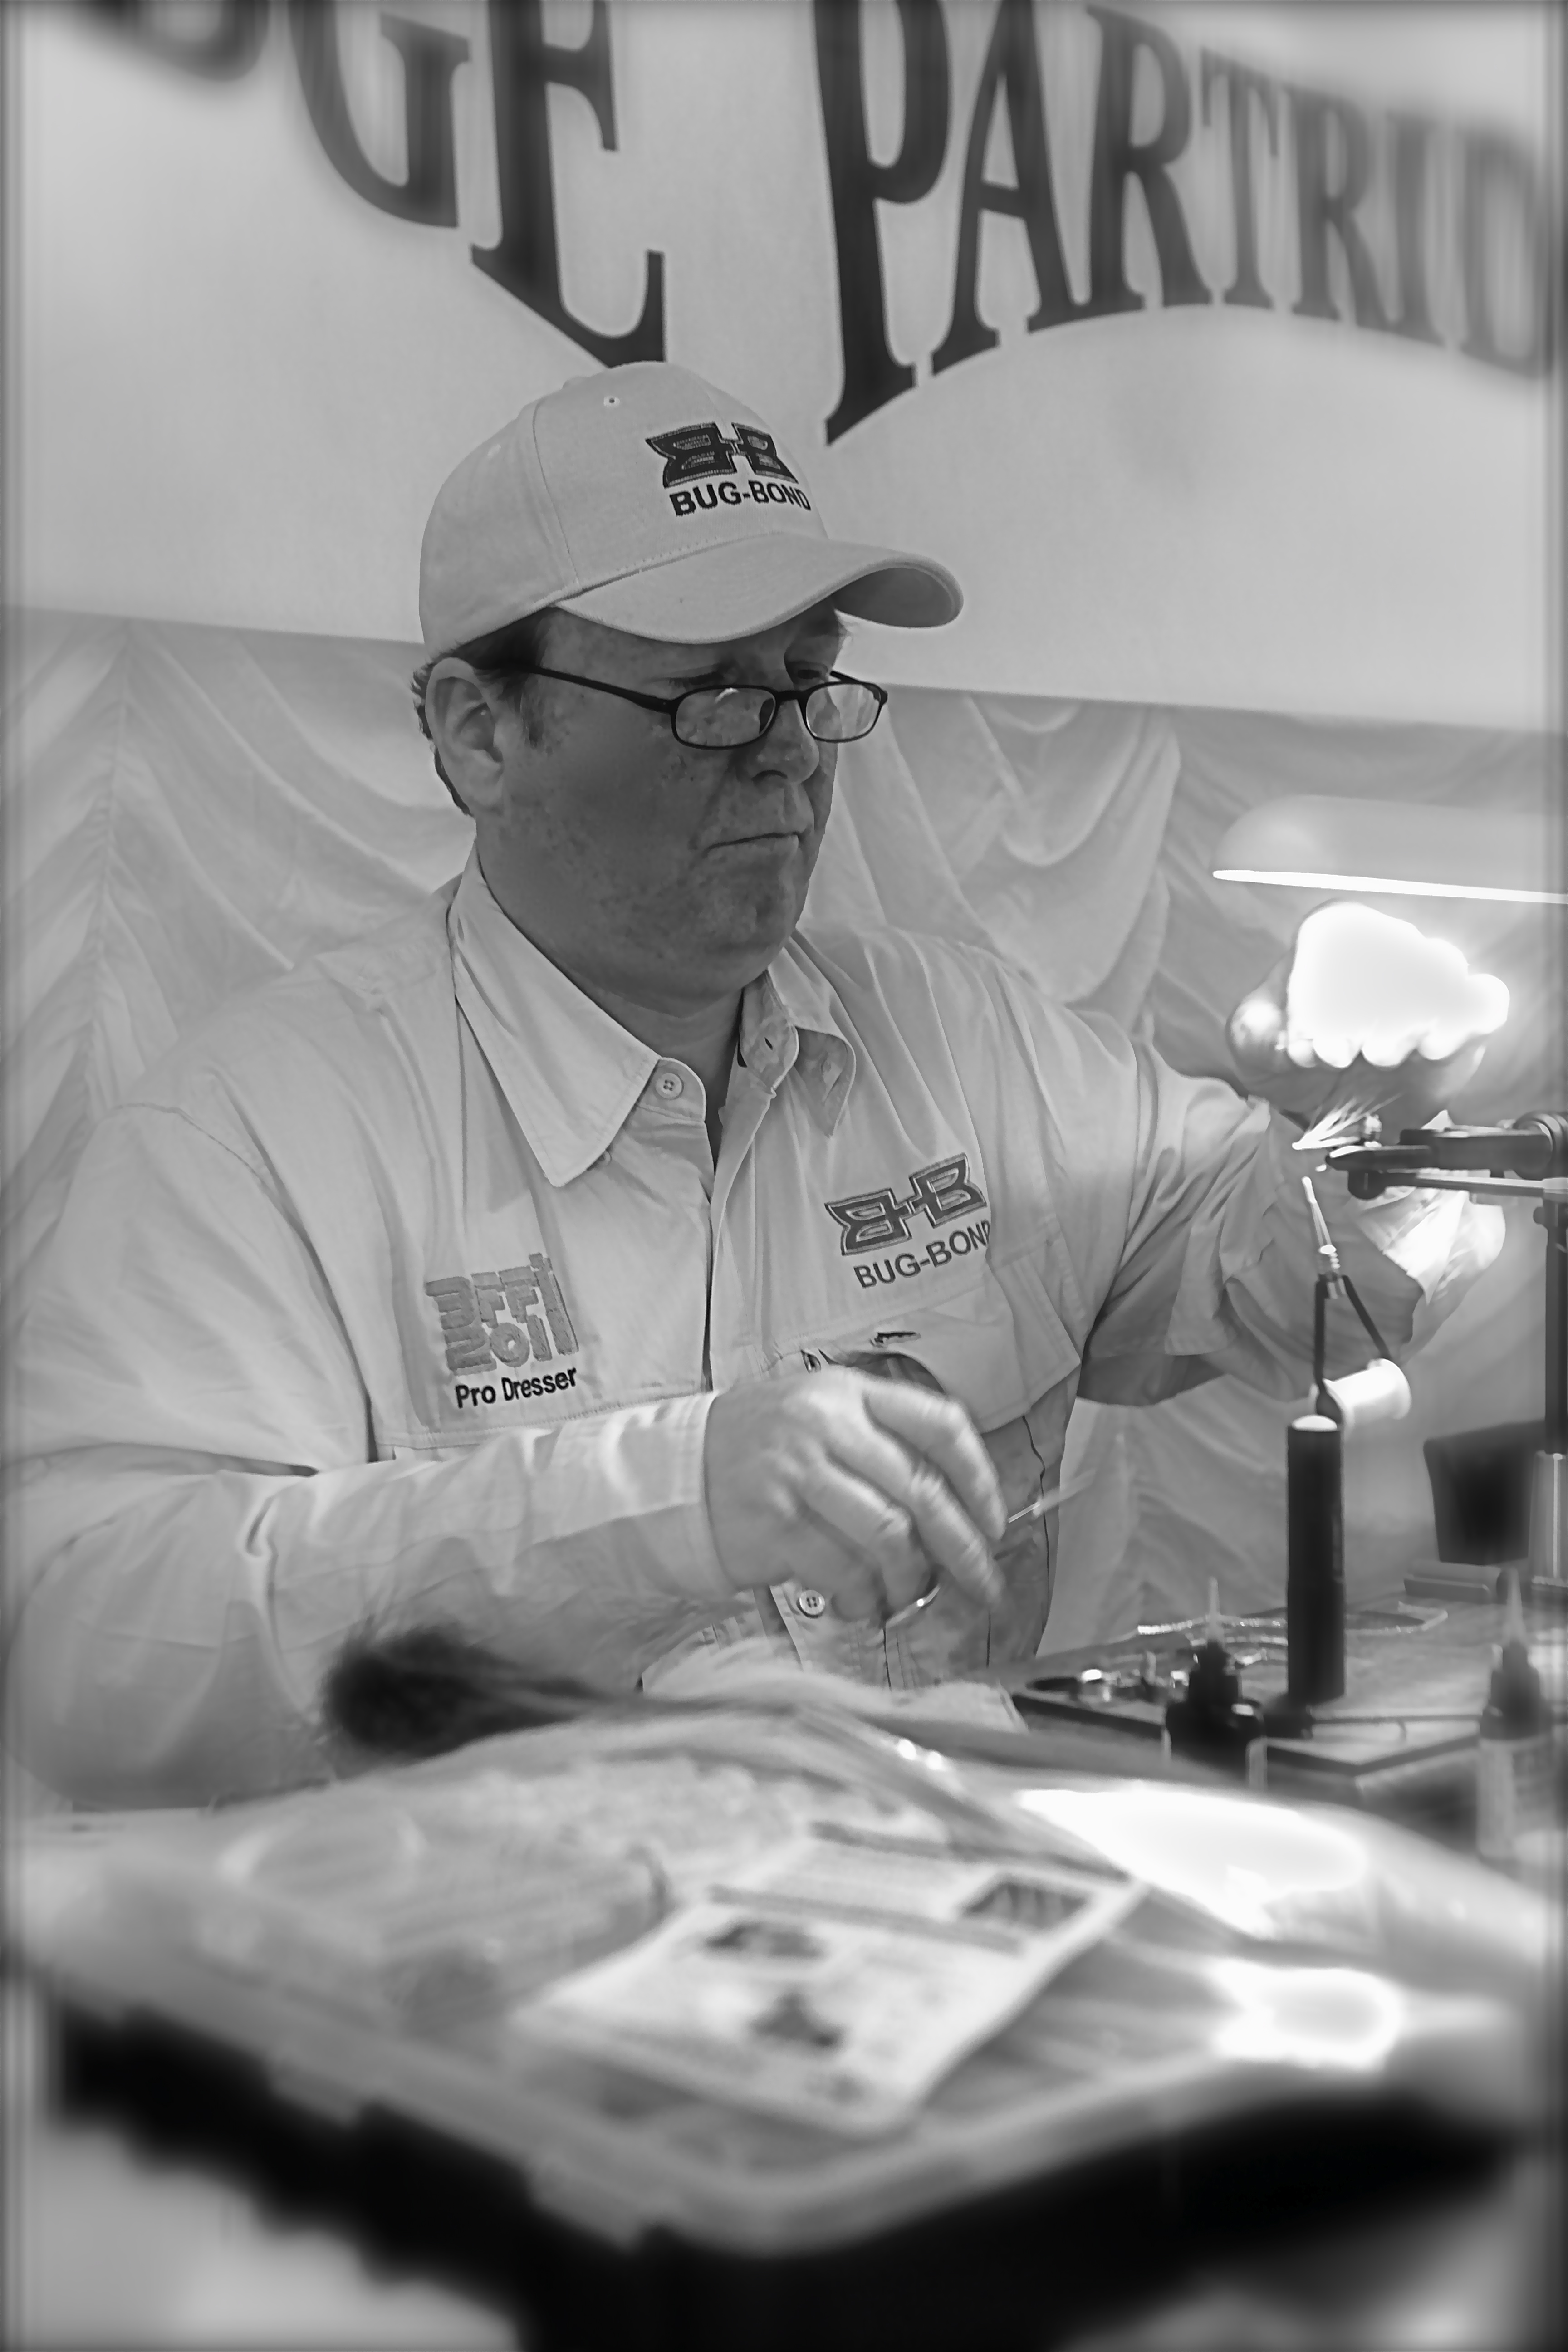
The man in question was David Edwards and his baggies contained the first production batch of Bug Bond UV fly tying resin.

Being a professional photographer my entire working life I spent hours every assignment waiting to see the results back from the processors, but with the onslaught of the digital revolution, the results where instantly available. This I believe, is Bug Bond’s greatest advantage!
Unlike Epoxy, Bug Bond requires no mixing and for most applications, only a ten second cure, with the correct frequency UV light. Fixed finished and dried in just a few seconds.
Table of Contents
Do’s and don’ts from a user:
When using Bug Bond there are still a few things to consider.
If you require only a thin protective coating over a material, apply your BB and cure with the UV light, simple! But take note, that if you are applying Bug Bond to a porous material, especially one that has several layers, like the untreated tying thread on the head of a fly, any BB that is absorbed into the thread will not be exposed to the UV light, and wont cure. For this reason, I still prefer to use head cement on the heads of my flies.
If you need a thicker coat, or lets say, a larger transparent head or body on a salt water pattern, then you have to build this up layer by layer, if you apply too thick a coat, the UV light has difficulty penetrating and will cure the surface layer and can leave the center somewhat viscous, although I haven’t found one yet, I am sure that this may also have an application ? I have also found that if you are curing a larger area, like a whole hackle, its an advantage to start by applying a coat of Bug Bond on one side first and then curing with the UV light a distance from the material (30 cm), but slowly moving it closer as the curing process advances, then repeat this on the rear of the hackle. This I have found, slows the curing process a little, but gives optimal results. A hard clear, glossy and tack free finish.
You may also experience, that if you start with the UV light too close to the material to be cured, it cures too quickly, greatly increasing in temperature as the photo-activators cure the resin. This should be avoided, as a cure that is too fast and too intense can shrink the material being coated and result in distortion, as I have experienced through trial and error. Also on a safety point, avoid getting Bug Bond on your fingers! If you are unlucky enough to do this and accidentally cure it while holding a fly, the heat is intense.
Stronger and better hardening is achieved through using the resin at 37 F degrees (2.6 C degrees) and first with an intermittent exposure to the LED UV light and finishing with a constant exposure for 10 seconds or more. You will also discover that Bug Bond may not adhere as well to all materials. I have experienced a couple of foam types and materials coloured with some spirit based waterproof felt pens. You should also remember that this is a UV cure product, so using it in daylight will cure the bonding agent as it comes out of the tube.
Also if your curing time seems to be getting longer, remember to change the batteries in the UV lamp!

Top Bug Bond Tips:
With regard to production tying and hands free curing I have made a simple fly curing station. Using an old fly reel box I have covered the inside and lid with silver foil. On one corner of the lid, I use the corner so that the box can accommodate larger flies diagonally. I cut a hole a little smaller that the diameter of the light head and built up a short tube of black card to hold the light in position.

Inside the box I have glued a foam popper head for securing the fly while drying. Just place the hook of your fly in the foam place on the lid and switch on the light. You can then get on with another fly…
If you dont intend to use your Bug Bond for some time, keep it in a cool dark place. David recommends the refrigerator, this keeps it fresh and prolongs life, but then you should remember to remove it and let it reach room temperature at least an hour before you are going to use it.
If you would like to add a little more flash to your BB, try mixing it with regular hobby glitter before applying or just sprinkling it onto the fly before curing! These are available in an amazing amount of colours and only cost a few pence.
On a safety note, UV lights are dangerous if miss used. They should never be pointed at the eyes and kept out of the reach of children at all times.

You will quickly discover that Bug Bond and its uses within fly tying and rod building are infinite.
But like all new materials, it takes a little time and experimenting to be familiar with the boundaries, possibilities and applications.
Bug Bond has been designed to be optically perfect and when cured correctly to have a tack free surface. Other benefits are that it is also resistant to tainting or yellowing when exposed to sunlight and also has a degree of flexibility when cured.
My new book

Discover more from HOW TO TIE FLIES | THEFEATHERBENDER
Subscribe to get the latest posts sent to your email.


Very nice post. Especially your method of curing Bug-Bond helps a lot when building bigger heads for pike flies etc. I also pondered about using Bug-Bond for attaching rod rings but haven’t tried it yet. Do you find this method durable enough for big fish or do you only use it for lightweight tackle?
Hi J, thanks.
With regard to the rings, David Edwards built a 8 weight rod with Bug Bond over a year ago and its still going strong! If you check out the Desox link in the article you can read his comments on it and see a full step by step.
Cheers
Barry