

Table of Contents
Monster popper for spring pike recipe
Hook: Ad Sweir Pike # 8/0
Tying thread: Dyneema
Tail: Marabou and crystal hair
Skirt: Four large Whiting American hackles
Topping: Peacock herl
Legs: Barred rubber legs
Collar: Lite Brite and Marabou
Head: Three foam pencil poppers welded together
Eyes: Mobile dolls eyes
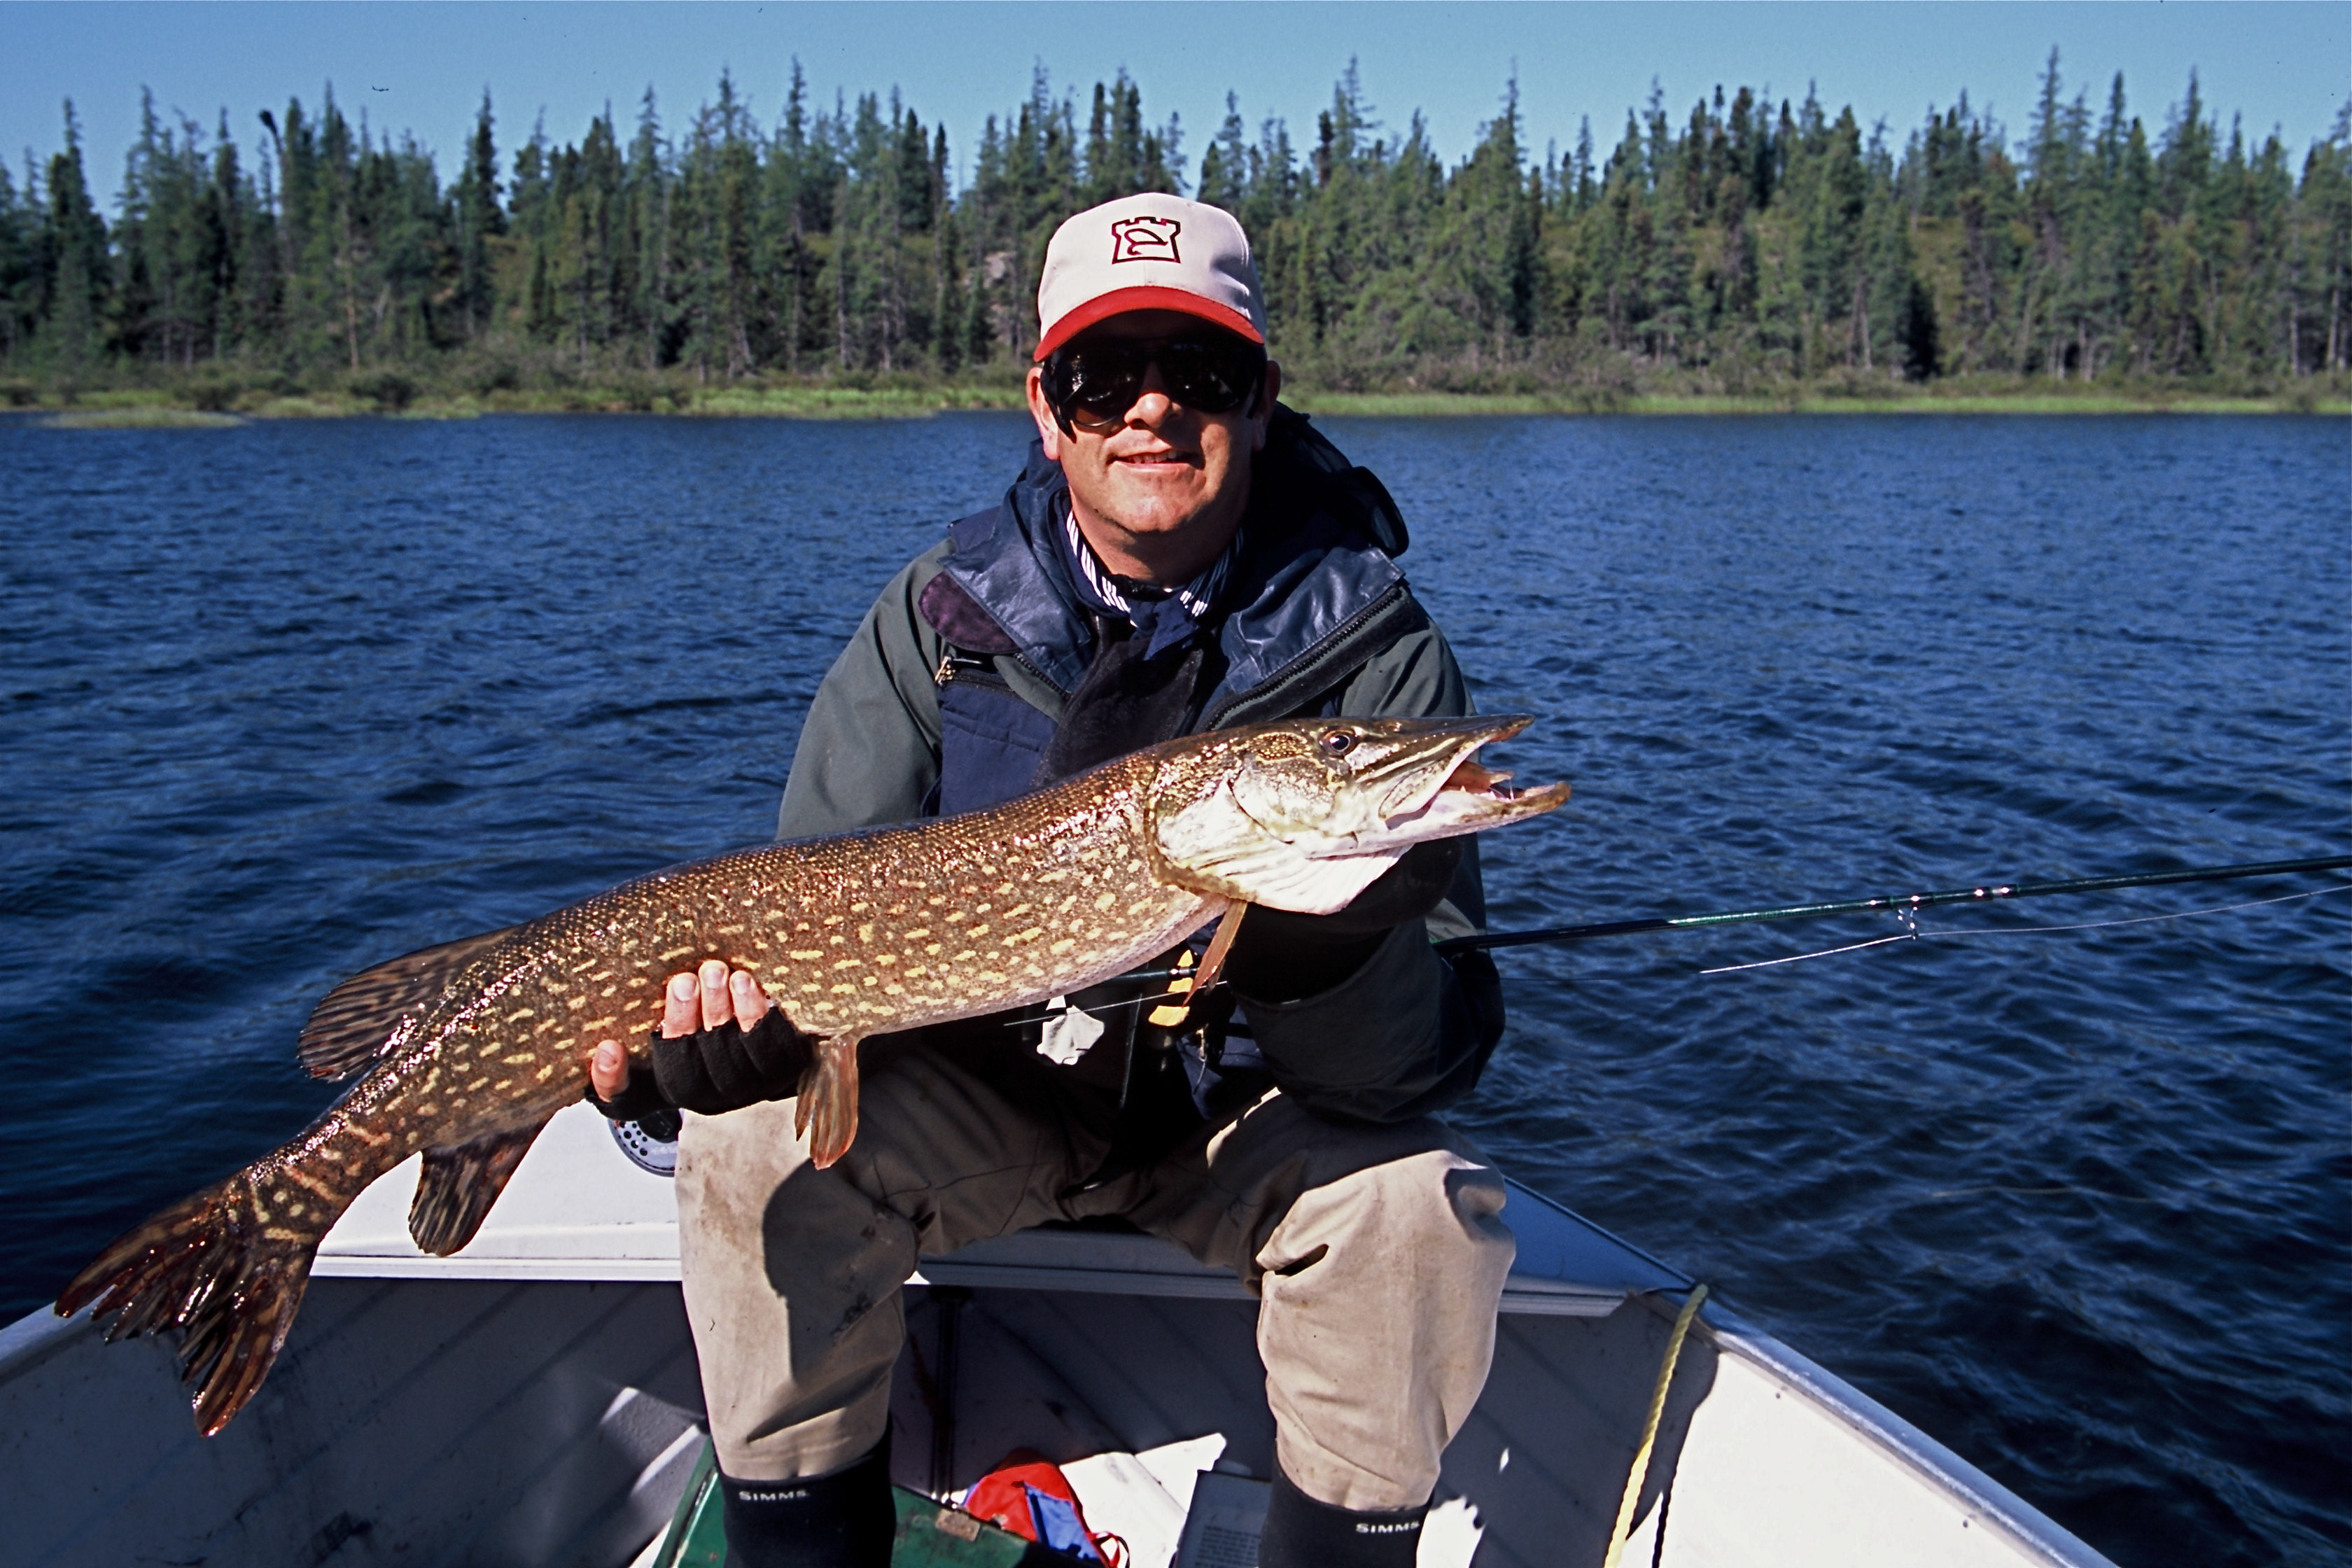
For a long time after I began fishing with poppers, I was constantly disappointed with how little water the pre-made cork and foam heads actually moved – when yanked, after all, optimal popping, gurgling and splashing is what we are trying to achieve!
I then experimented with cutting my own popper heads from foam blocks, but found it difficult to sculpt the heads symmetrical enough to get a balanced presentation so the popper fished on an even keel. But that wasn’t the only problem – they were ugly – they looked like they had been carved by Freddy Kruger!
After much trial and error, I started gluing three pre-made popper heads together to attain the desired volume. Through this I achieved what I was looking for. By increasing the overall bulk of the head, I increased the buoyancy – and by tripling the surface area of the nose (or the bulldozer end of the popper), my popper now pushed three times as much water when retrieved. Hence the name Bulldozer.
Gluing pre-made popper heads together also considerably increases the overall dimensions of the finished fly, if required.
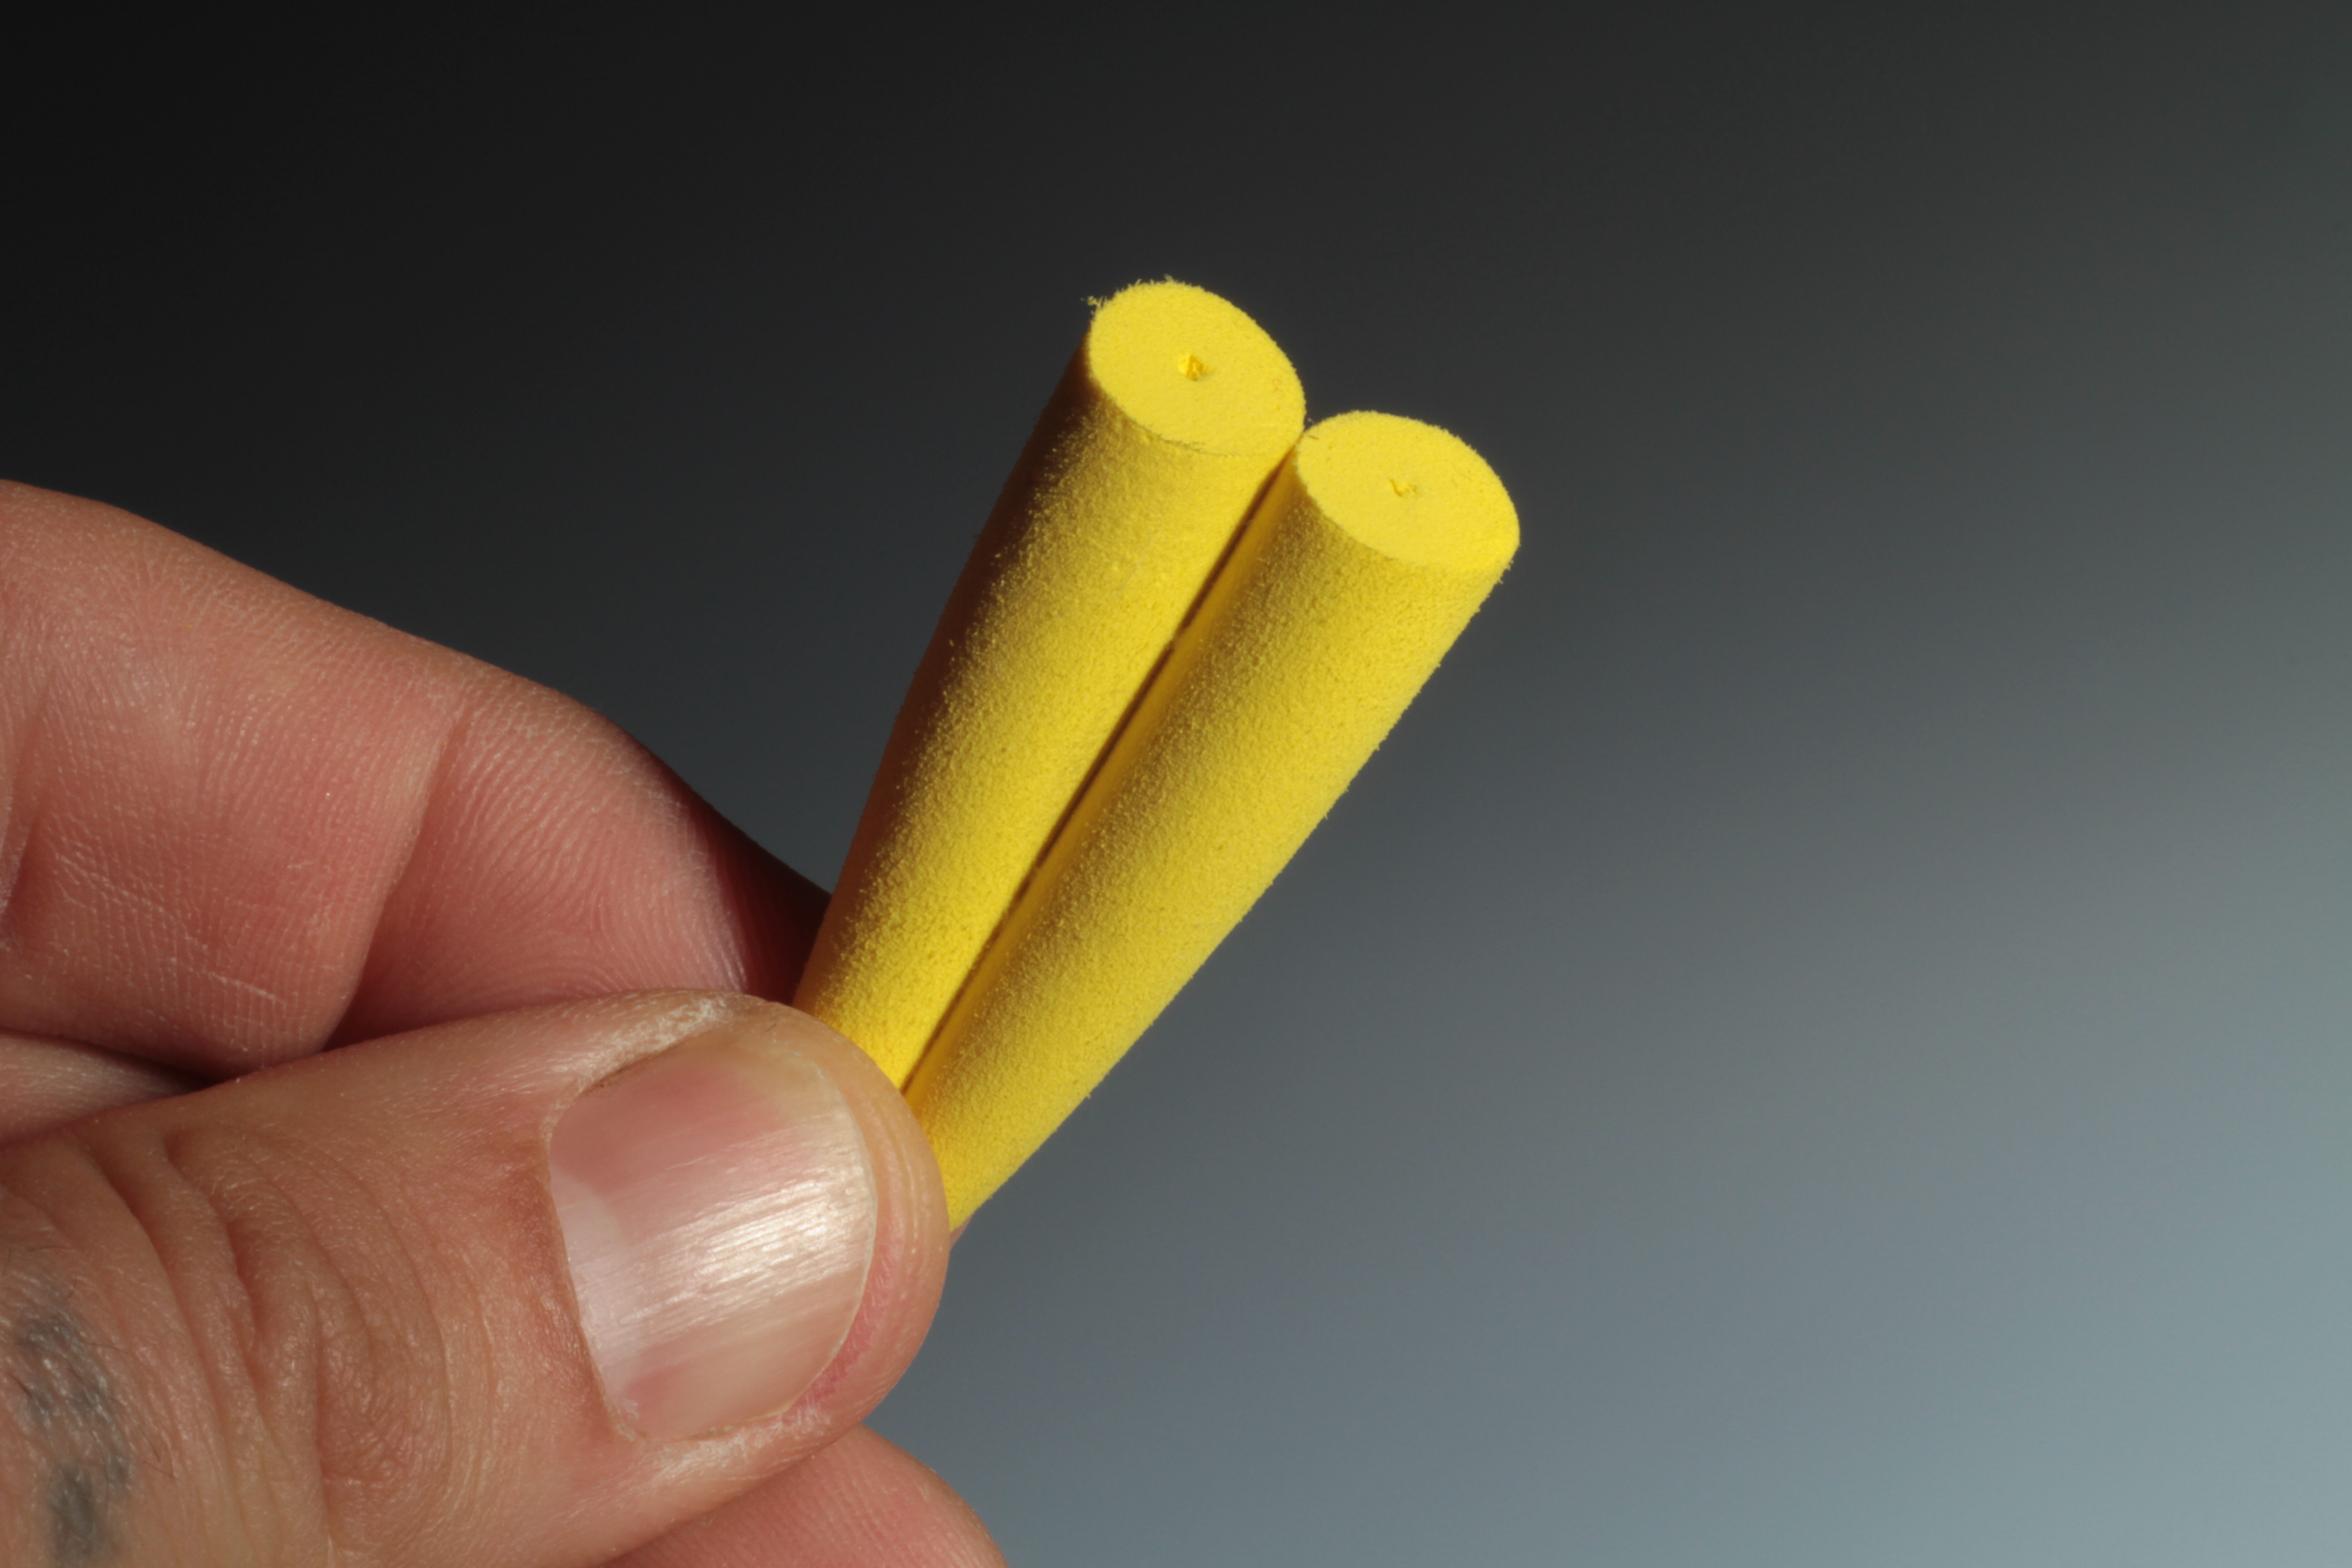
1. Select three foam pencil popper heads. Before gluing them together arrange them (dry) so all the ‘face angles’ of the heads are aligned. Use a good waterproof cement or superglue, if using superglue it only takes a few seconds for the glue to dry so you have to work quick! Firstly glue the two base popper heads together as shown.

2
Glue the last popper head mounted central to the two base poppers. Again! make sure the faces are matched and aligned.

3
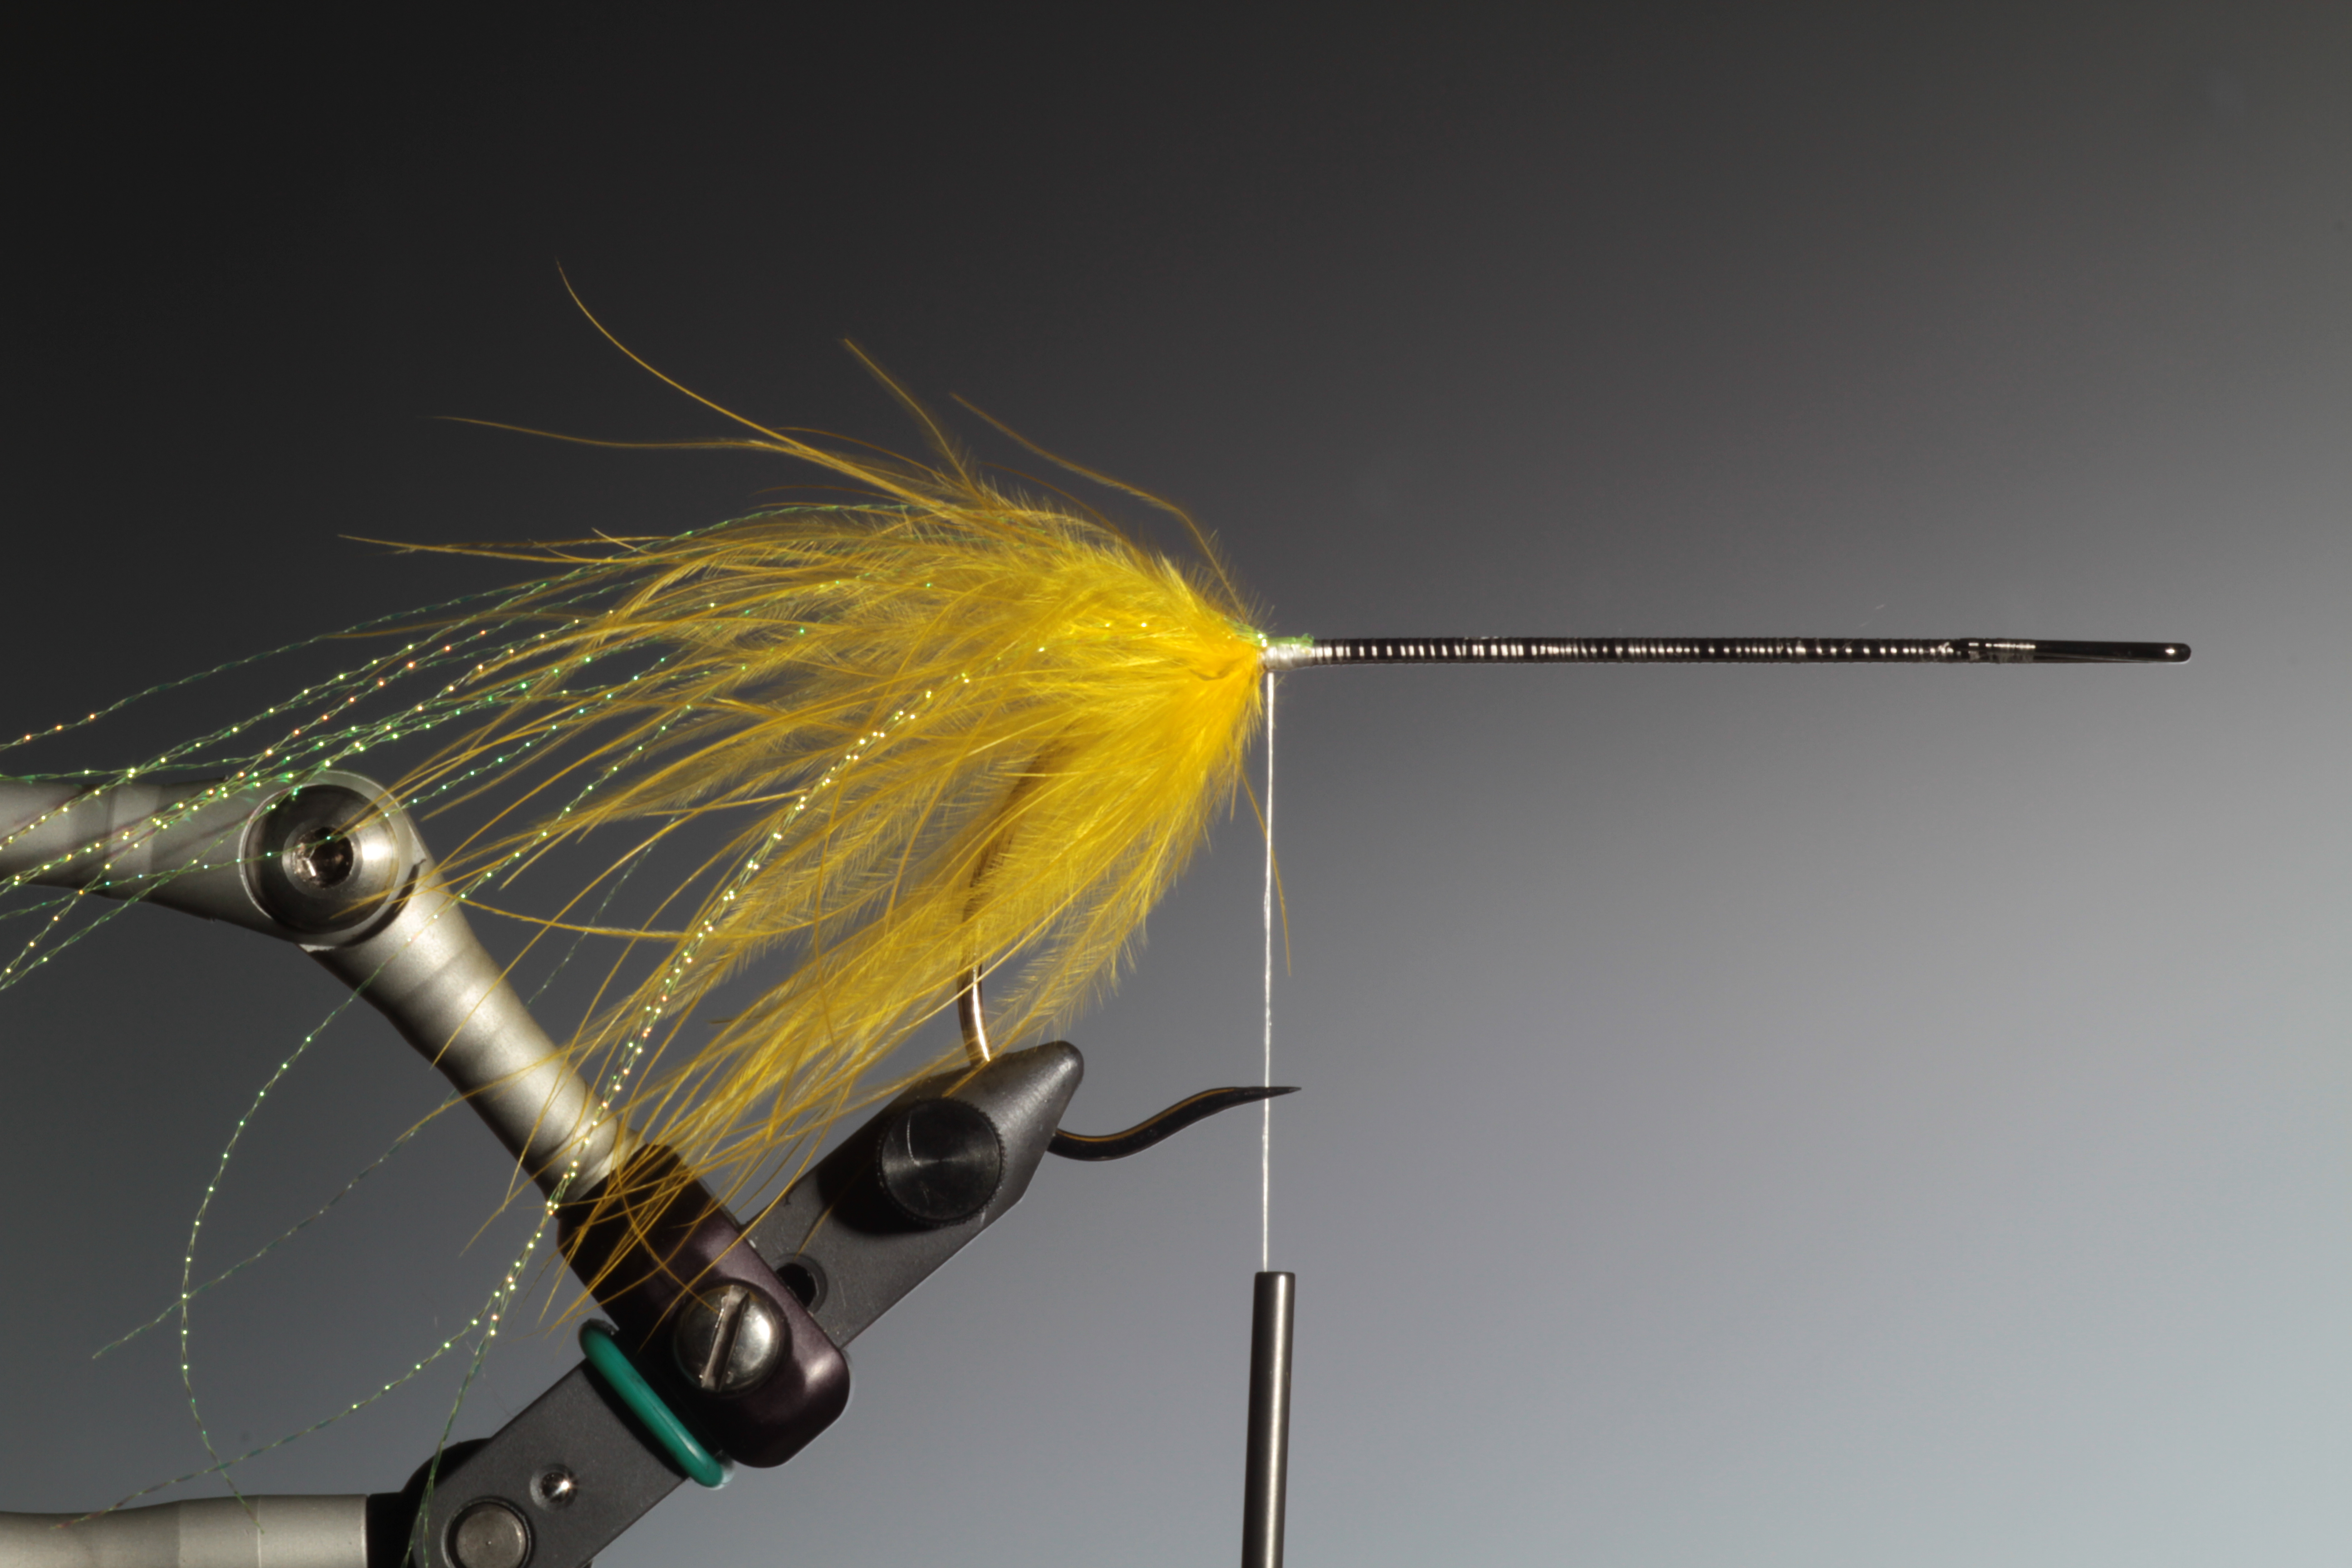
Place the 8/0 pike hook in the vice and cover the hook shank with tying thread.

4
Make a dubbing loop at the rear of the hook. Select a good long and fine tapered marabou hackle and spin into the dubbing loop.

5
Wind on the dubbing loop to form the tail. Make sure that you brush the fibers back after each turn to achieve optimal movement in the marabou. Tie off the dubbing loop.
6
Tie-in a bunch of Crystal hair or some other flash of your choice.

7
Now, tie another small dubbing brush of marabou over the crystal hair. You can tie in plumes of marabou as a quicker alternative if wished.

8
Tie-in two Whiting American hackles, one each side over the marabou tail.

9
Now, another slightly larger dubbing loop with marabou over the hackles.

10
Over the marabou, a fine veil of Lite Brite or Angel hair.
11
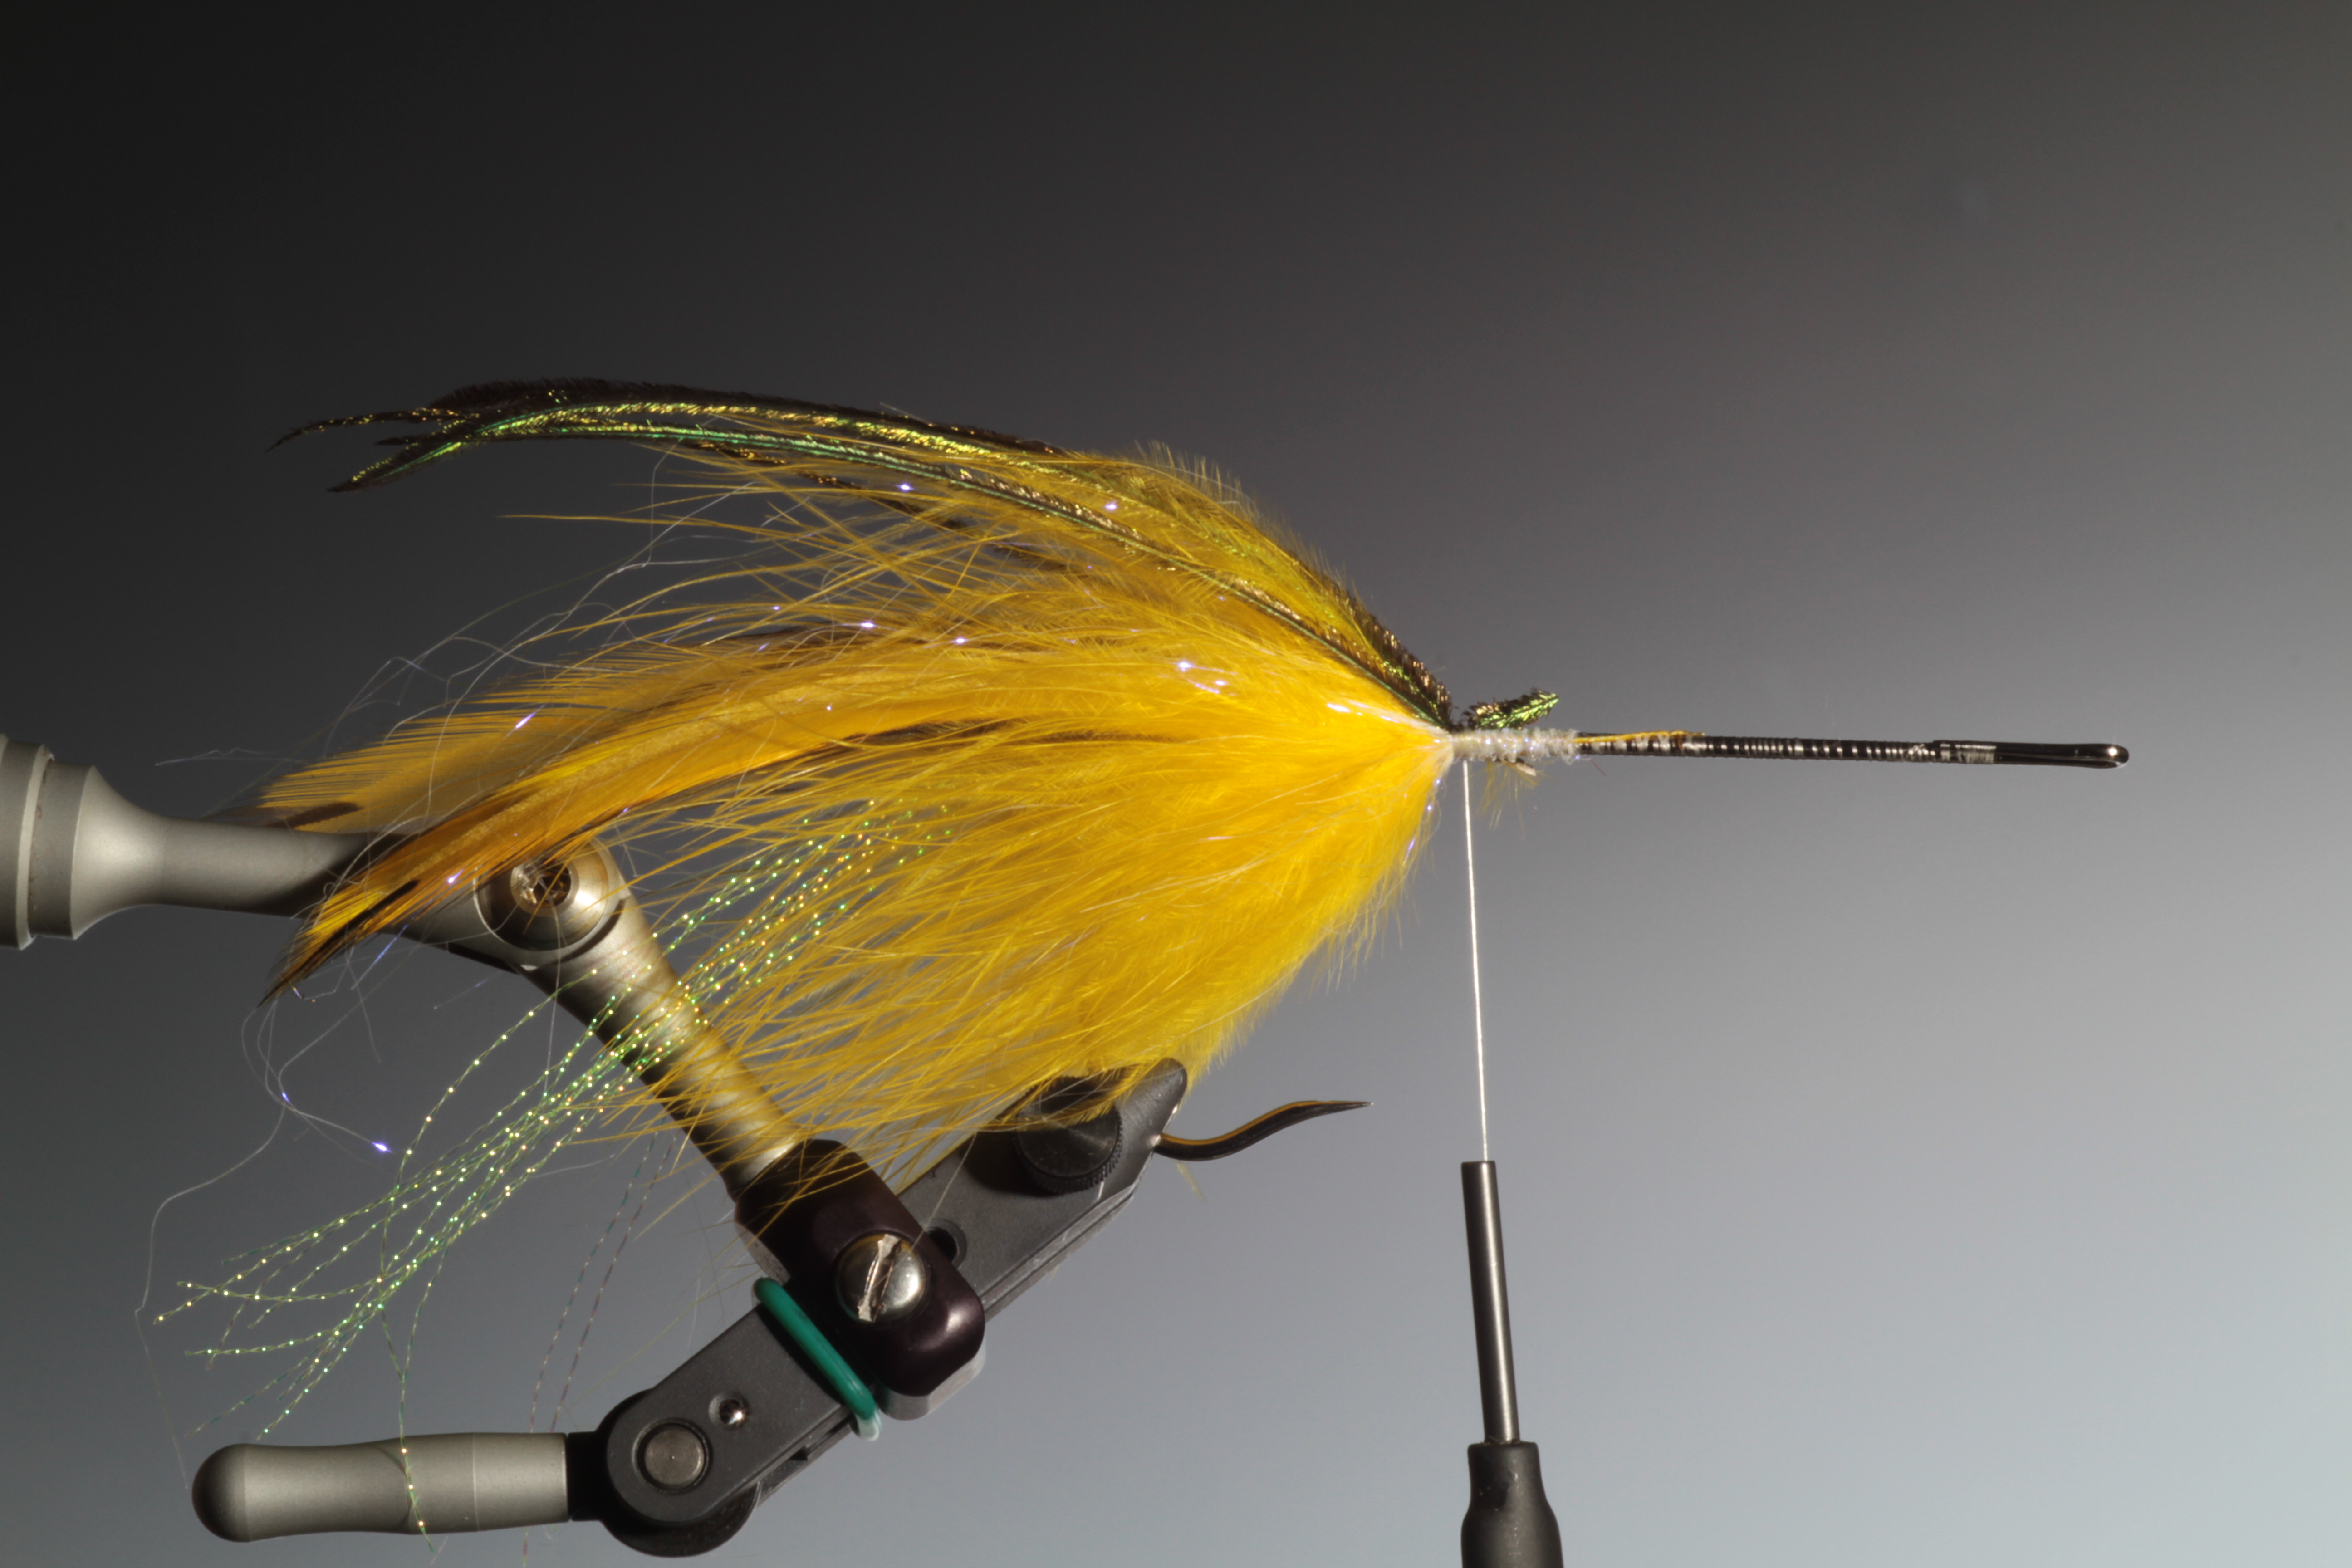
For the topping, tie-in five or six strands of long peacock herl. These should be distributed between the two hackles on top of the tail.
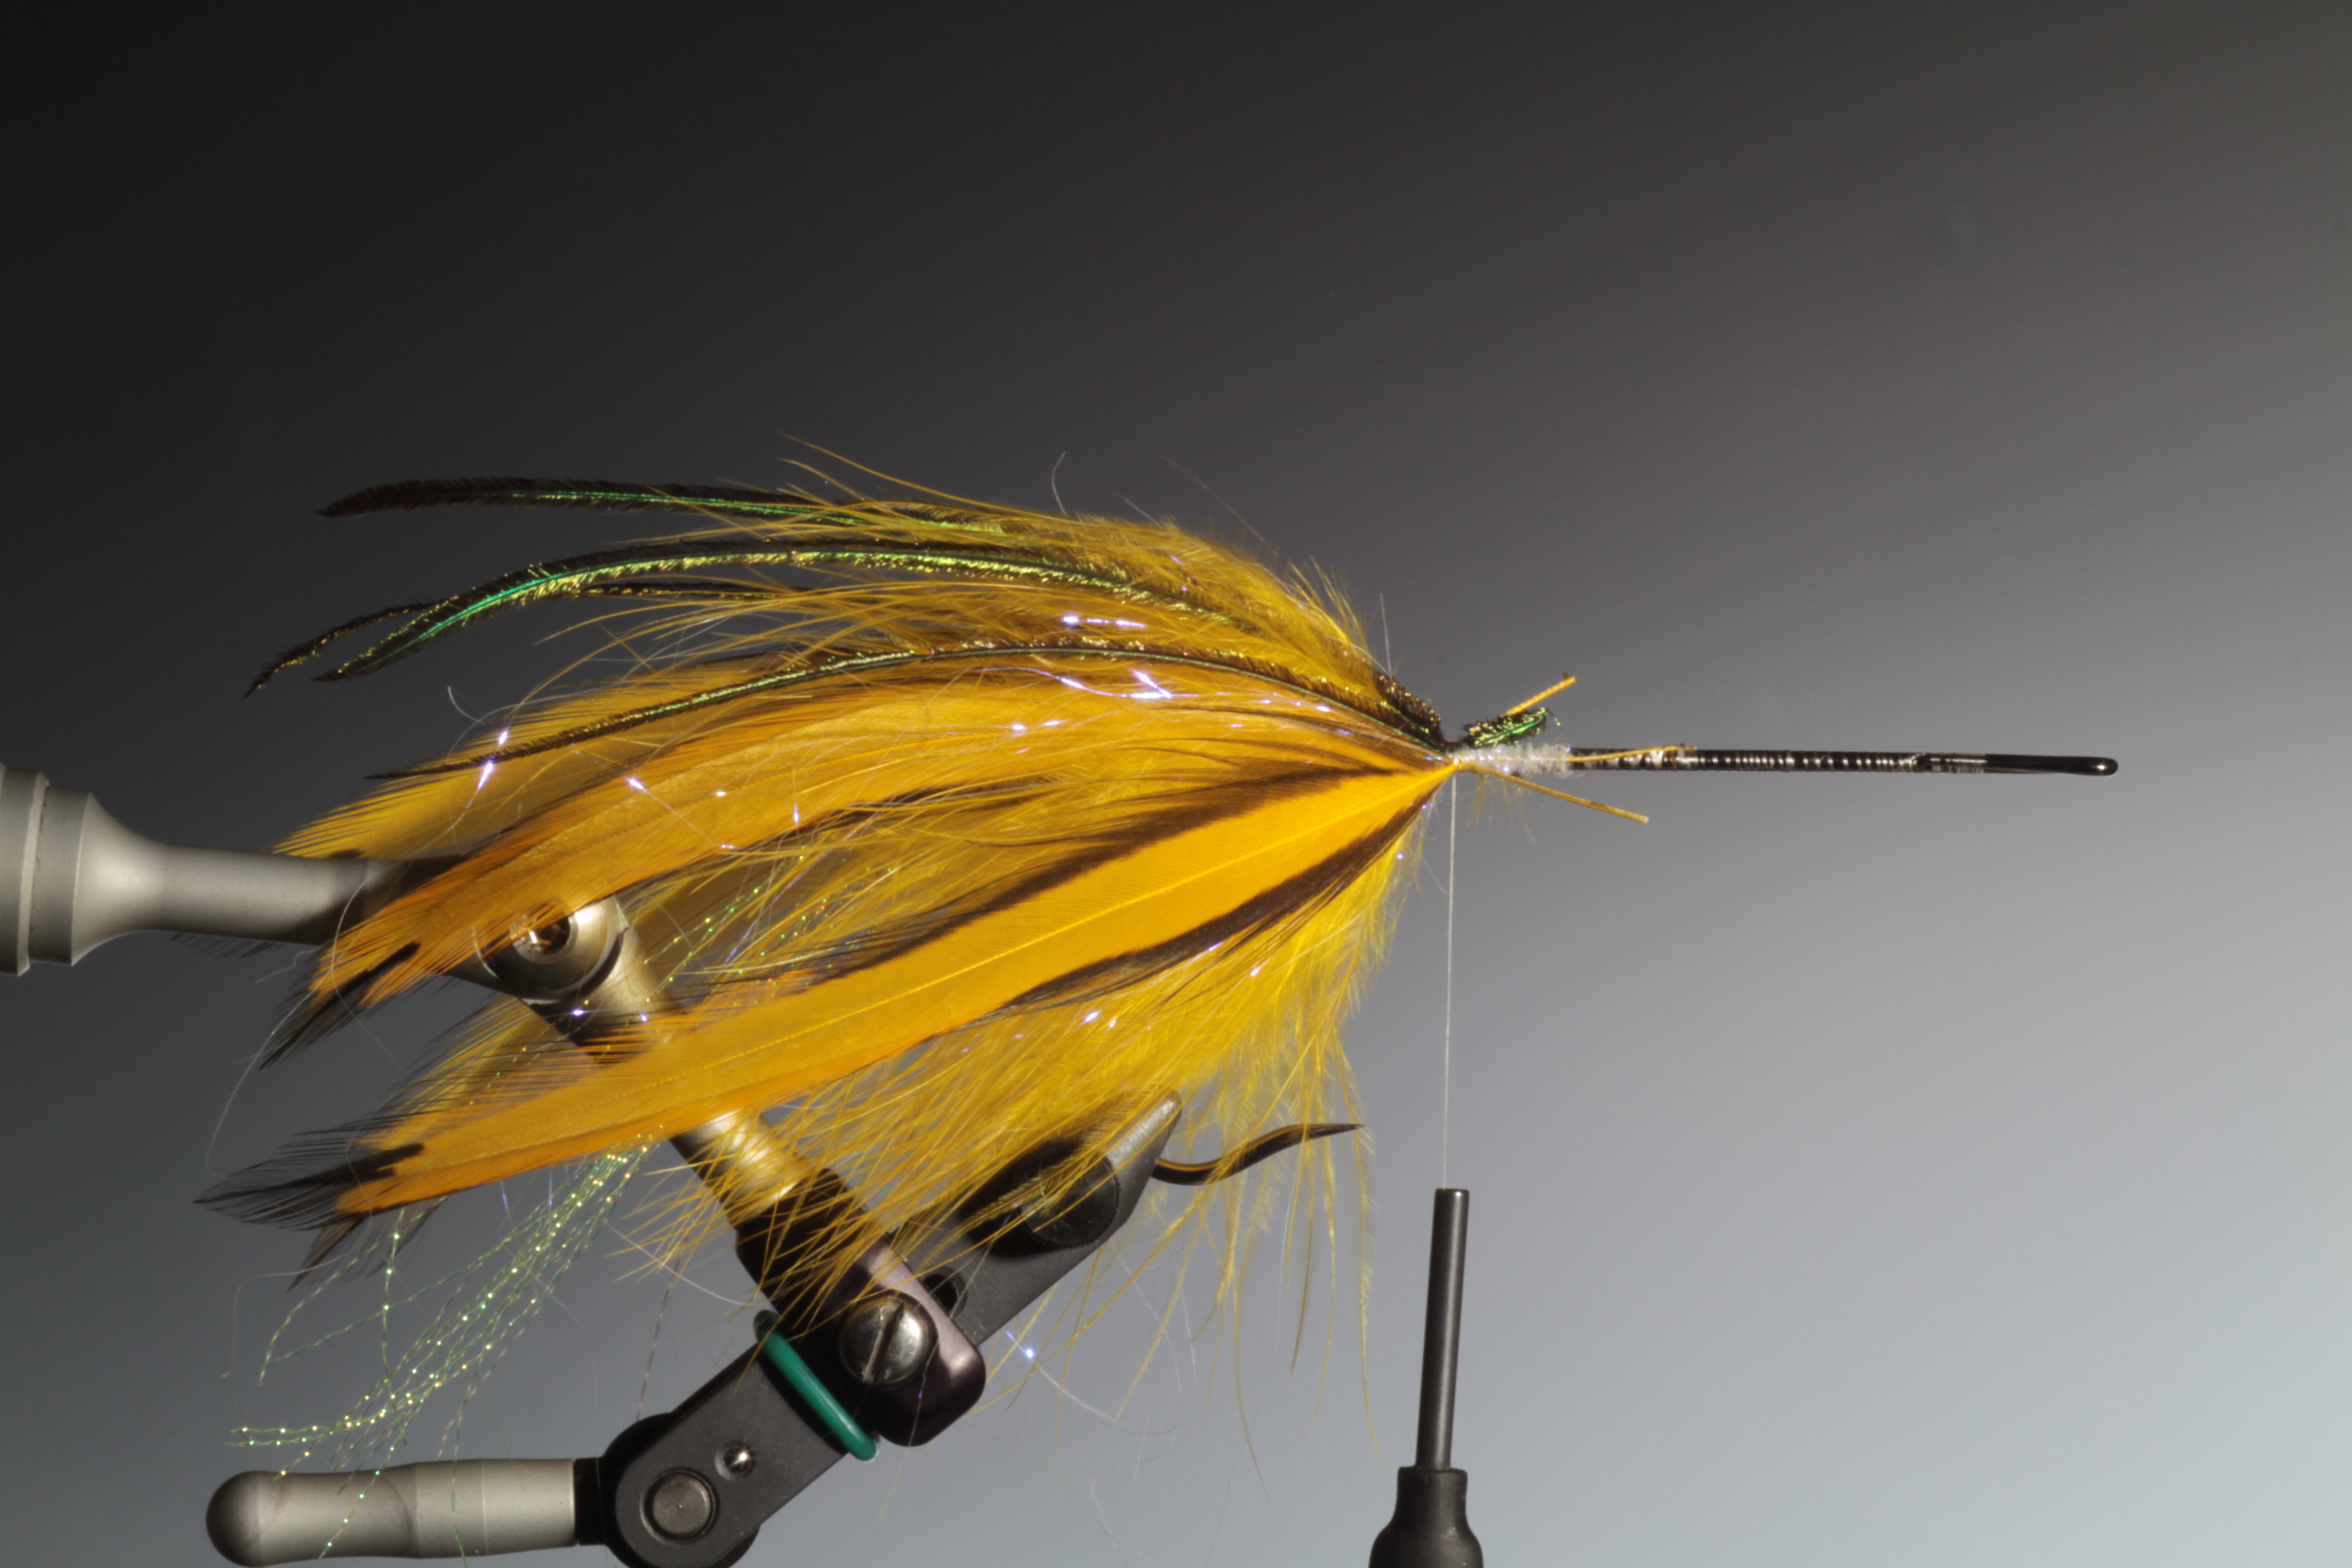
12
Tie-in two more slightly longer hackles, one each side of the tail.
13
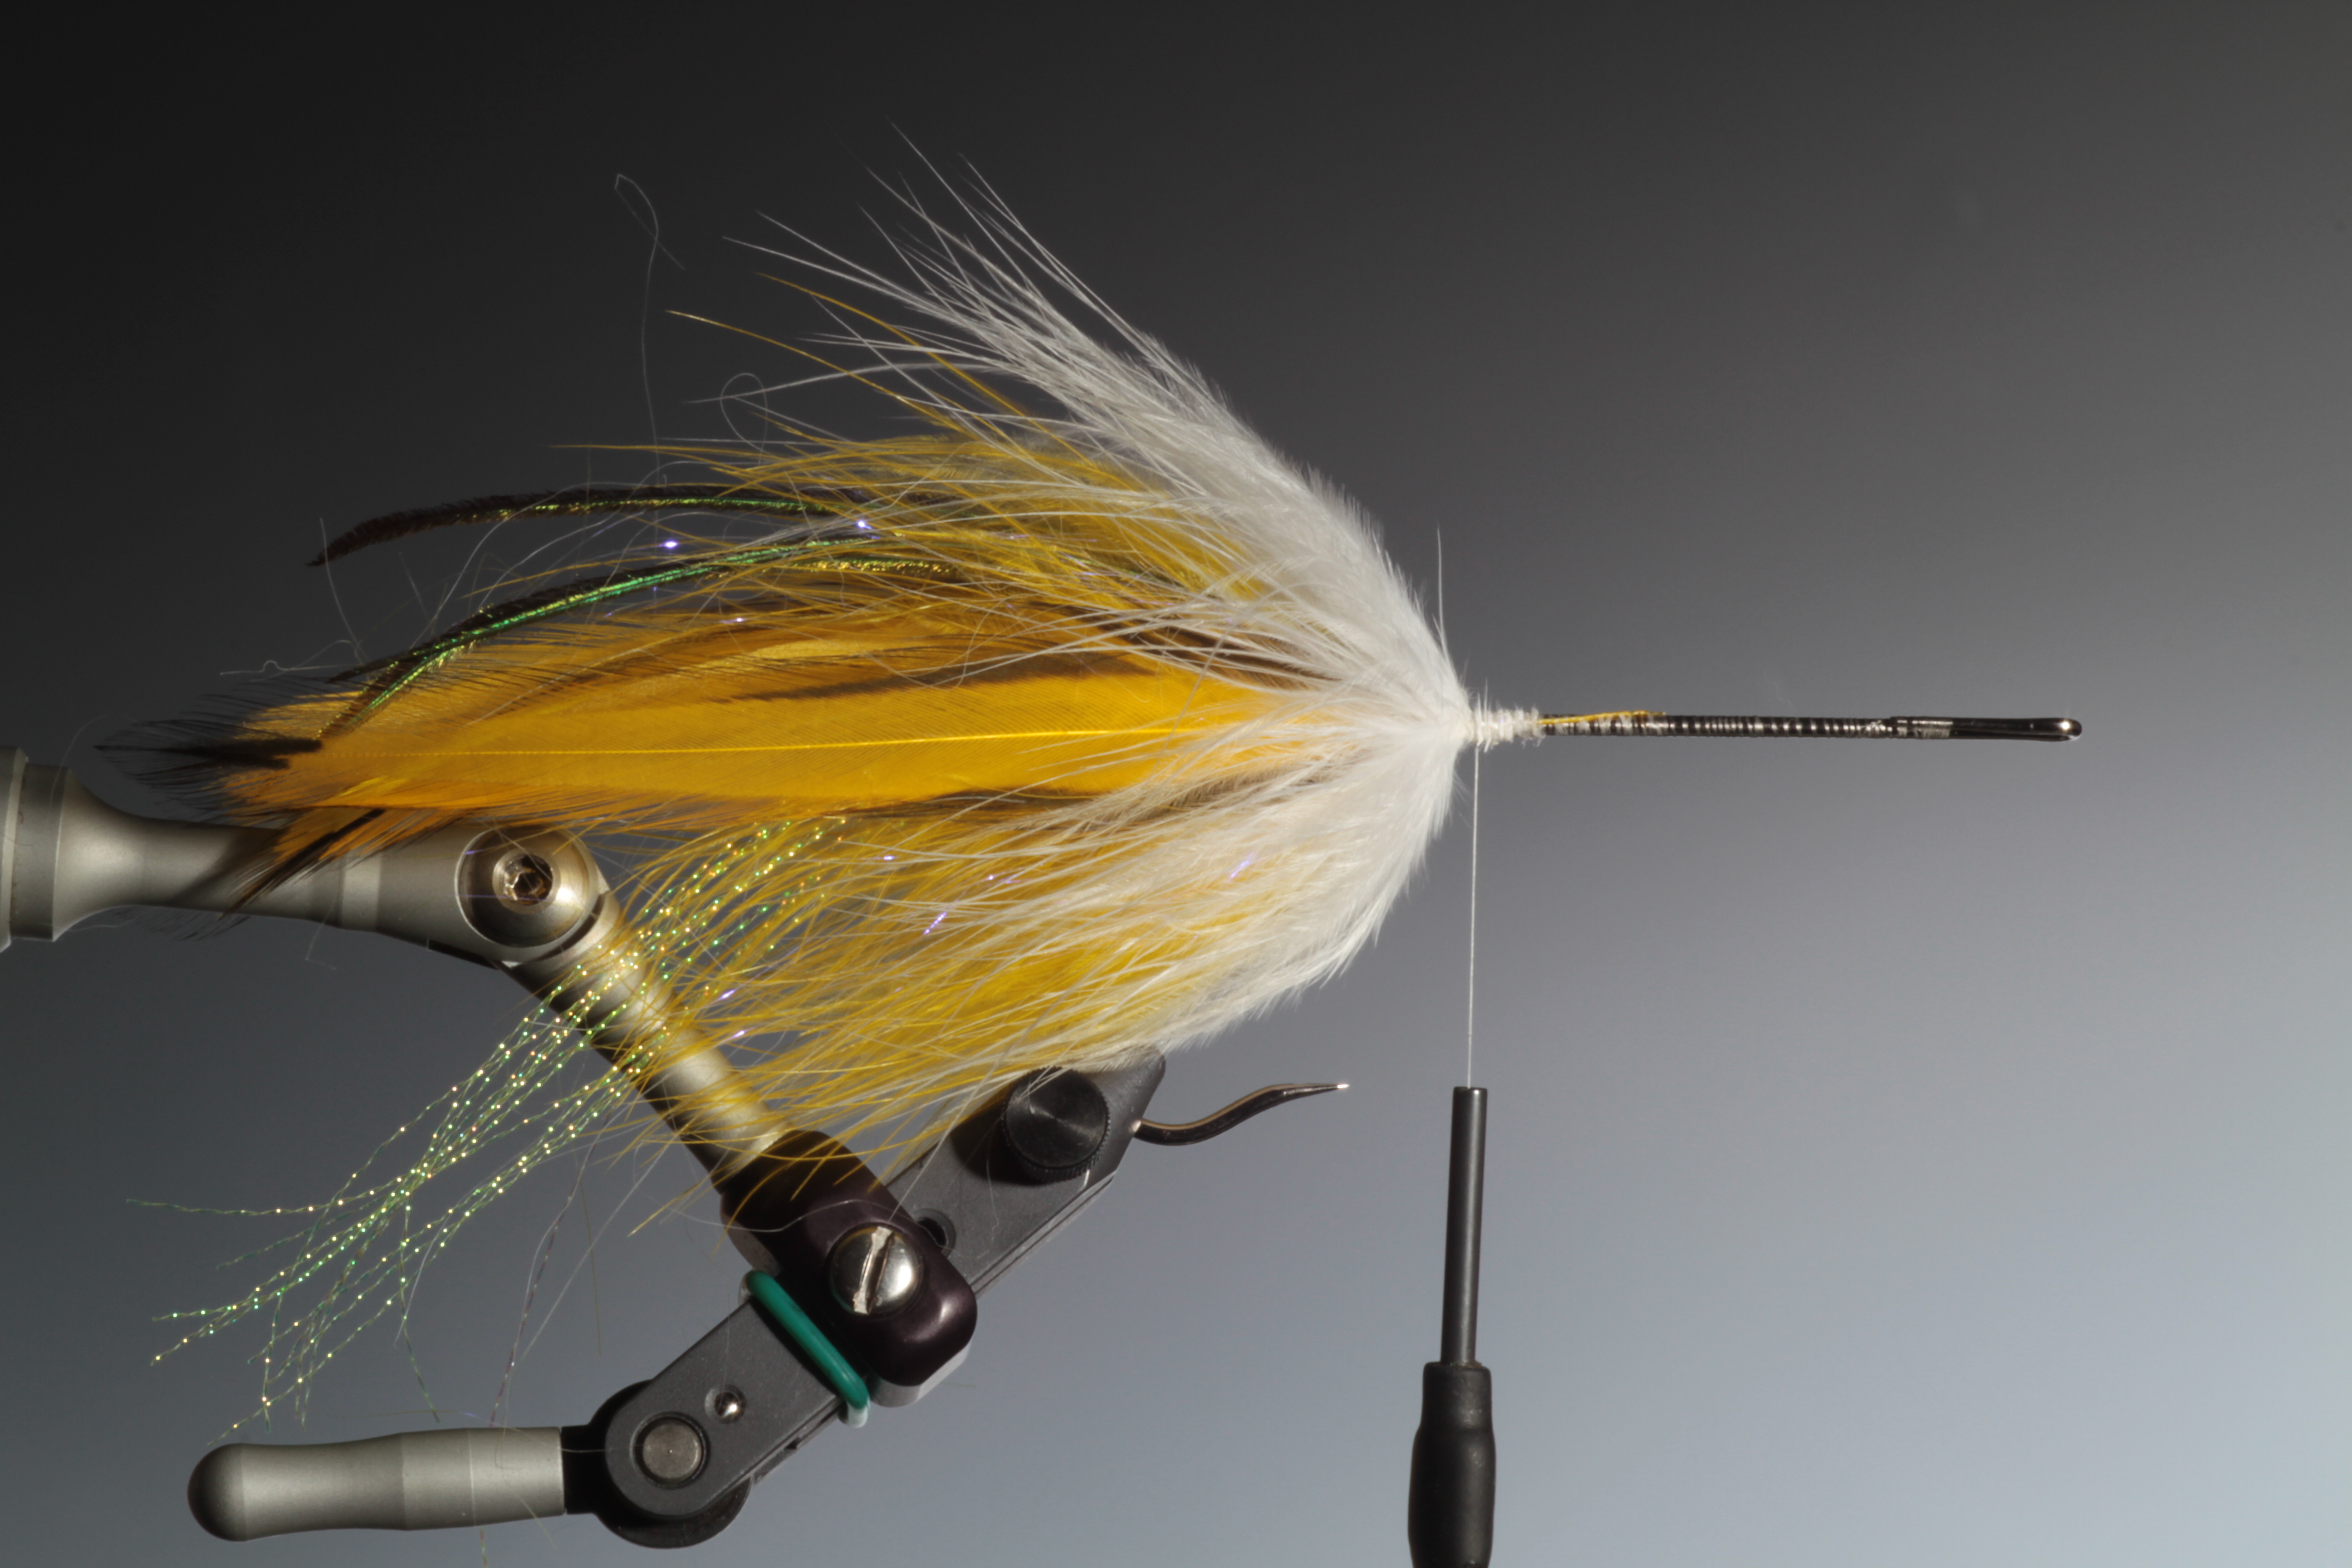
Another dubbing loop with white marabou around and over the whole tail. This is all about creating the illusion of volume without the weight.

14
Tie-in two long rubber legs each side of the hook shank.
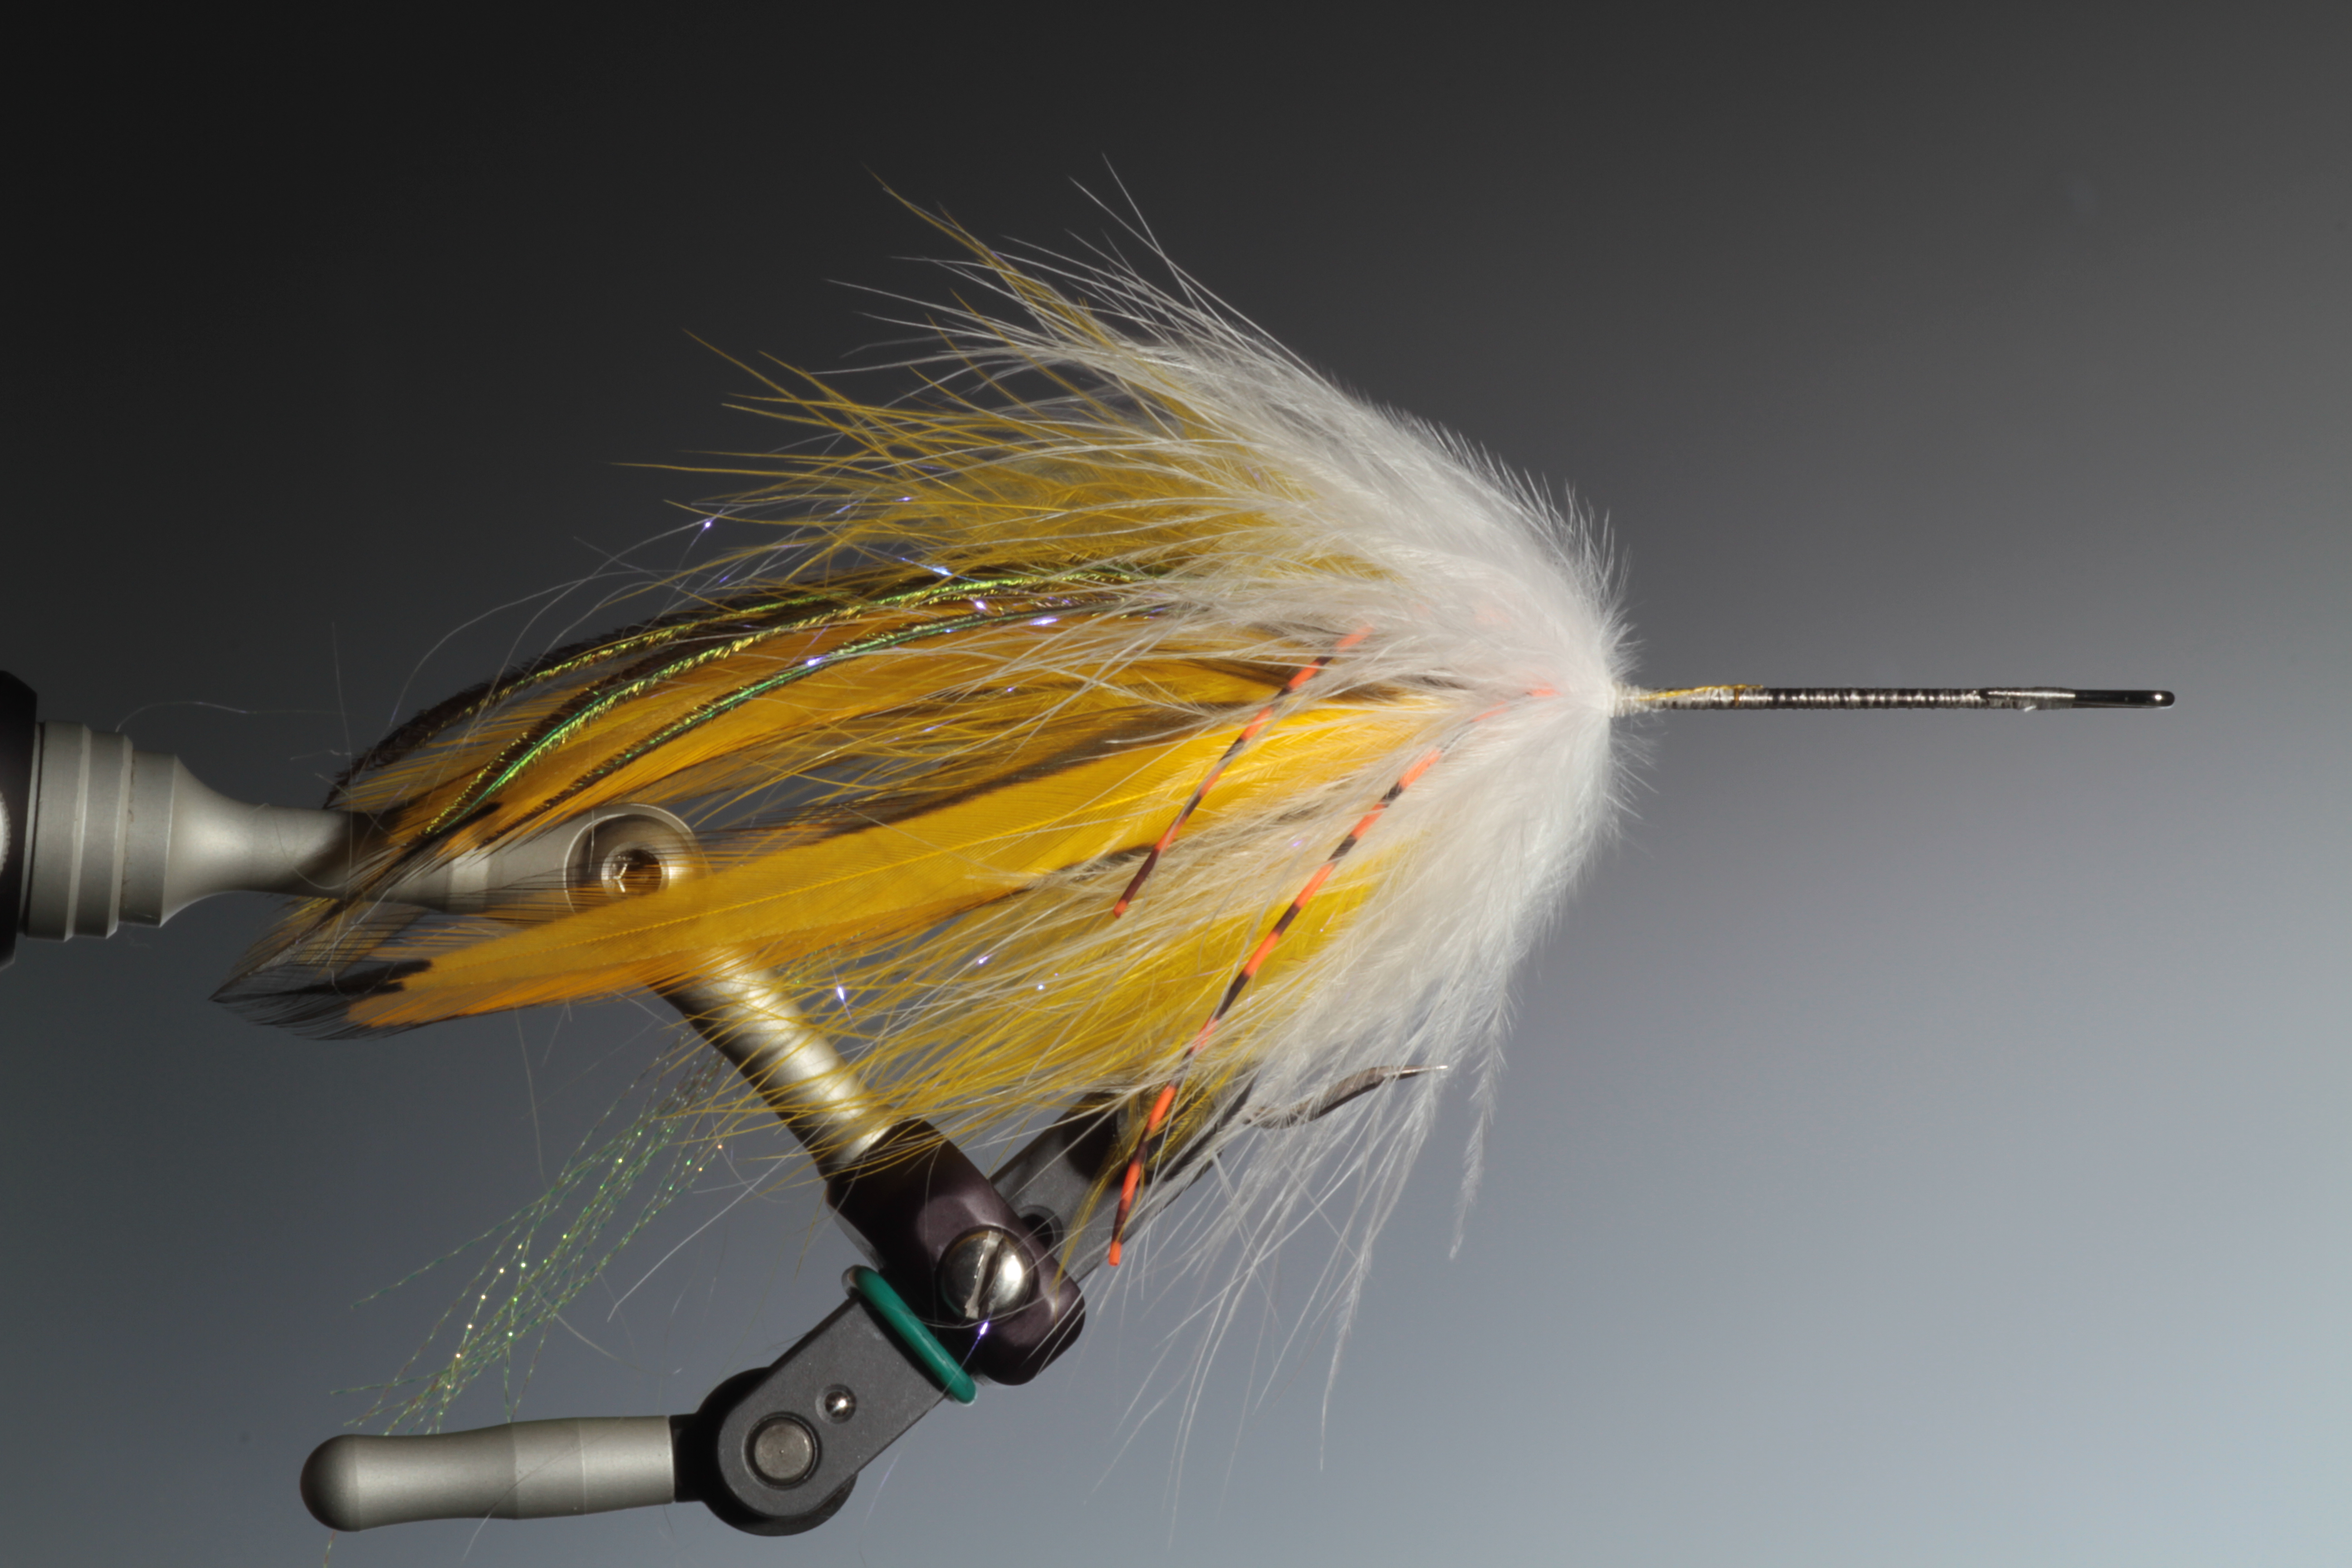
15
Now the last bunch of marabou. Run the tying thread forward along the hook shank making a good foundation for gluing the popper head. Whip finish and remove the tying thread.

16
Before you cover the hook shank with a good amount of epoxy or super glue, Do a dry run mounting the popper head. Make sure the hole in your popper head is open, use a dubbing needle.
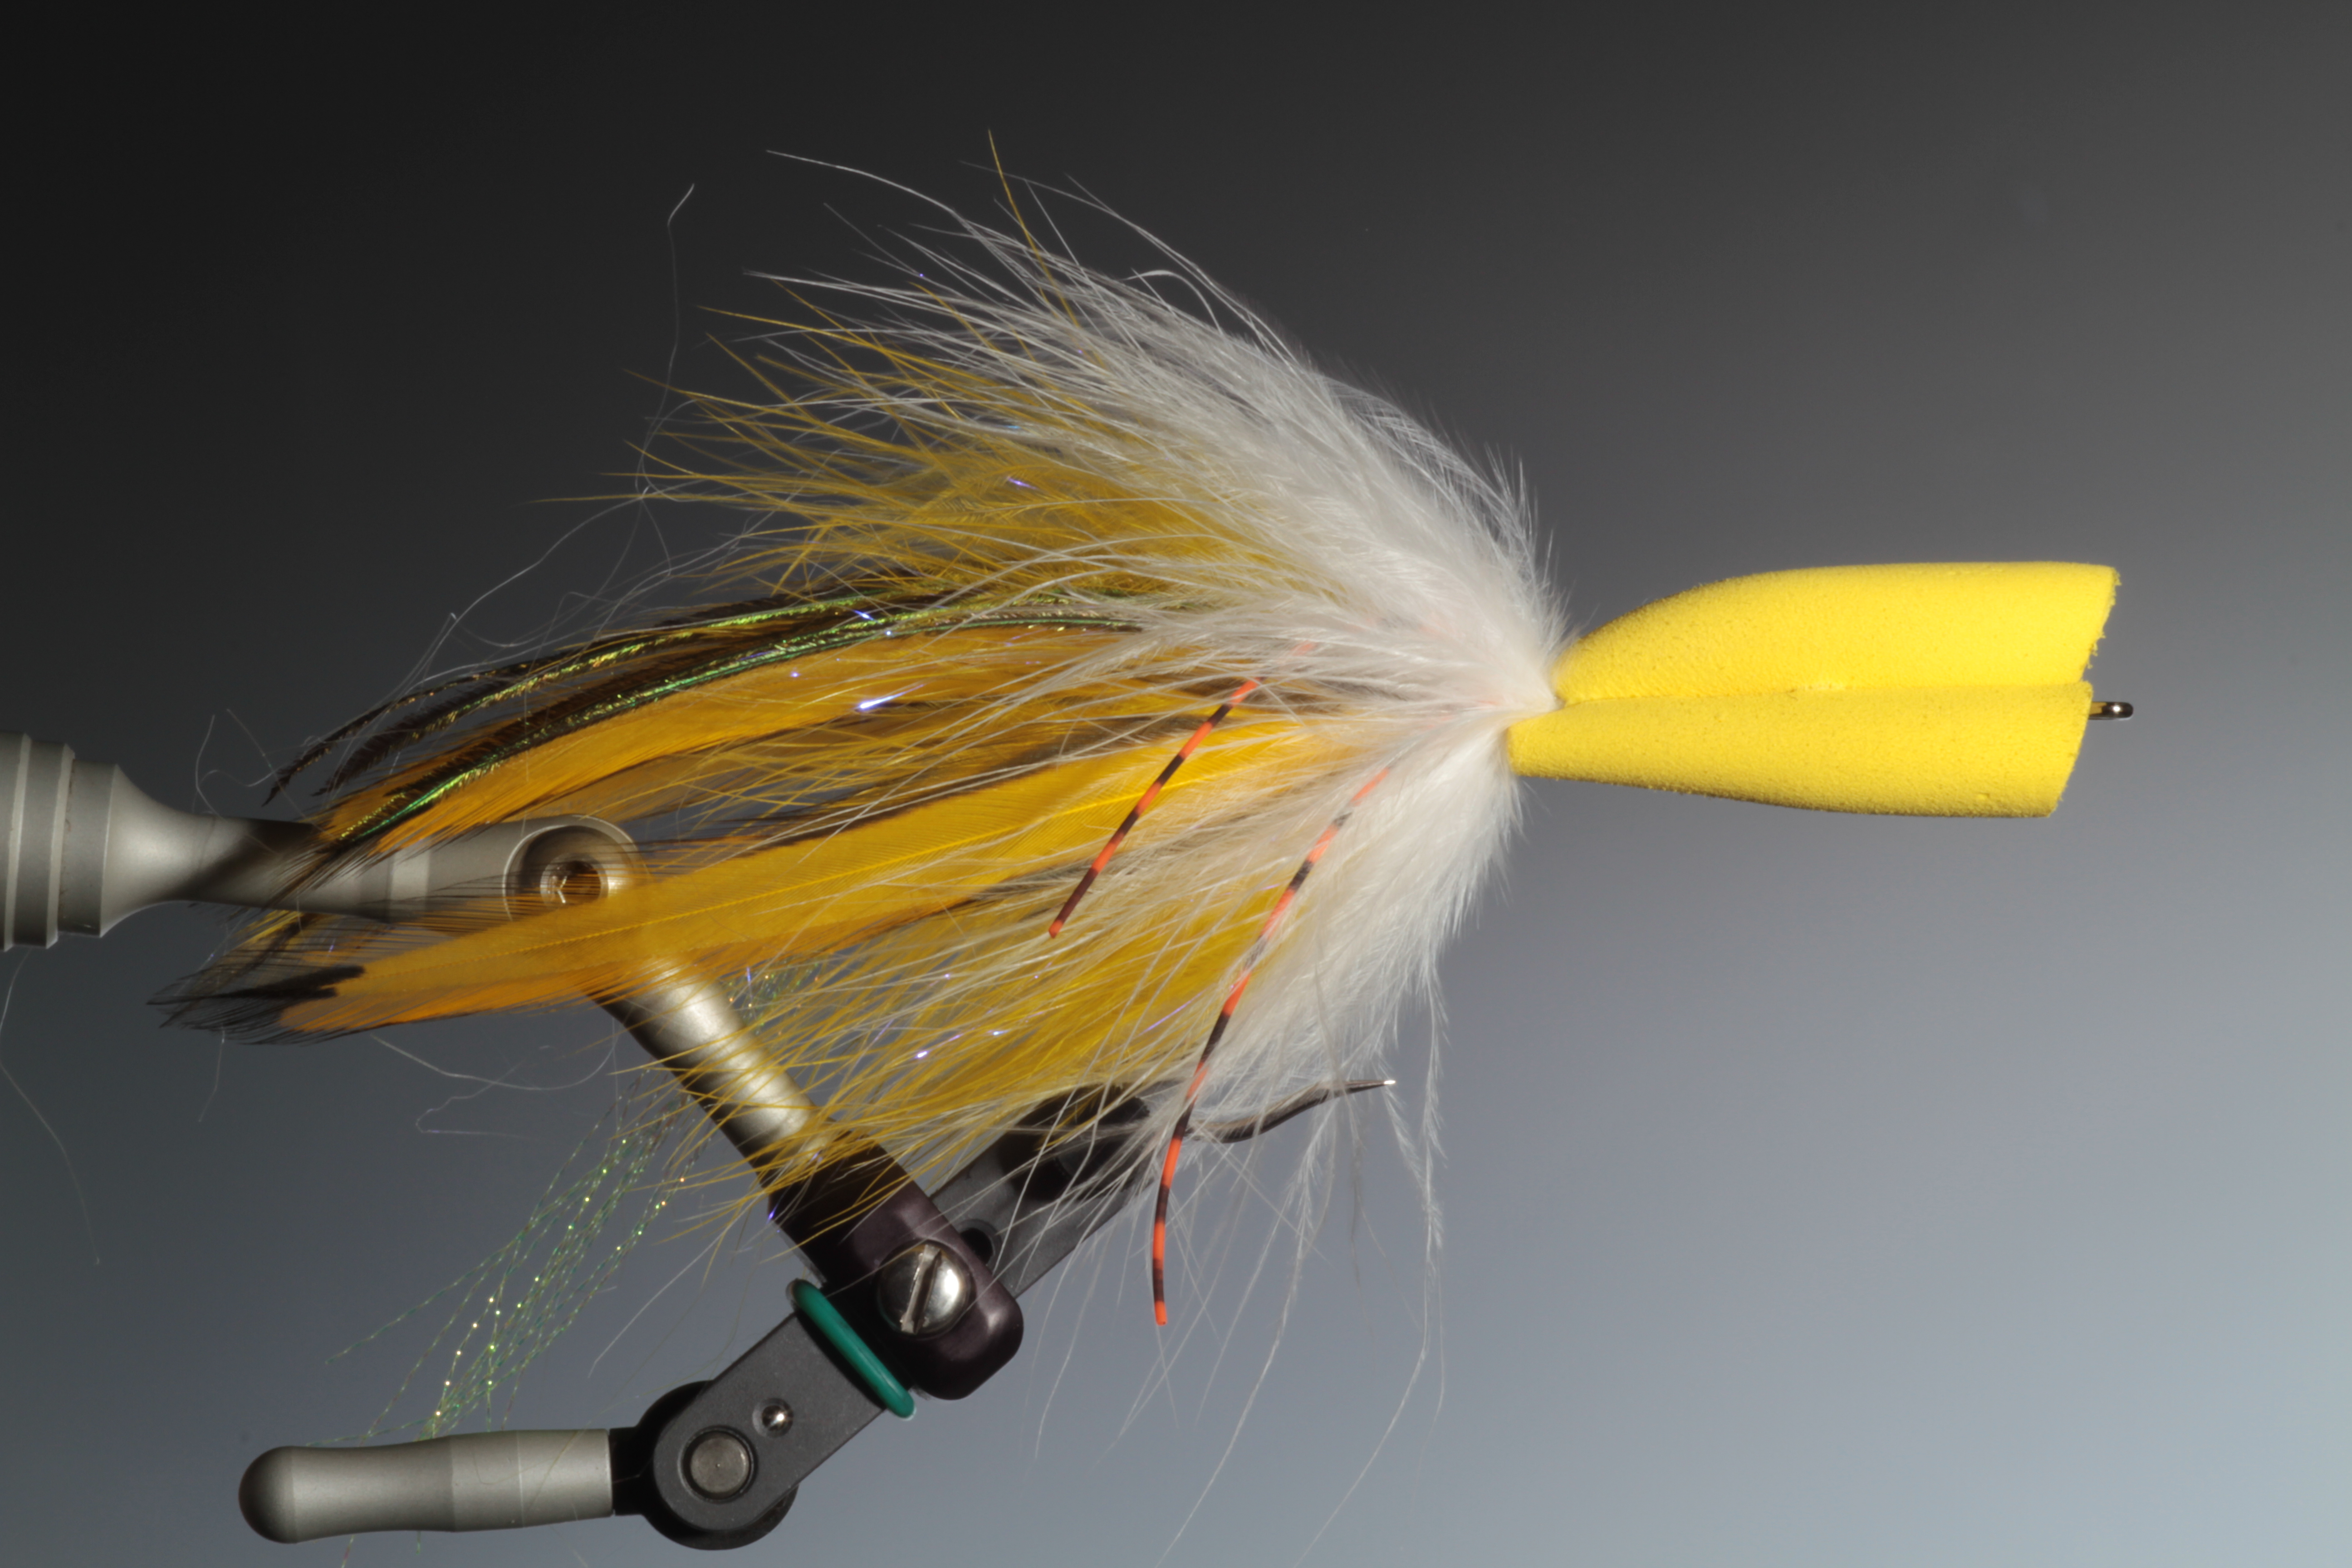
17
Push on the bulldozer popper head onto the hook shank. Make sure the head is aligned with the hook point!

18
Glue on your mobile eyes. Again make sure that the eyes are balanced – otherwise the popper head will not float on an even keel and thus not splash and pop to its full ability. This rule for poppers does not apply to streamers/bait fish imitations, it’s quite the opposite! An off-balanced streamer will swim and behave much more like an injured fish.
On a safety note: Hard hat and other safety equipment should be worn when casting the bulldozer…

You can find more patterns for toothy fish in: Flies for Pike:
Flyfishing for pike has never been more popular. Barry Ord Clarke presents us with a new generation of successful flies for pike developed by expert pike flyfishermen and fly-tyers. Herman Broers, Dougie Loughridge, Simon Graham, Ulf Hagstrom, Ad Swier and Steve Silverio have all contributed their well-proven patterns. Ten proven patterns – flies that have proved their worth – catching many big pike in British, European and North American waters. With step-by-step fly-tying instructions, and many tips from the experts on luring this exciting quarry. This is the first in the new Proven Patterns series of step-by-step guides to flies that catch fish.
Flies for Sea trout rivers:
The elusive and challenging sea-trout, lithe and strong from feeding in the sea, inhabits the wildest places in Britain and Europe. Like the salmon it ceases feeding once in the river and its capture calls for the highest skills of the angler and fly-tyer. On the darkest nights it abandons its customary caution and may fiercely attack the flyfisher’s lure, and even under low-water conditions it may be tempted by a skillfully presented nymph. Barry Ord Clarke and sea-trout experts Illtyd Griffiths, Steffan Jones, Gerhard Schive and Bjarne N Thomsen present us with 15 proven patterns for sea-trout, step-by-step tying instructions, and tips on how to fish them. This is the third in the new Proven Patterns series of step-by-step guides to flies that catch fish.
Flies for Sea trout Salt water:
Flyfishing for sea-trout in the sea is one of the most exciting recent developments in angling. It had long been practised on our northern and western shores, largely using traditional wet-fly tactics, but the massive growth of the sea-trout fishery in Scandinavia has led to the development of innovative and highly successful fly patterns, many of them imitating the natural prey of the sea-trout in the sea. Barry Ord Clarke and sea-trout experts Claus Eriksen and Bjarne N Thomsen present us with ten proven patterns for saltwater sea-trout, with step-by- step tying instructions, and tips on how to fish them. This is the second in the new Proven Patterns series of step-by-step guides to flies that catch fish.
Forthcoming titles include: Proven Patterns: Flies that catch Salmon. Proven Patterns: Flies for Carp and Coarse Fish. Proven Patterns: Flies for Bass, Mullet & other Sea Fish. Proven Patterns: Dry Flies for Grayling. Proven Patterns: Flies for Rainbow Trout.
Link to Barry Ord Clarke Books:
My new book

Discover more from HOW TO TIE FLIES | THEFEATHERBENDER
Subscribe to get the latest posts sent to your email.

