
Tying thread:
There are many threads available today that have many different properties. The tyer will want to use the one that is most suited to the task at hand, in respect to thickness, strength, stretchability, waxed or un-waxed and weather it has a flat or round profile on the hook, And of course colour.
Size / thickness:
Thick threads are described in lower numbers 3/0 and thinner threads in higher numbers 16/0. And strong threads such as Kevlar and Dyneema are as strong as carbon fibre. Silk threads and flosses are still available, but most modern threads and flosses are made from synthetic materials such as Rayon, Dacron, Nylon and Polyester. Stretchy flosses are normally made from Lycra. These modern threads may not please the purist but they do have a significant roll in contemporary fly tying. Rayon and Acetate flosses are extremely shiny and I use them only for tags. If used for floss bodies they have a tendency to fray easily.
Denier:
The following relationship applies to straight, uniform filaments:
DPF = total denier / quantity of uniform filaments
The denier system of measurement is used on two- and single-filament fibers. Some common calculations are as follows:
| 1 denier | = 1 gram per 9 000 meters |
| = 0.05 grams per 450 meters (1⁄20 of above) | |
| = 0.111 milligrams per meter |
In practice, measuring 9,000 meters is both time-consuming and unrealistic; generally a sample of 900 meters is weighed and the result multiplied by 10 to obtain the denier weight.
- A fiber is generally considered a microfiber if it is one denier or less.
- A one-denier Polyester fiber has a diameter of about ten micrometers.
You will notice that for most of the patterns on this blog, I use only one type of tying thread, Dyneema.
This has several advantages when tying. Its a un-waxed super strong multi-filament polyethylene fibre that offers maximum strength combined with minimum weight. It is up to 15 times stronger than quality steel, on weight for weight basis. Dyneema floats on water and is extremely durable. Resistant to moisture and salt water, UV light and chemicals. Being a multi-filament thread it can be spun anti clockwise, and the fibers will open and flatten out, making it ideal for the largest of flies, splitting and spinning dubbing loops and tying with deer hair. Its also makes “O” build-up under tinsel bodies. If you spin Dyneema clock wise, the fibers twist together and become a super strong micro tying thread 16/0. suitable for even the smallest flies. The other advantage is that you need only one colour of thread, as Dyneema colours well with waterproof felt pens. The applications are therefore more or less unlimited. But it also has disadvantages. Being unwaxed it has a tendency to be extra slippery with some materials. So I either wax it when needed or change to a more traditional pre-waxed thread.
I will come back to Dyneema later and make a whole tutorial on its uses and related techniques.
Attaching Tying thread to the hook:
When you attach the tying thread to the hook shank, its not only for attaching other materials but lays a foundation for all the materials to be tied in, and stop them form slipping on the smooth bare hook shank.
If you have any questions about fly tying, techniques, hooks or materials please post them here and I will do my very best to answer them quickly.

1. Holding the end of your tying thread in your left hand and your bobbin in the right place the thread behind the hook shank.
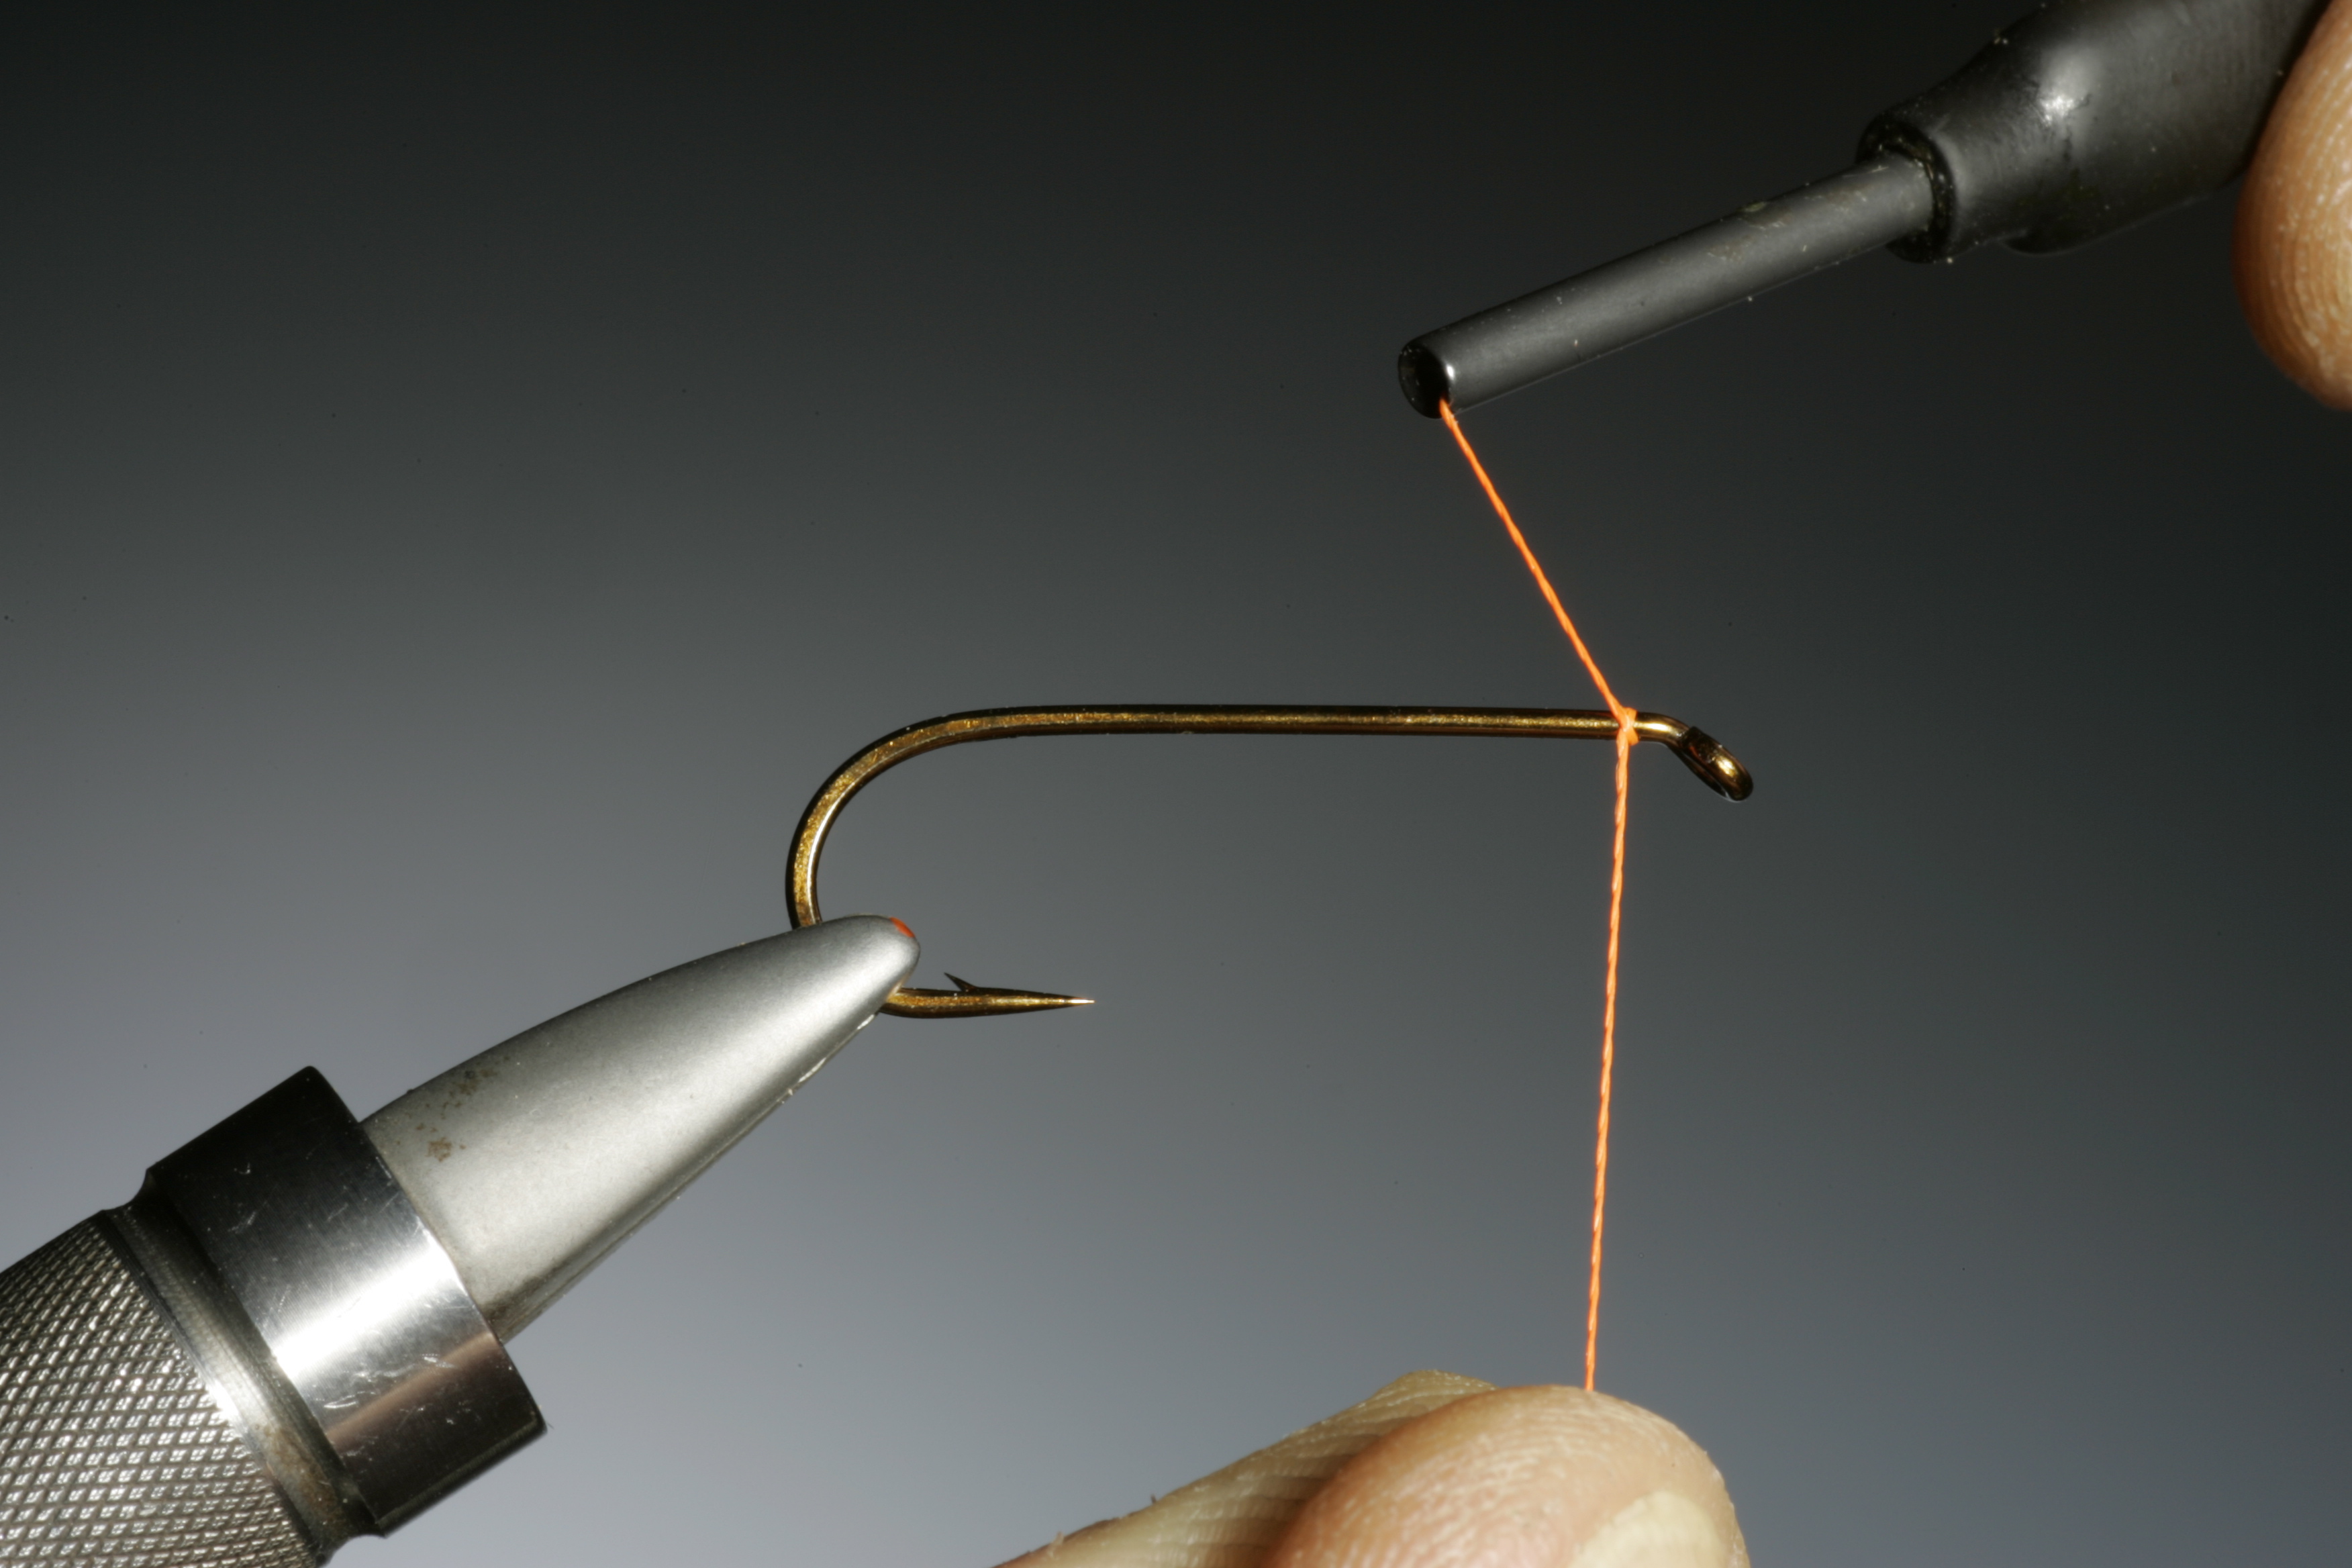
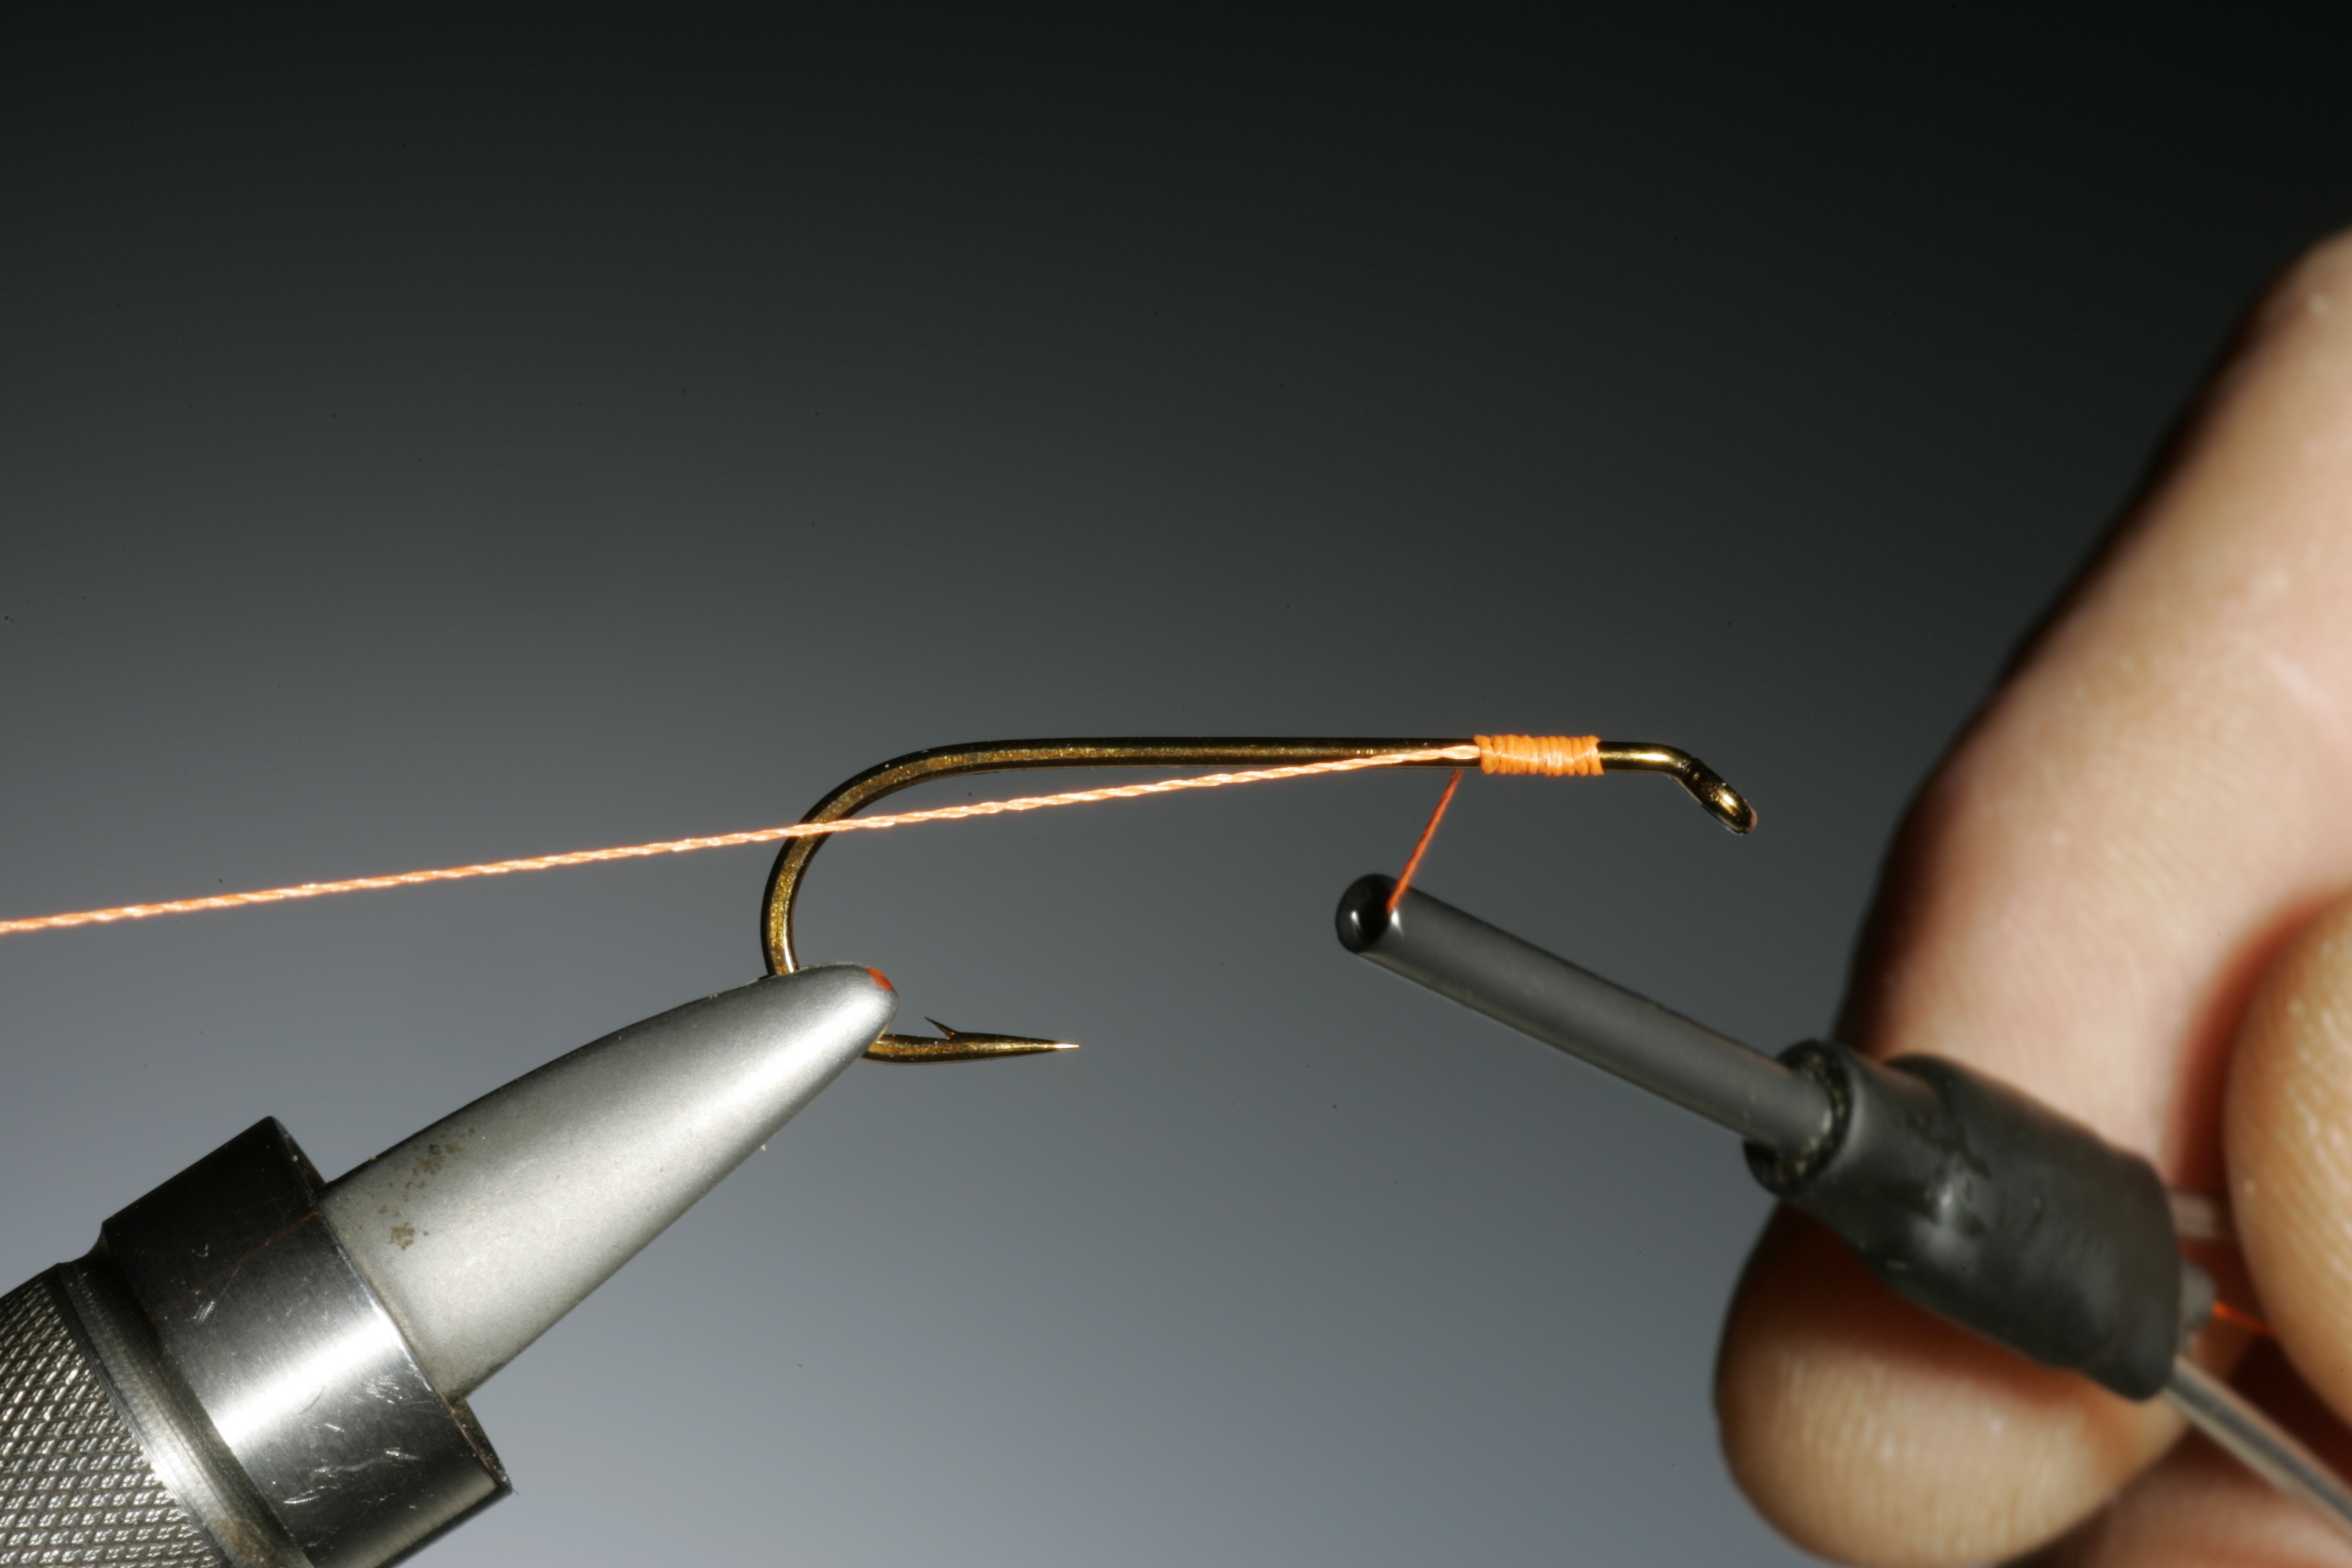
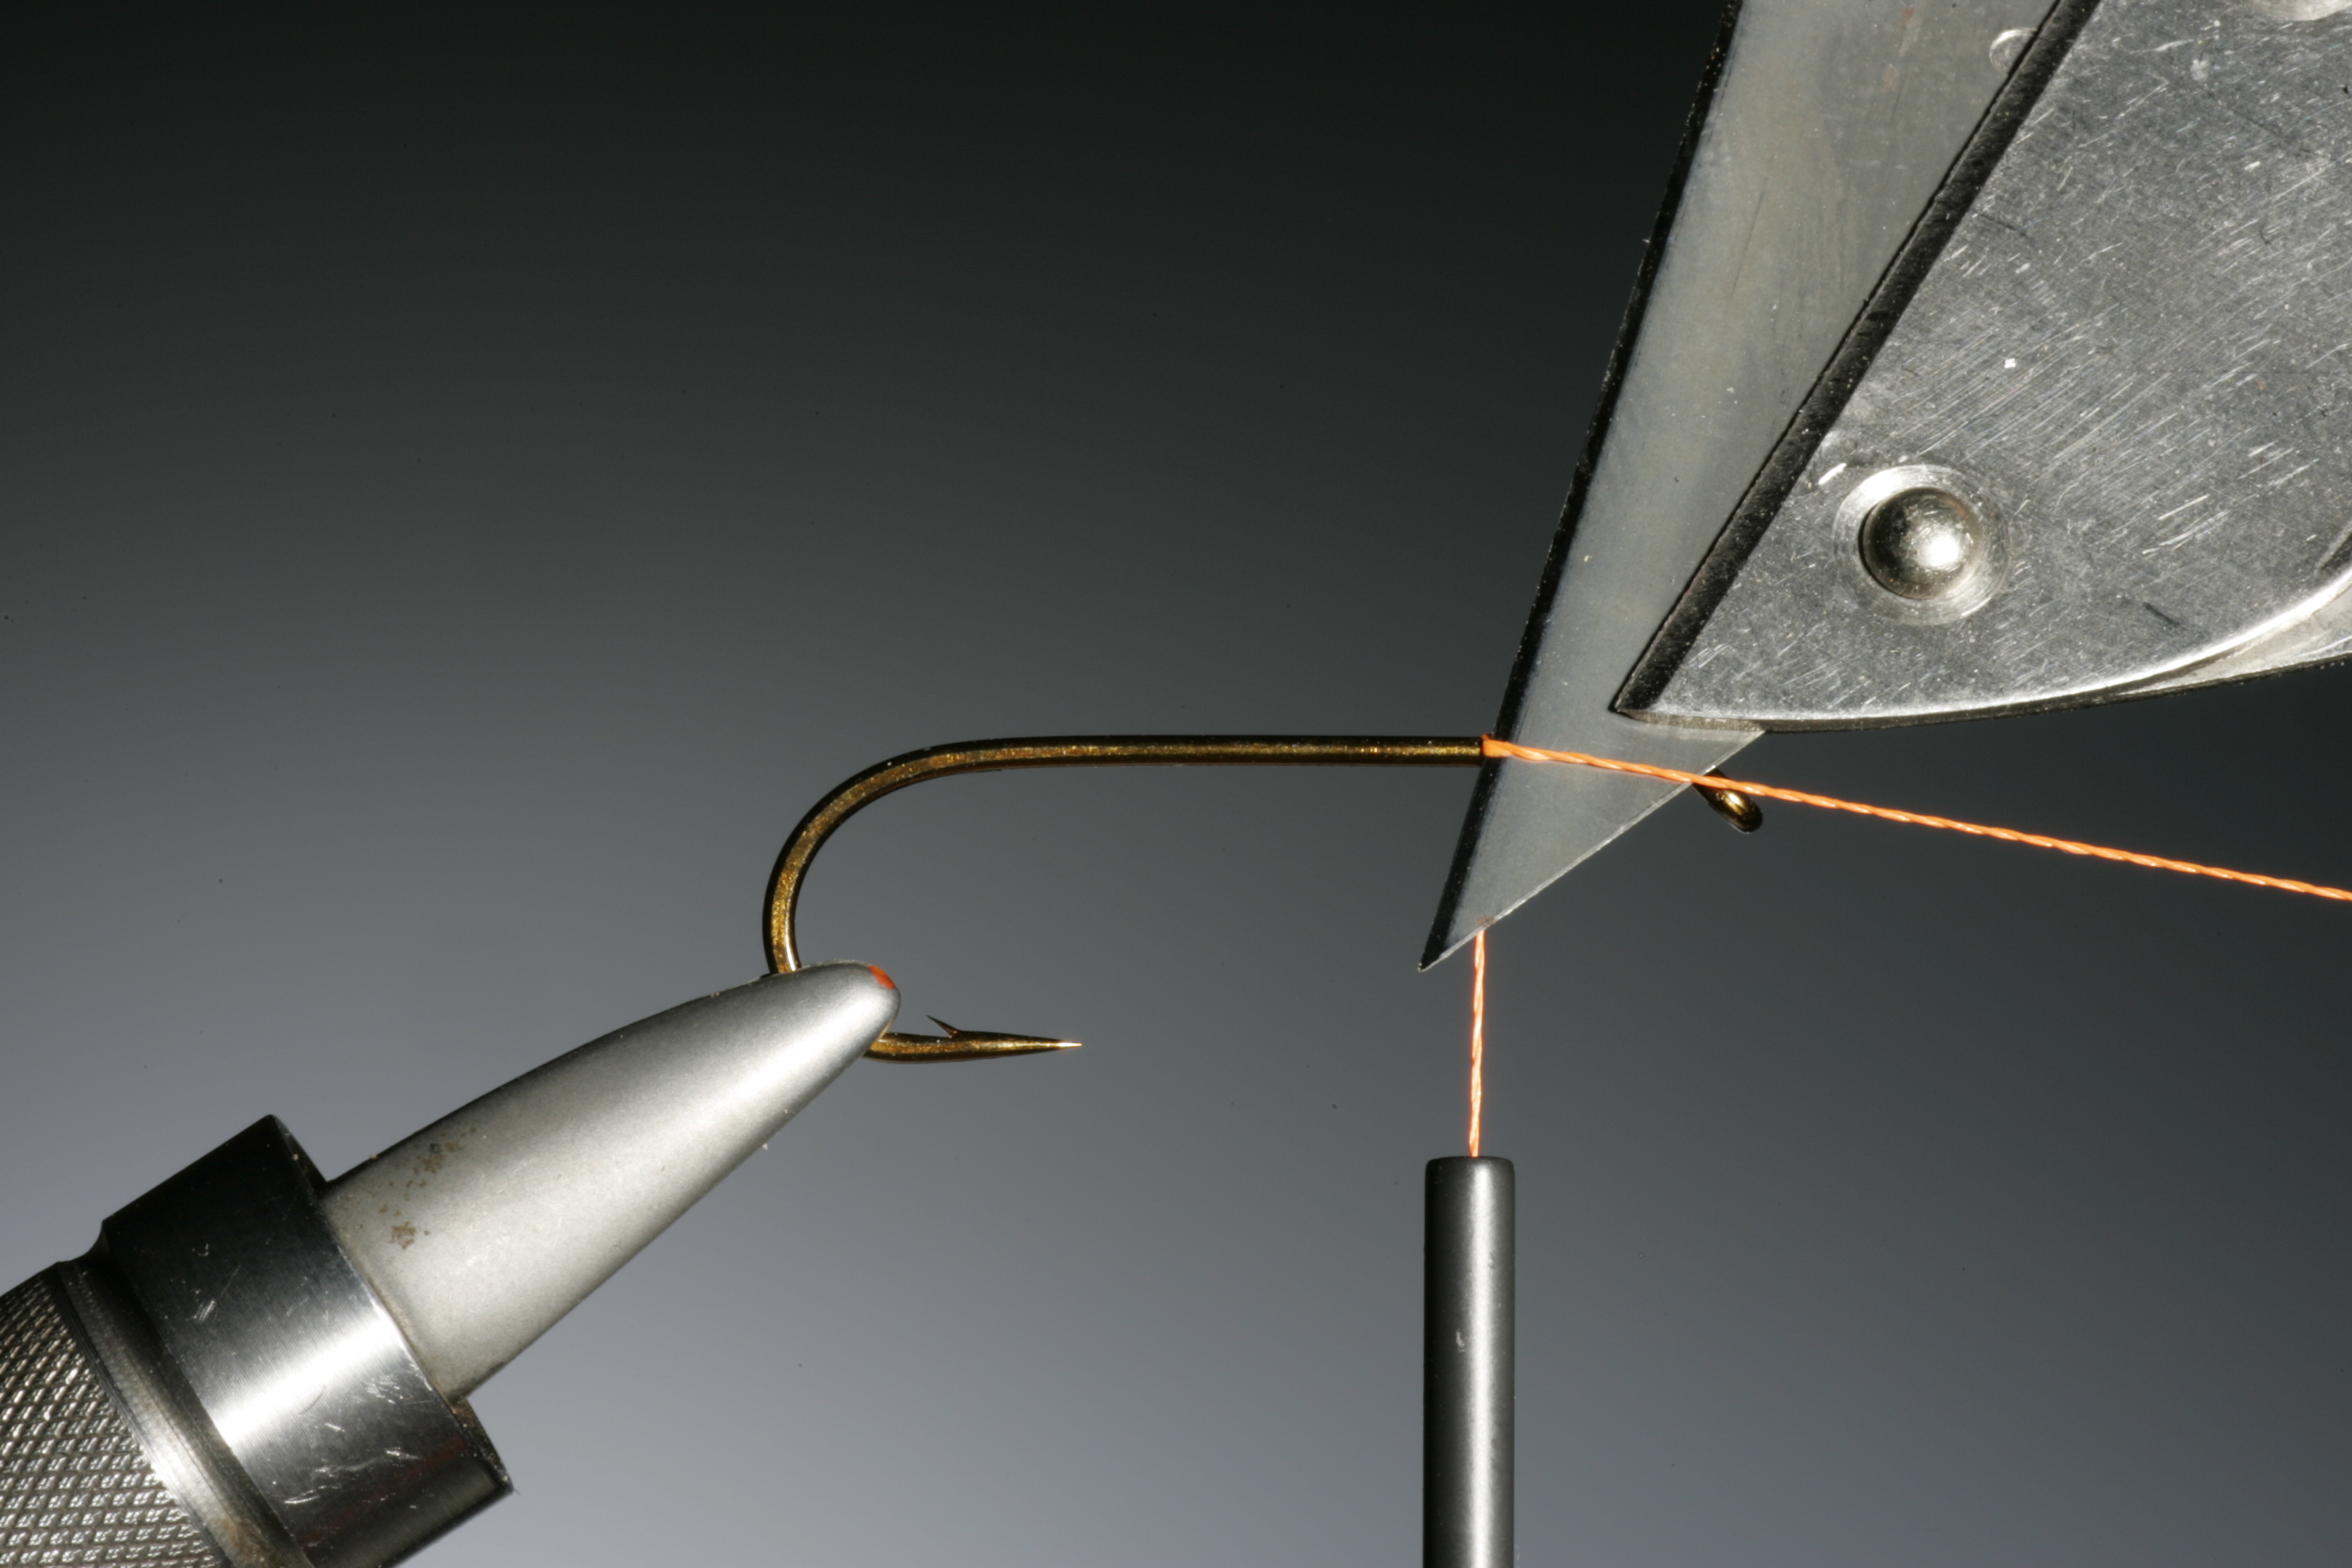
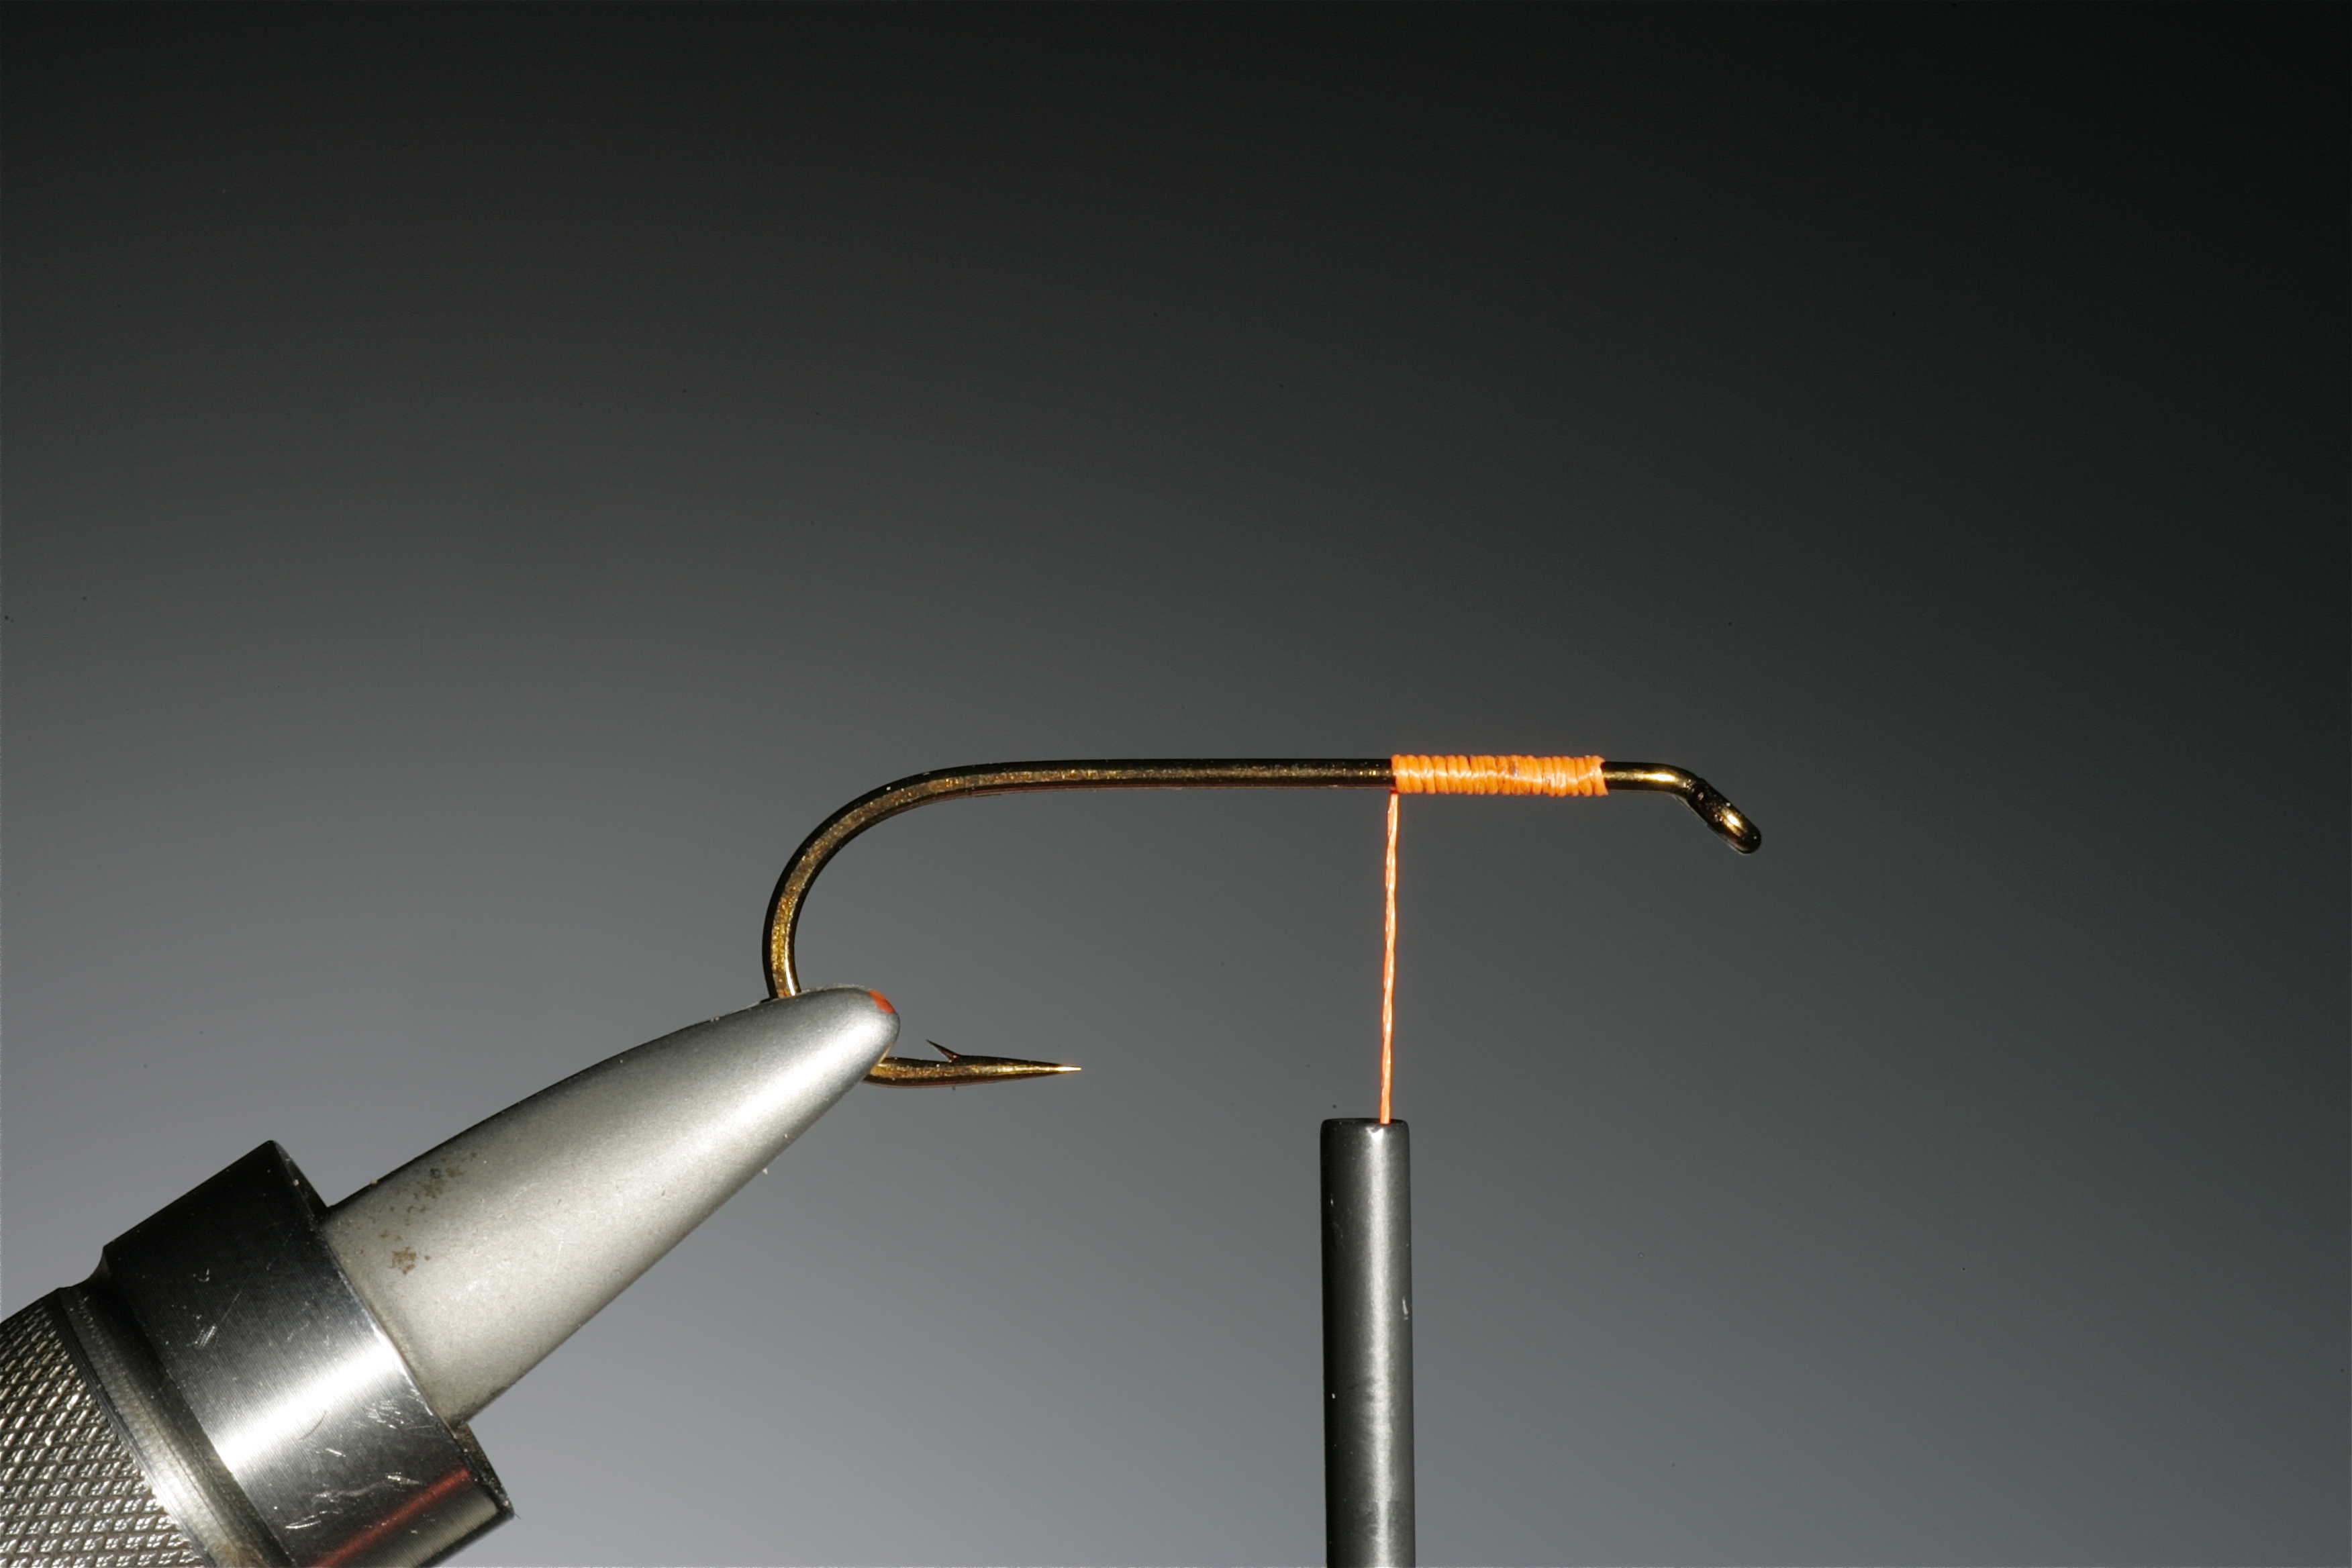
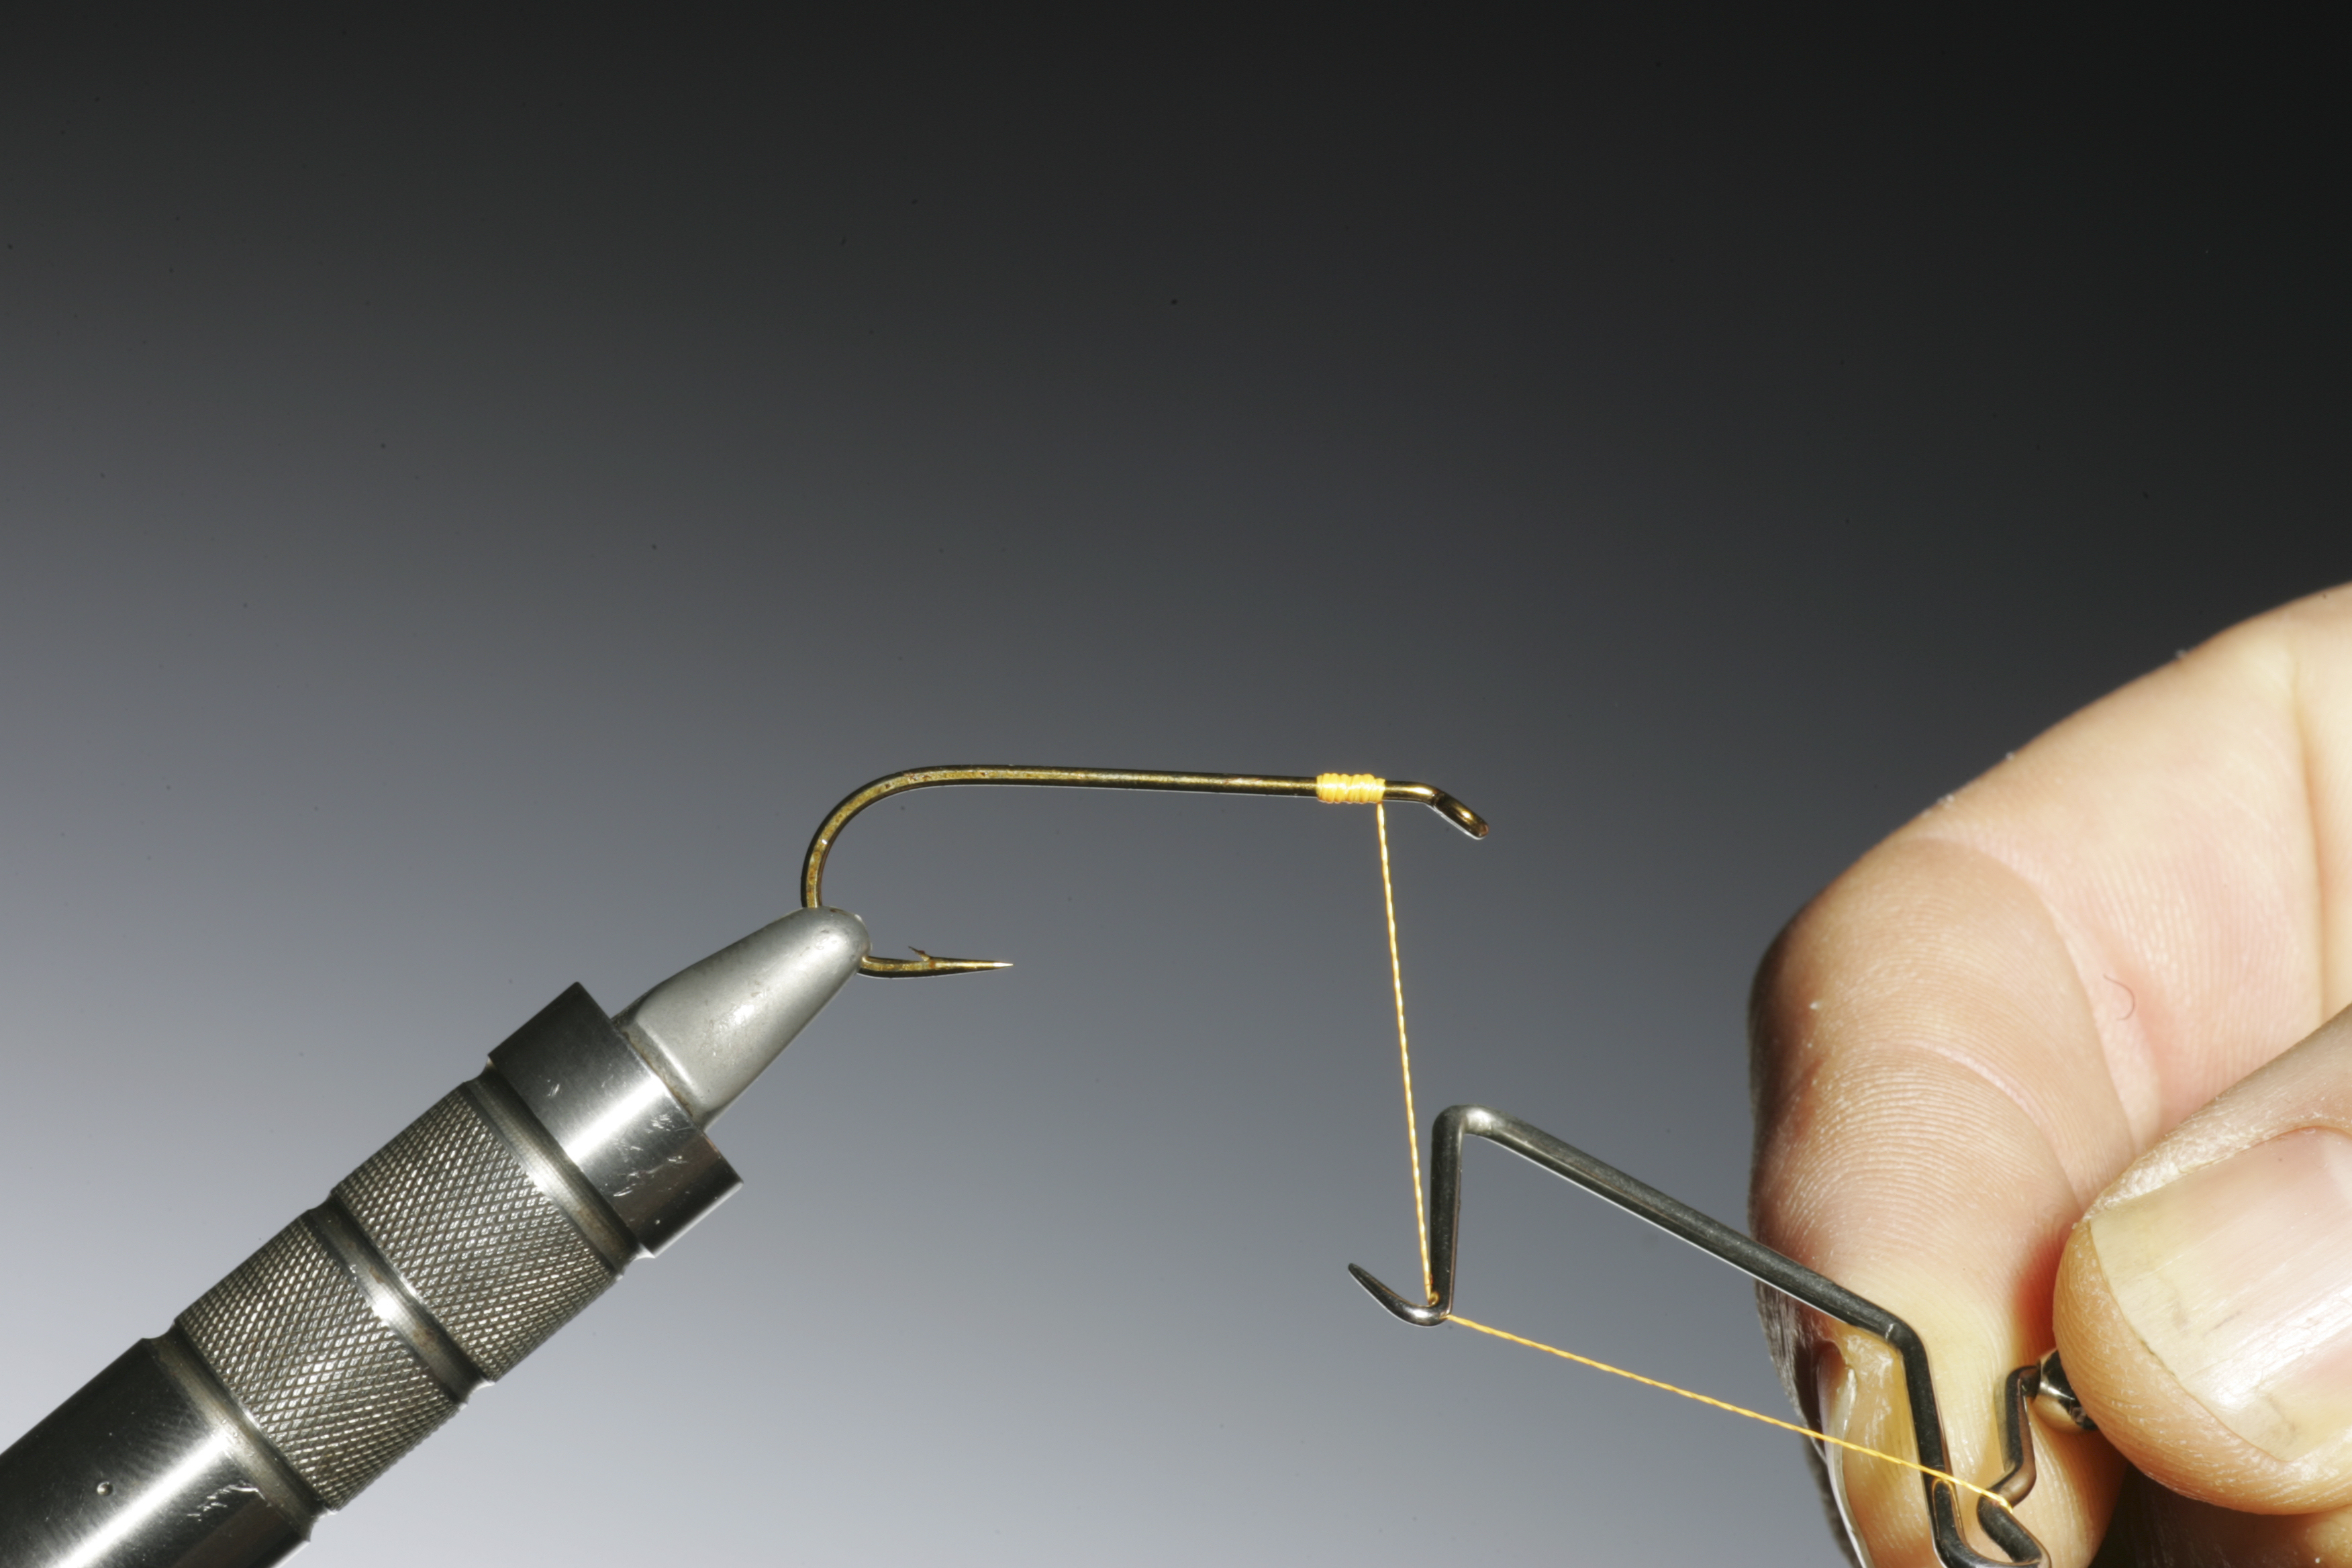

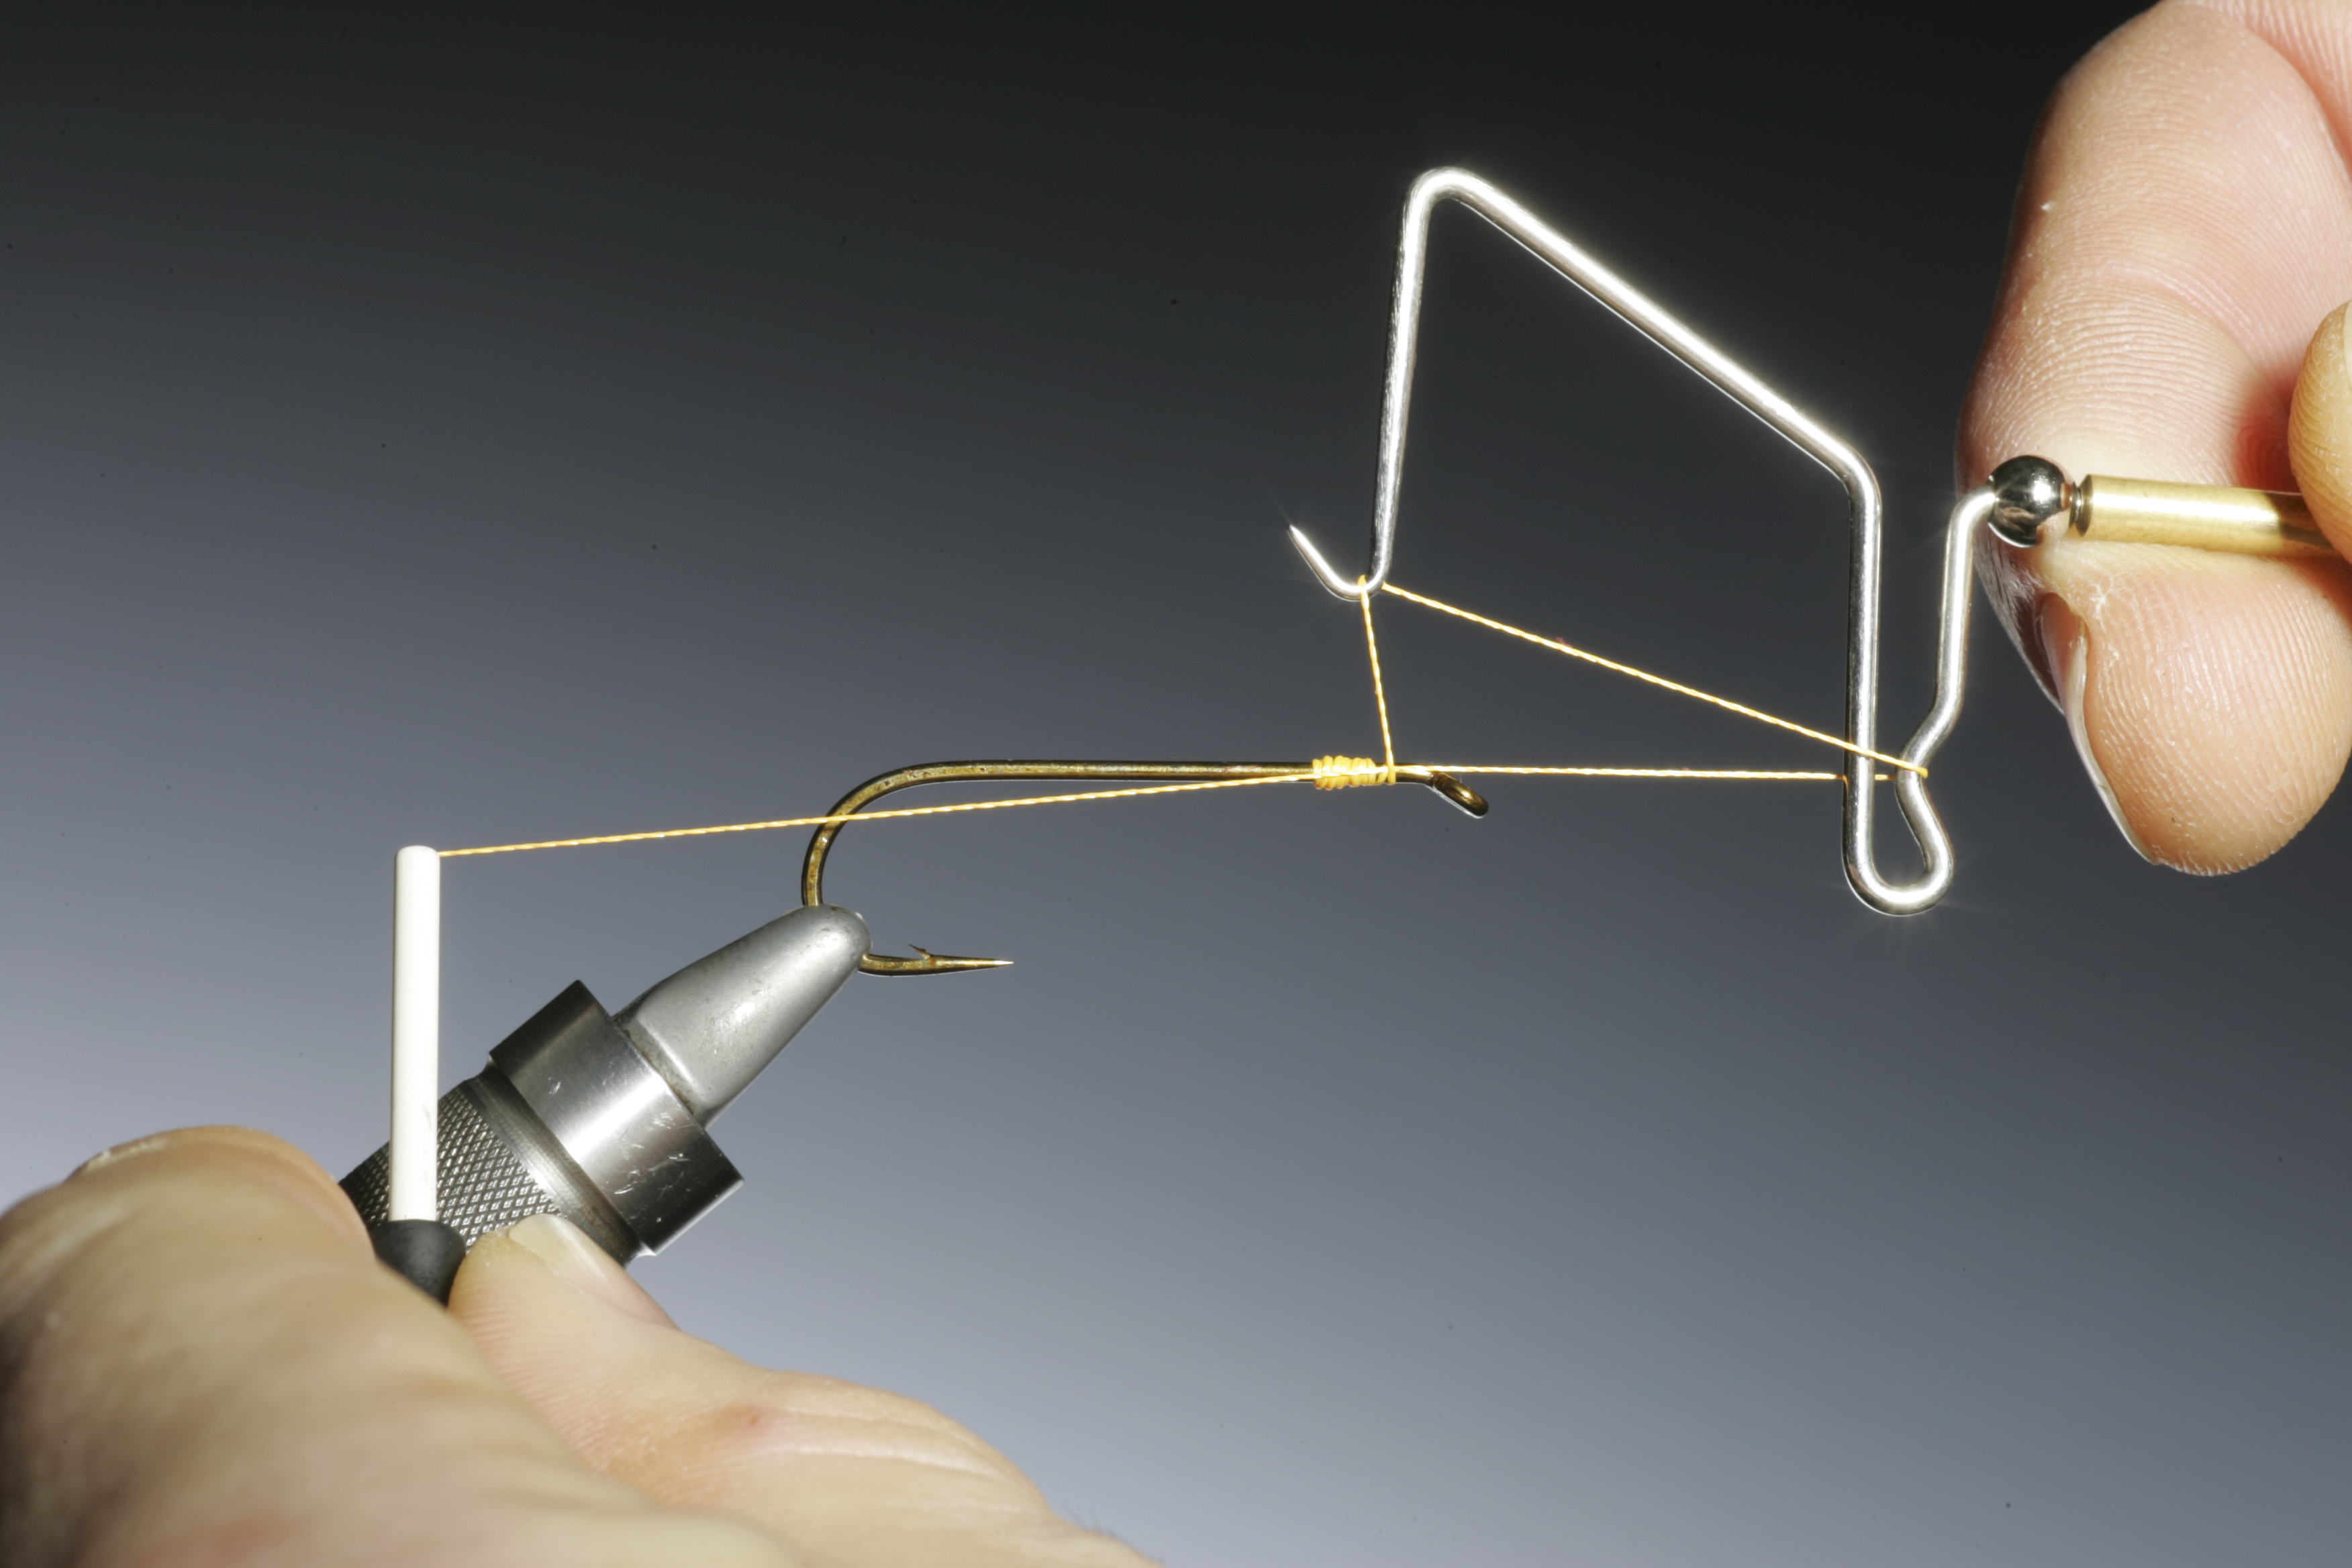

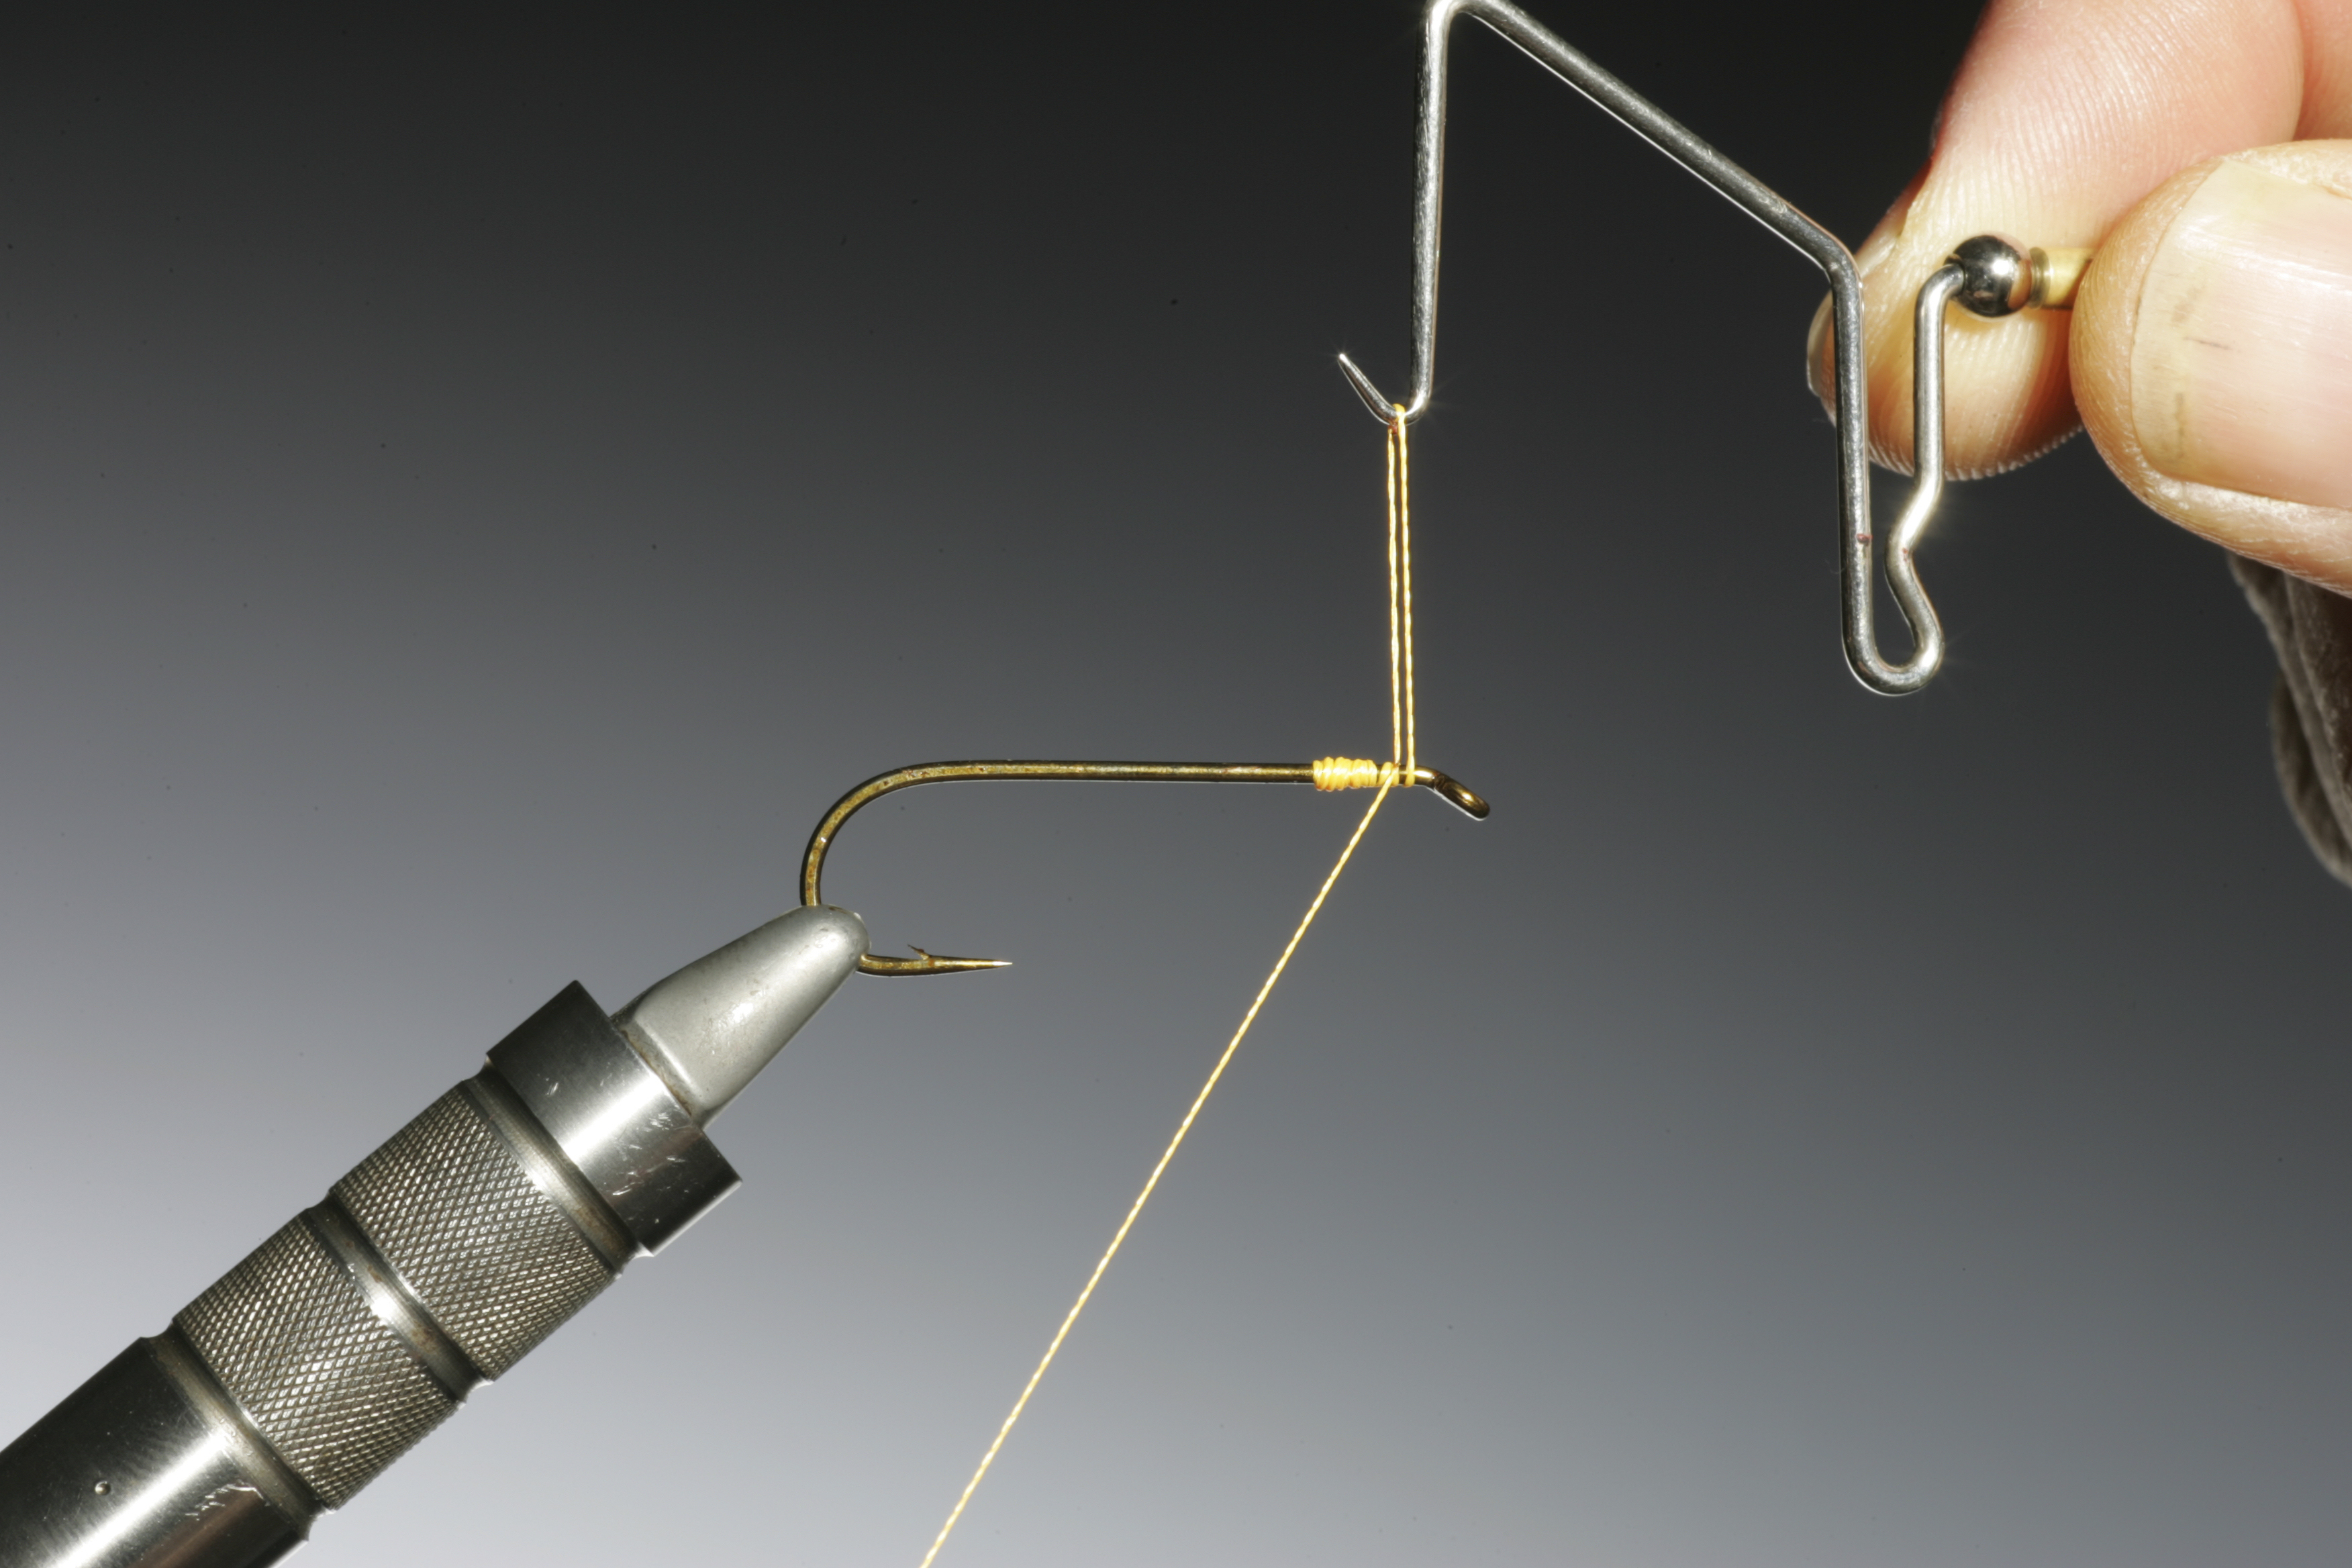
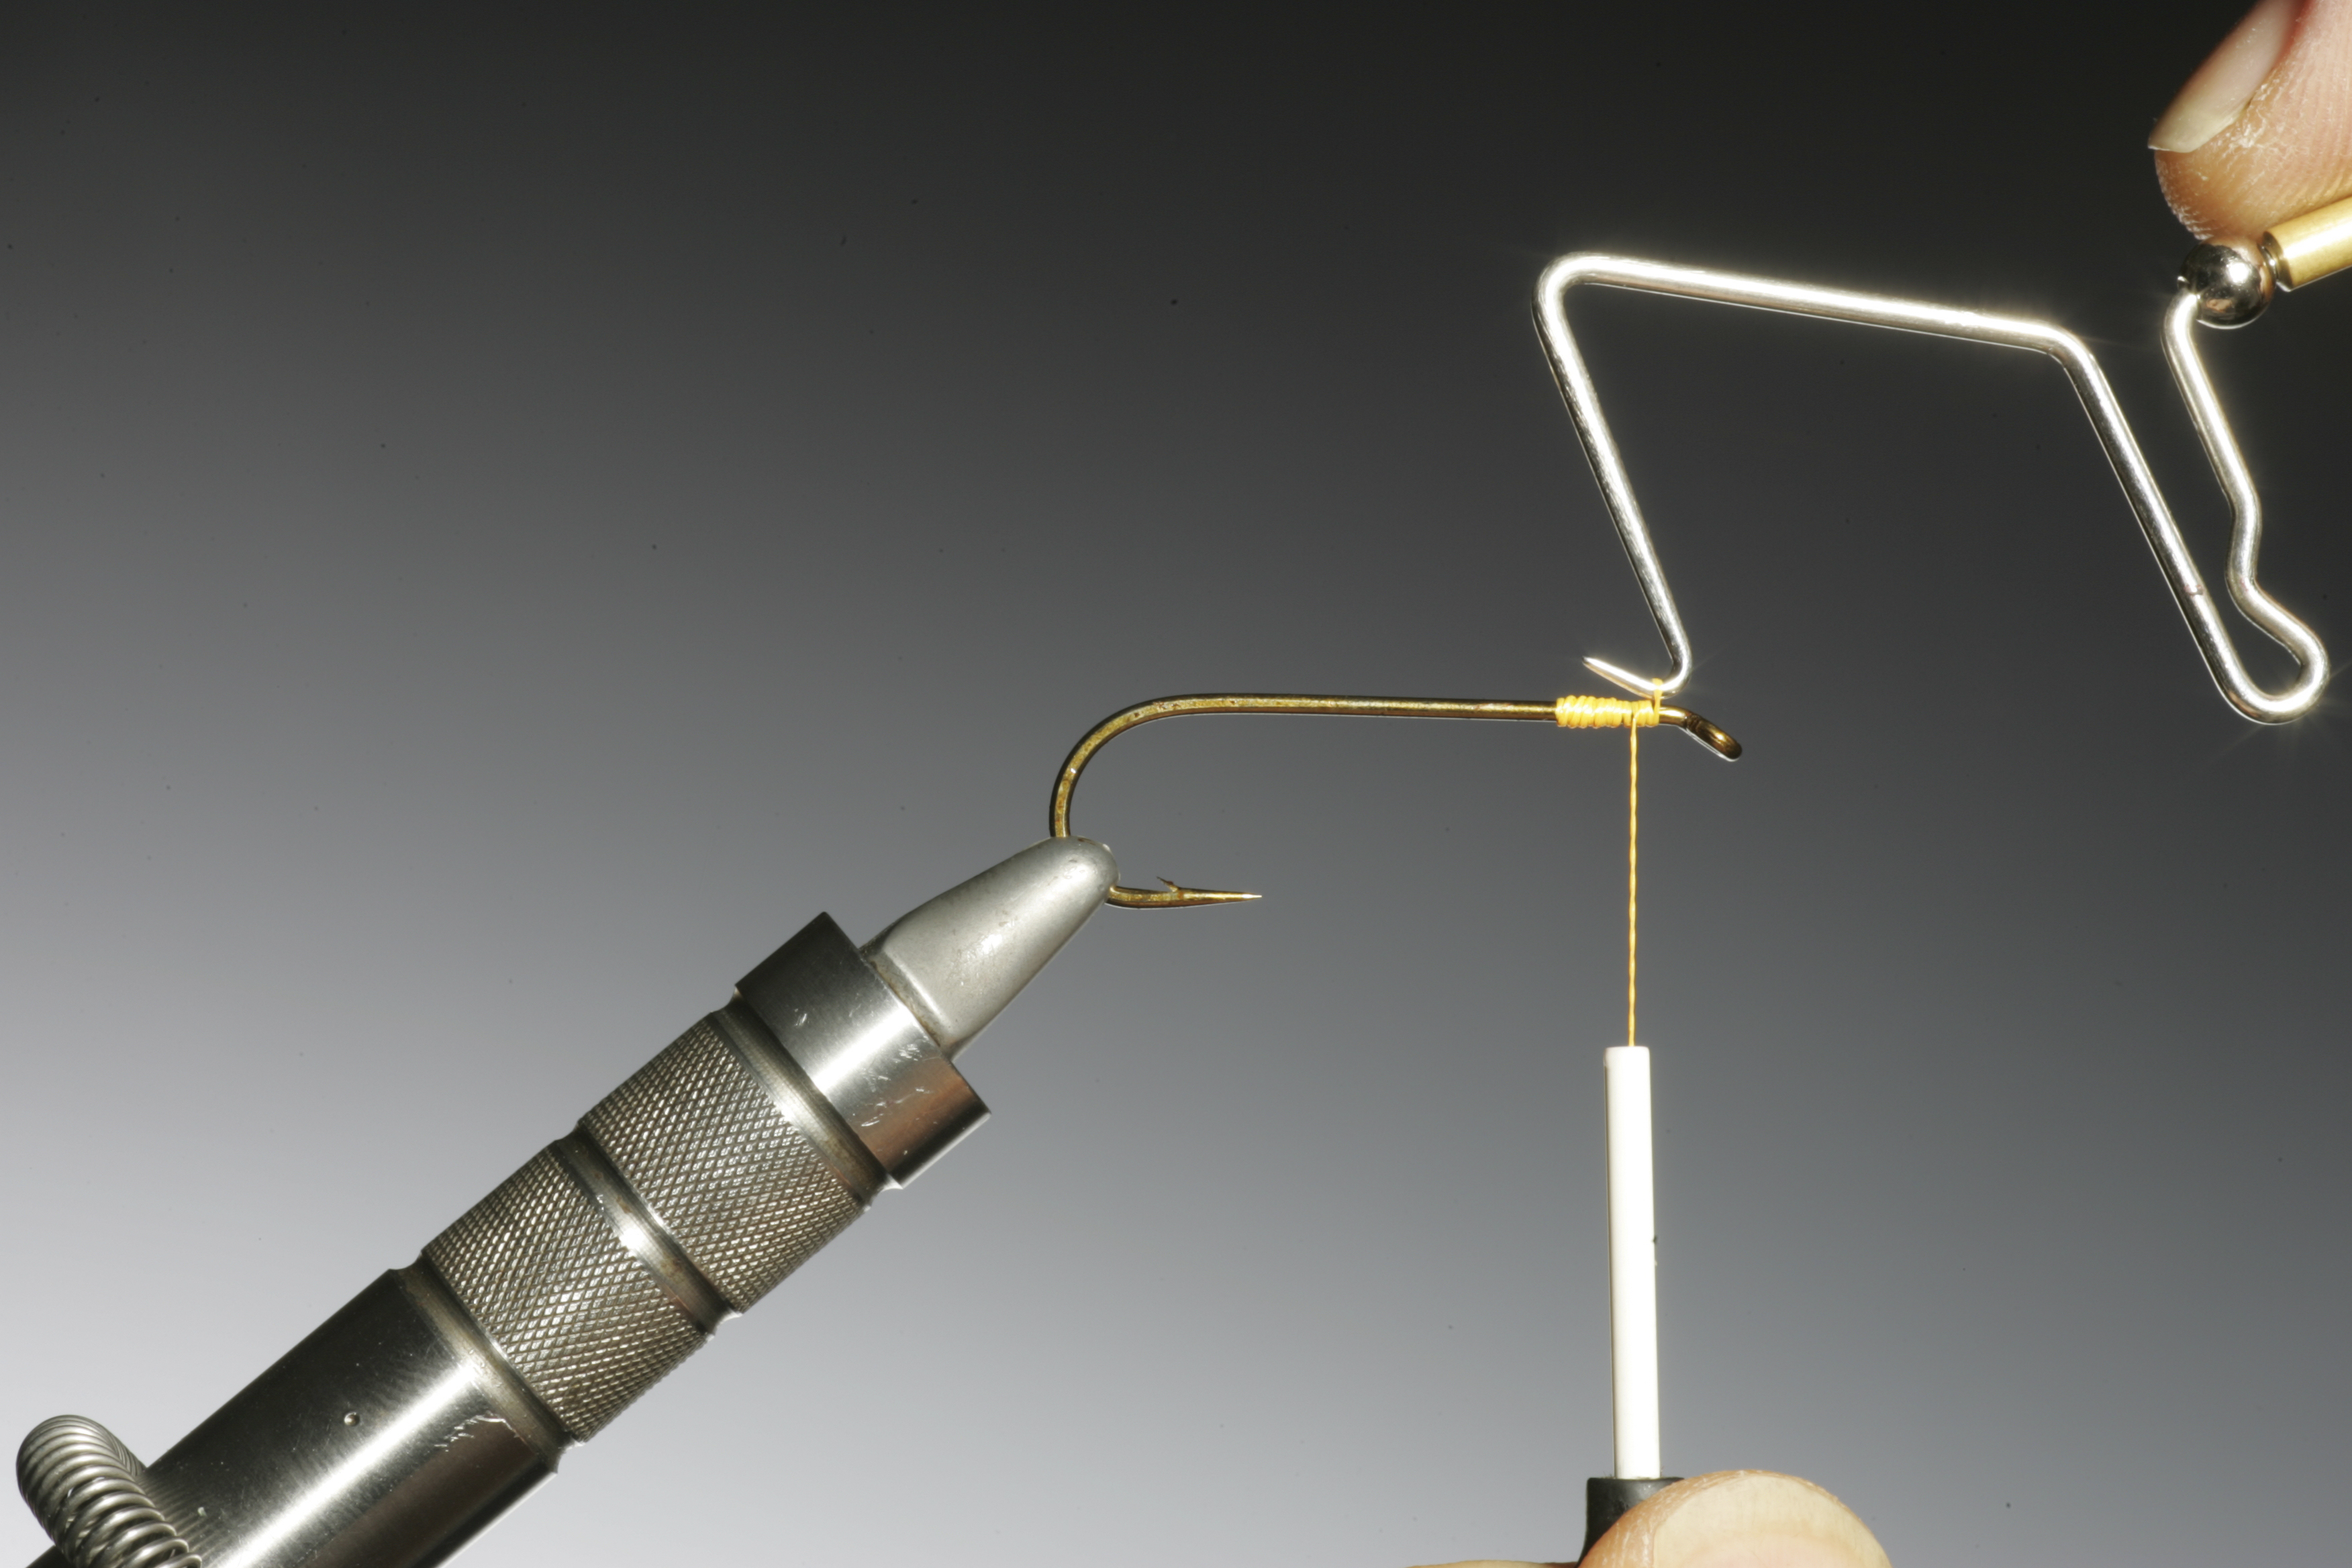
Table of Contents
My new book

Discover more from HOW TO TIE FLIES | THEFEATHERBENDER
Subscribe to get the latest posts sent to your email.


2 thoughts on “Thread and Whip finish”